This was collected last year and has been a vigorous grower 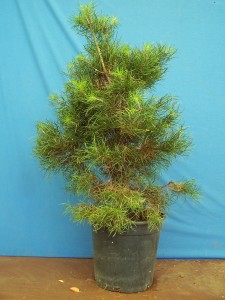 , having originally been a chop top
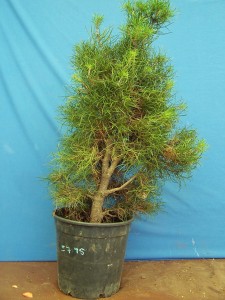 in the wild the side shoots had taken over and produced a multi trunked tree
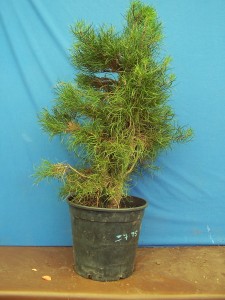 . Now some might sit and ponder and analyze the tree then make the decision .I on the other hand make the decision before i collect the tree .Rarely to i deviate from the original concept unless it is a nursery grown plant . This was a very simple transformation as simple as 1-2-3 . Step 1 , i removed the lower rear secondary trunk
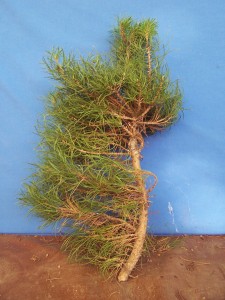 leaving a stub as i need a shoot at it base for a in-arch graft further up the main trunk , Step 2 , i removed the original chopped top ,
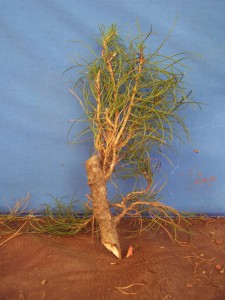 Step 3 , the apex on the new leader was removed .
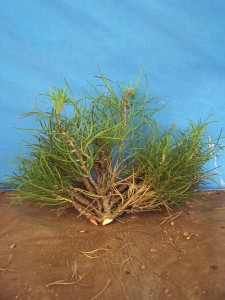 This took all of 30 seconds , with the major work done the cuts were sealed with red clay , simply rub the clay into the cuts and it dries within a few minutes stopping the wound from bleeding .I don’t use cut pastes on any trees .
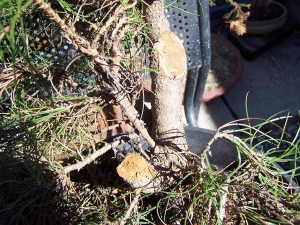 Step 4 , I then attached the inarch graft to the section of the trunk immediately below the second cut , this will help heal the scar and balance the new tree . Step 5 , i then remove the unwanted branches and shoots .
 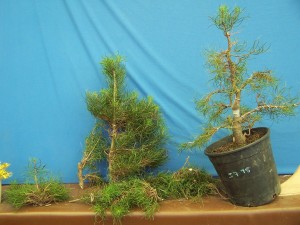 Step 6 , I have applied the minimum amount of wire to the main branches and inarch graft , the rest are very thin and will fatten up well with a power feeding regime .
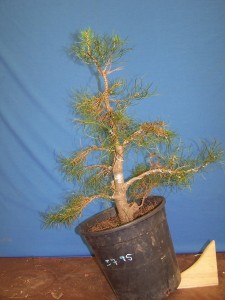 Next season they will be wired for the final styling of the tree . The lowest base branch at ground level will be retained as a sacrifice branch to continue to fatten the trunk over the next few years .The mid section of the tree shows a bar branch this will be rectified by utilizing either branch as an in-arch graft or removed completely .This basic trainer took around 30 minutes to produce . This topic took well over hours to upload . Now its off to the growing area and on to the next project . Cheers Alpineart
Powered by WordPress & Web Design Company
