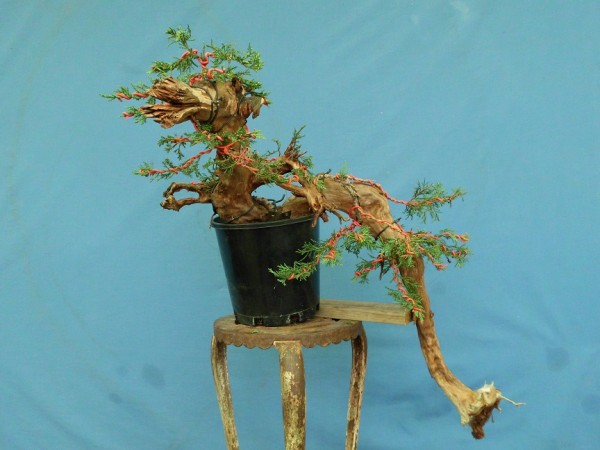
This has been a 5 day project to design and construct a Phoenix Grafted Savin Juniper along with a custom made rock .The materials used were not exactly quality but more reject stock . I collect o lot of unusual pieces of wood for these grafts and other works , 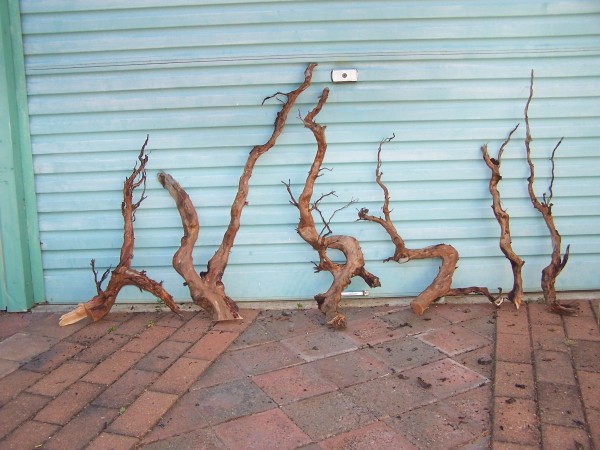 due to a long recovery since a motorcycle accident i have taken time out to play ball with one of these pieces .Choosing the red gum root for its dragon like appearance was the first step .
 The junipers were basically shocking leggy plants that have been neglected from the time they were taken as cuttings
 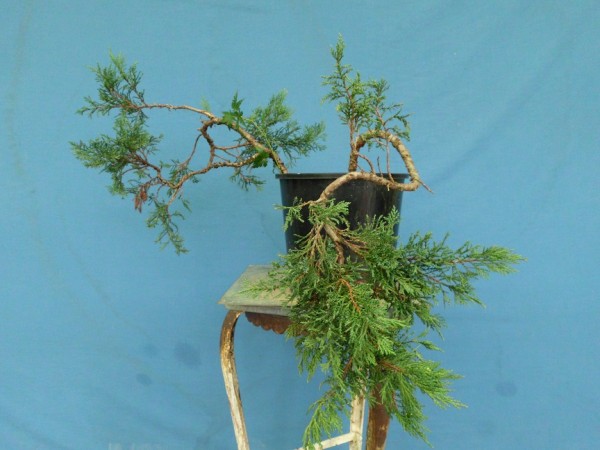 a few years ago from a 20 yo garden plant i had here which was used as another Phoenix graft .After initially marking the best position to carve the root out to fit the trunks into i set about designing a rock to be made from reinforced aerated concrete . Capturing an image of a dragon in mind i carved the wood using an angle grinder
 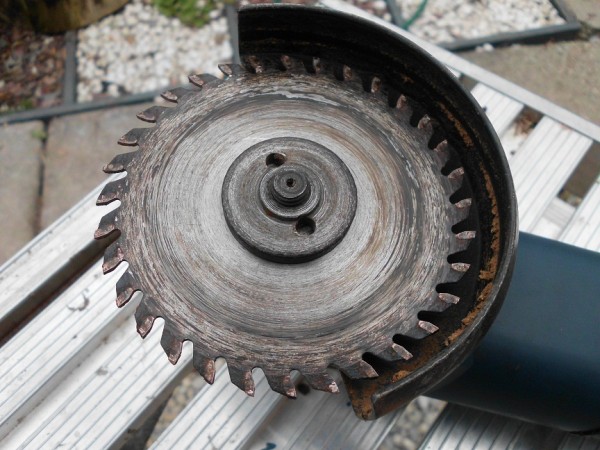 with a tungsten tipped saw blade fitted .
 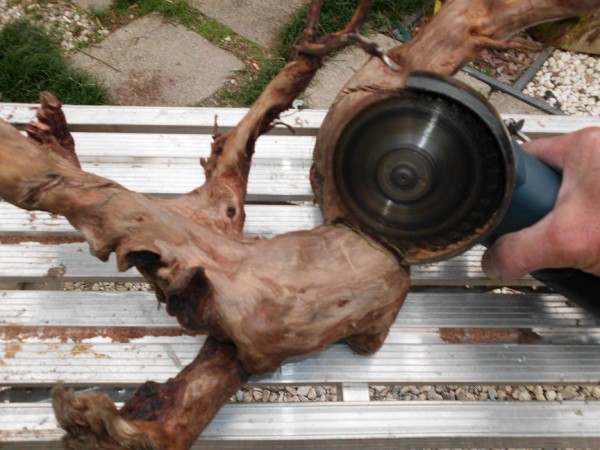 This was used to rough out the wood then with a router and cutter i further carved it until the fitting of the trunk was snug
 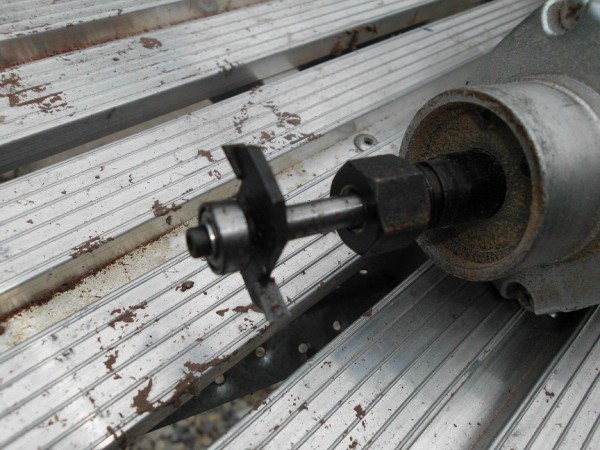 .The head of the dragon requires more work but that can be done at a later stage .
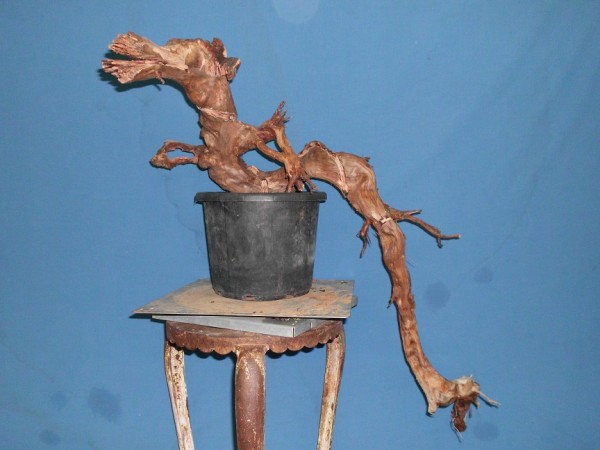 In most cases i use stainless steel screws to attach the live trunks to the dead wood however in the past i have found with old stock it tends to split even with a pilot hole pre drilled for the screws. I have used metal plates , even an old brass butt hinge to hold the very rigid trunks in place .
 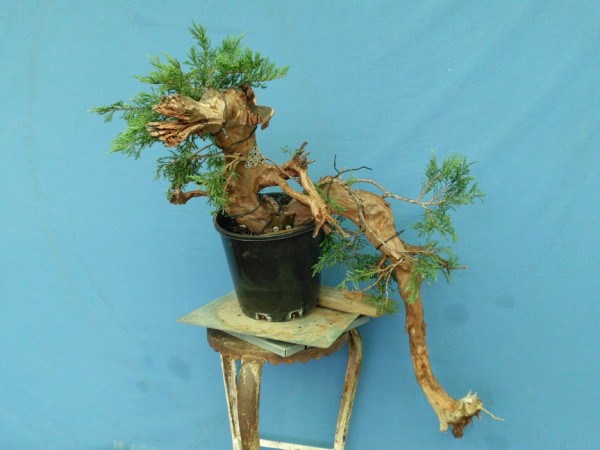 with the junipers secured to the deadwood , i have used coated electrical wire
 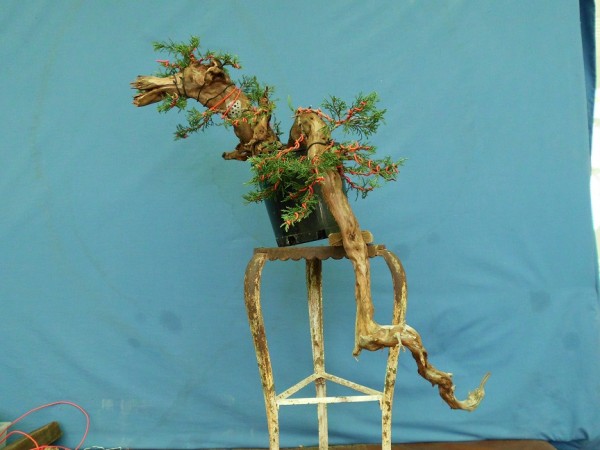 to basically shape the plants .
 Next i move onto the construction of the rock . Basically working without a drawing i have simply cut and glued the Hebel Panels into a basic shape to suit the finished dragon .
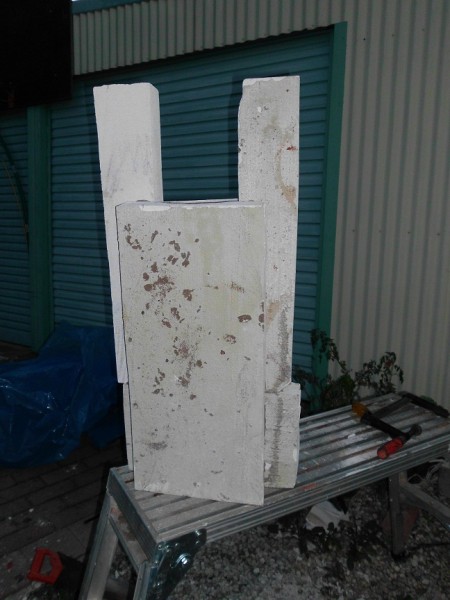 This was allowed to dry over night then the design was pen onto the face and its ready to begin the carving process.
 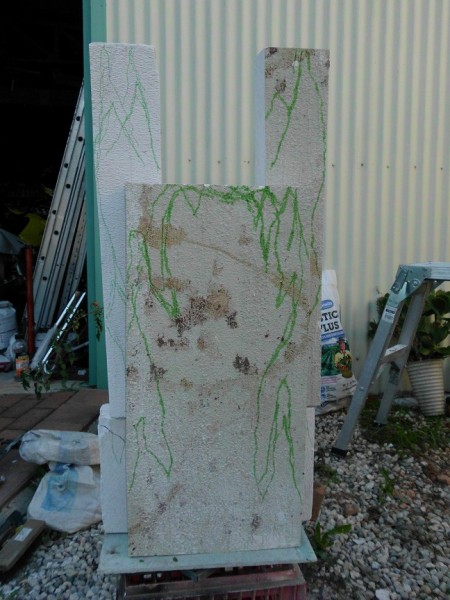 Using a sabre saw and the old fashioned hammer and chisel i begin working by slice off the excess until a basic shape begins to appear .
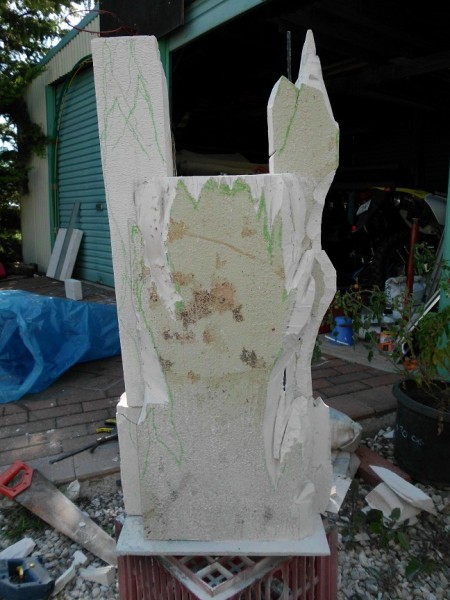 Then carving with the chisel until a happy medium is found . With one side roughed out the other was tackled until both side were completed .
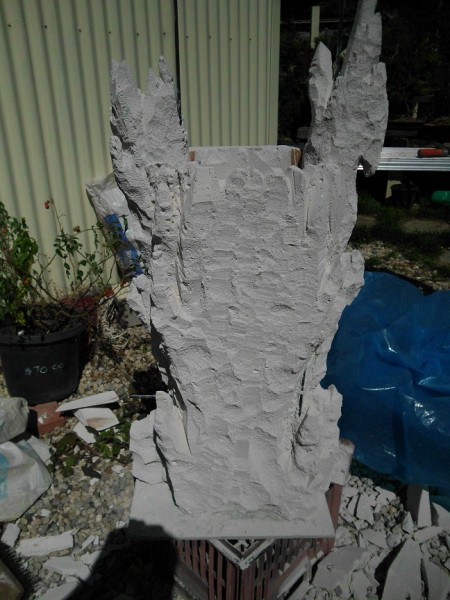 Then the center of the rock was worked over and carved .
 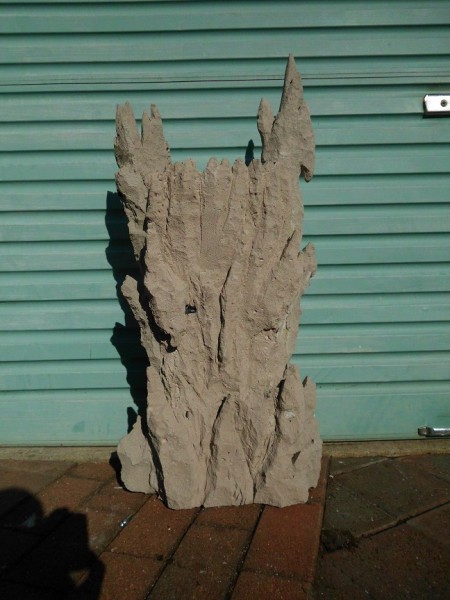 Creating a 3 D rock has its hassles in this medium ,
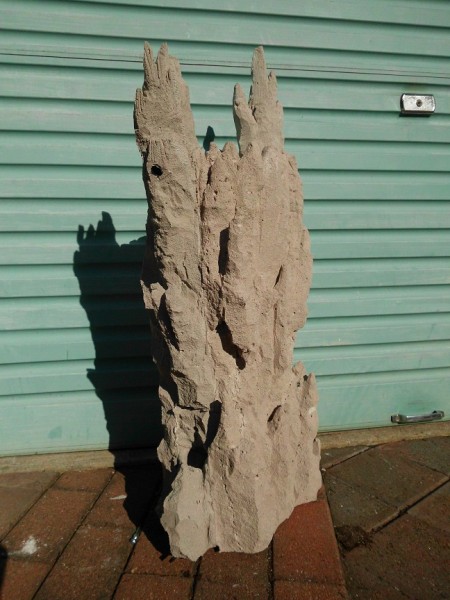 breakages are to be expected and i had a few . After the front was carved the sides complete the rear got the work over .
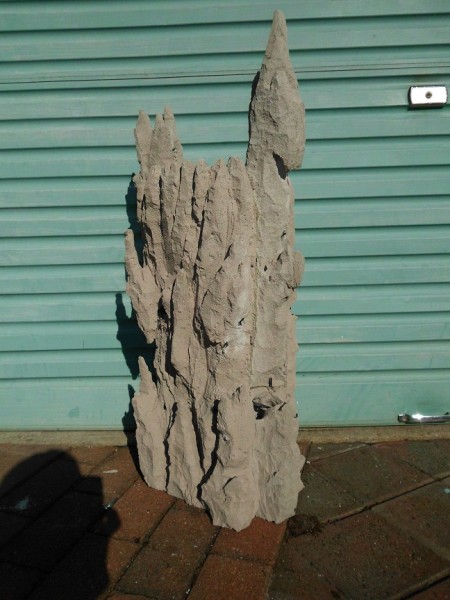 Then 2 small pot holes were carved into the side to locate some smaller junipers adding depth and scope to the rock . Prior to carving the panels it weighed in at over 35 kg , i have reduced it down to around 18kg . With the carving finished i applied 2 coated of waterproofing was sprayed on and allowed it to dry over night . The next day a base render coat was applied ,
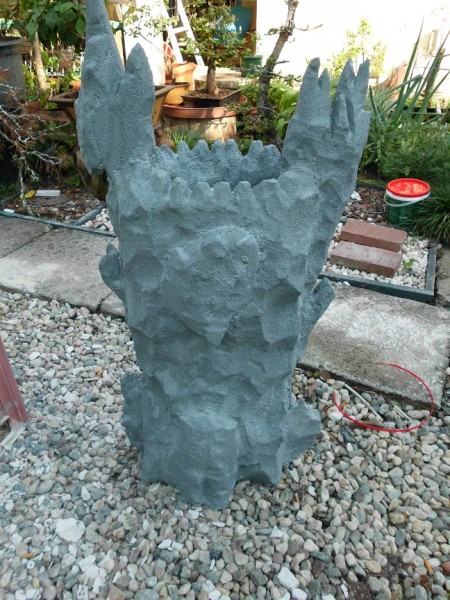 this is an Acrylic render with an added waterproofing agent
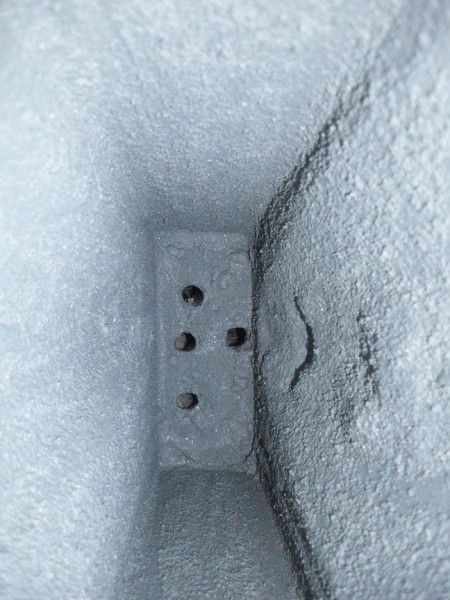 for speeding up the drying process .
 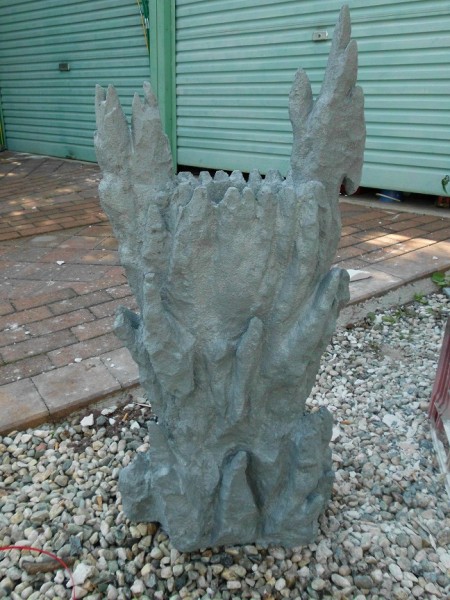 This was followed up by 5 coats of cement render again with a waterproofing bonding additive , this render was dabbed into the surface in double quick time
 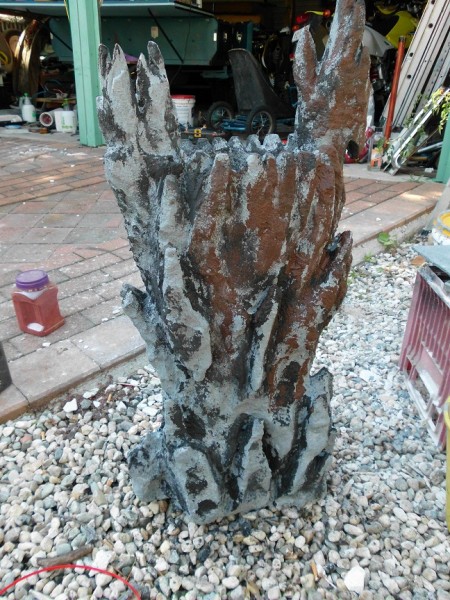 as i had to blend 5 different colour coats together before the hardened off . Using a small stiff brush these were rubbed in
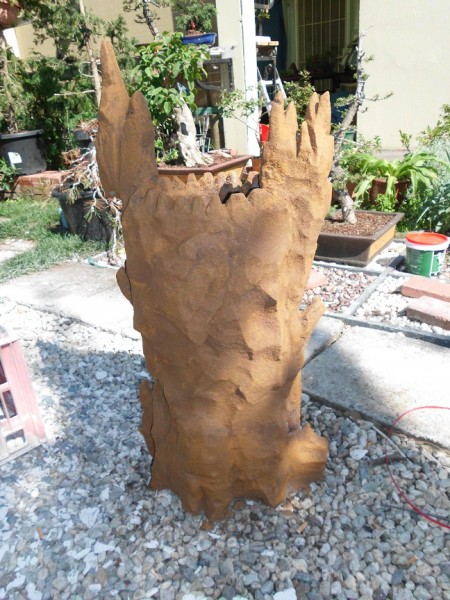 and blended until a uniform mottled colour was obtained , then allowed to dry .
 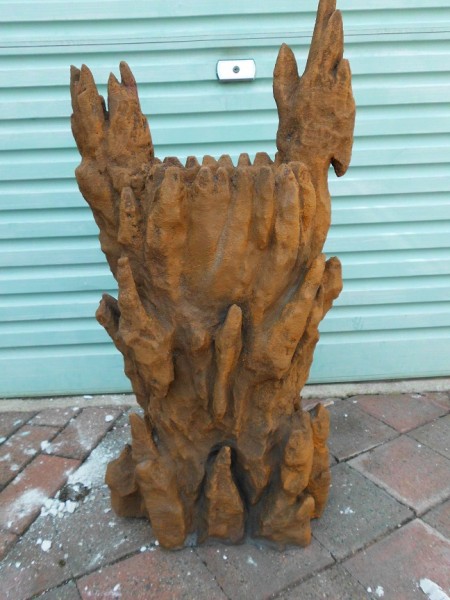 After the renders had cured 2 more waterproofing coats were sprayed on and then left to cure over night .
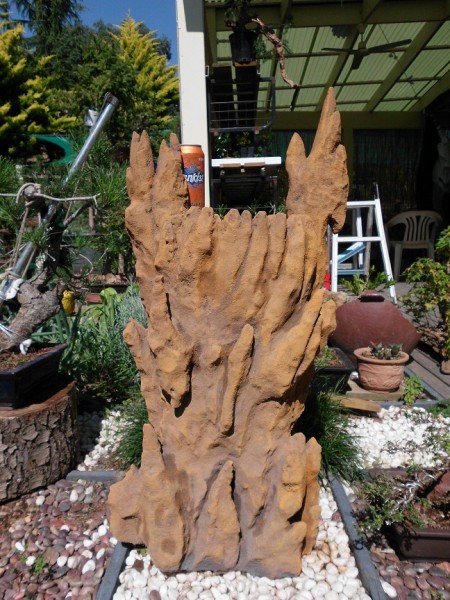 With the rock finished and the dragon dressed its a matter of fitting the junipers into the pot at the top . A quick check on the design
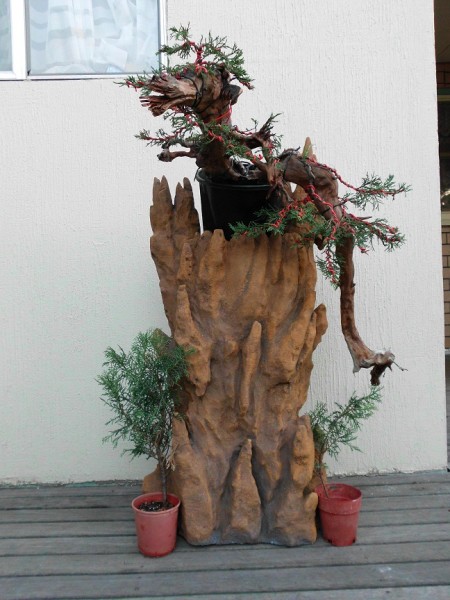 and yes some fine tuning was required and expected . With a few minor adjustments to accommodate the trunk and a quick repair job on the render coats .
 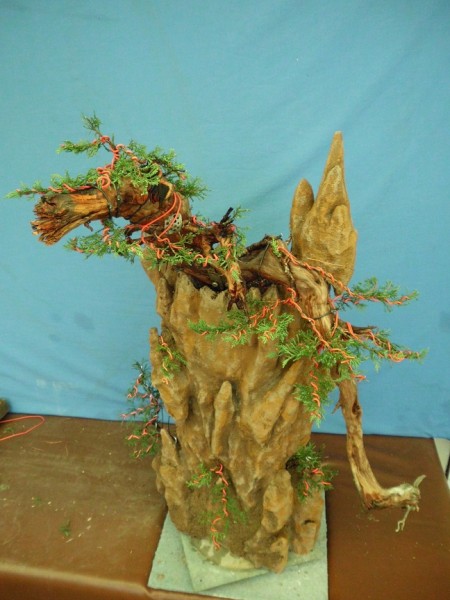 The juniper was slip potted into the top of the rock
 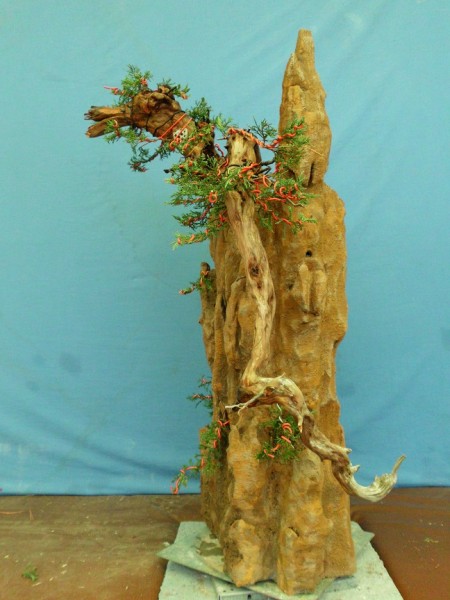 and then i set about
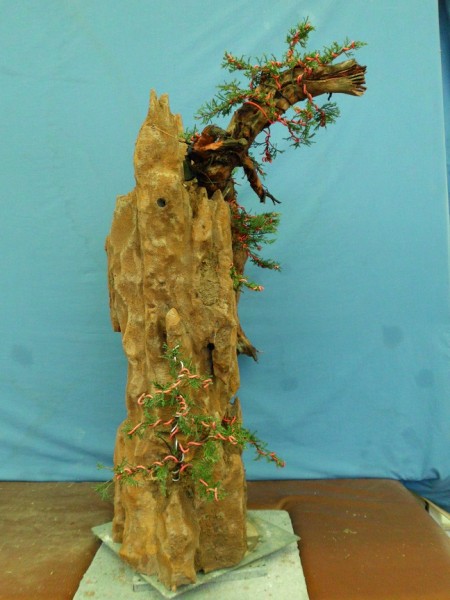 adding the rest of the smaller plants .
 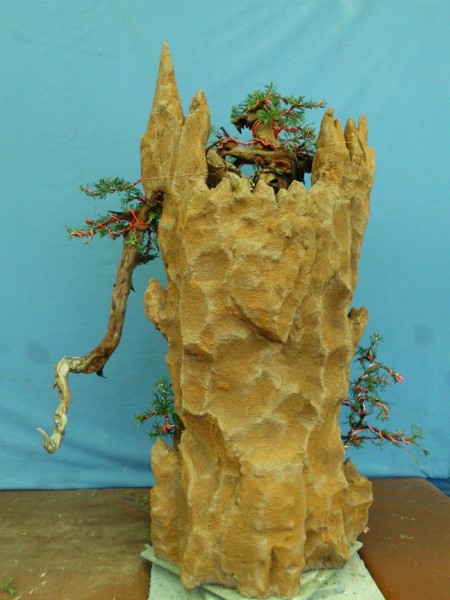 The 2 cascade junipers in the front will grow in the purpose built crevices , if any issues arise i will simple drill out small pot hole and reset them .
 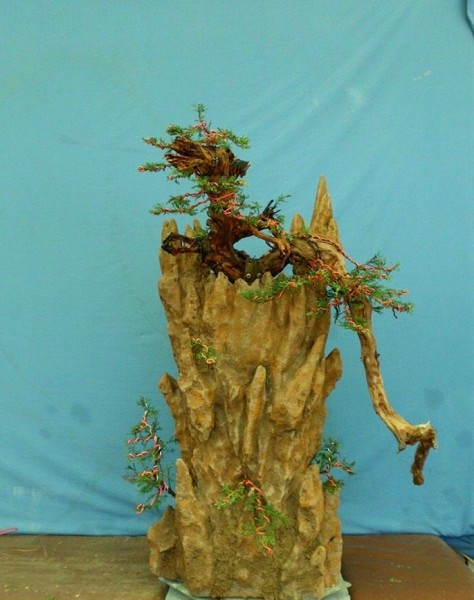 For now this has been a rewarding 5 day project and i’m sure in time i will only improve .
Cheers Alpineart
