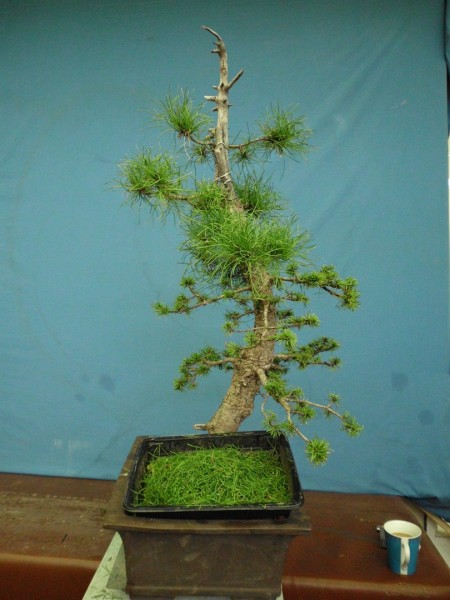
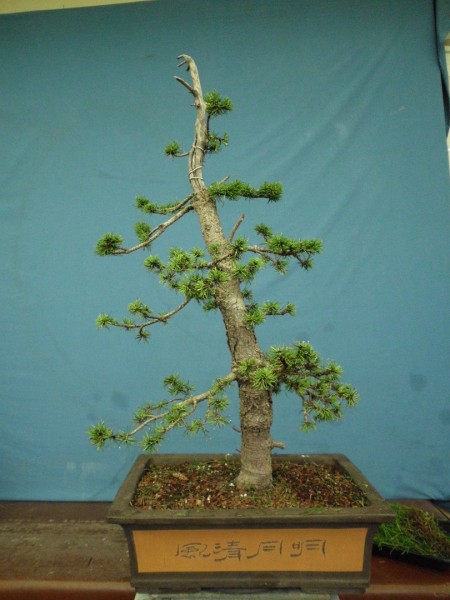
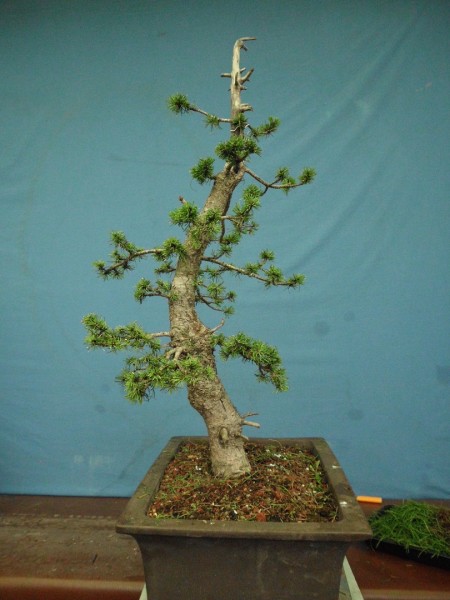
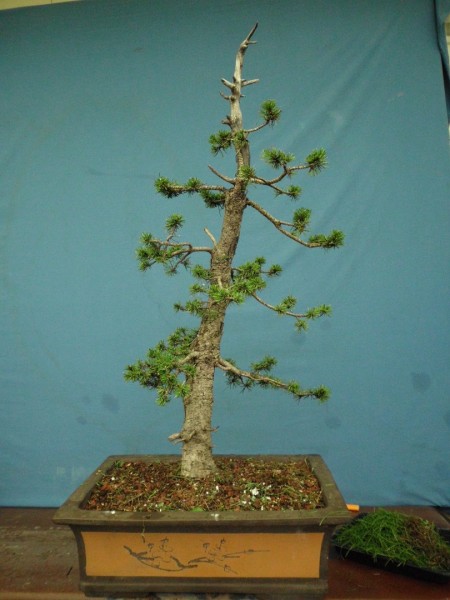
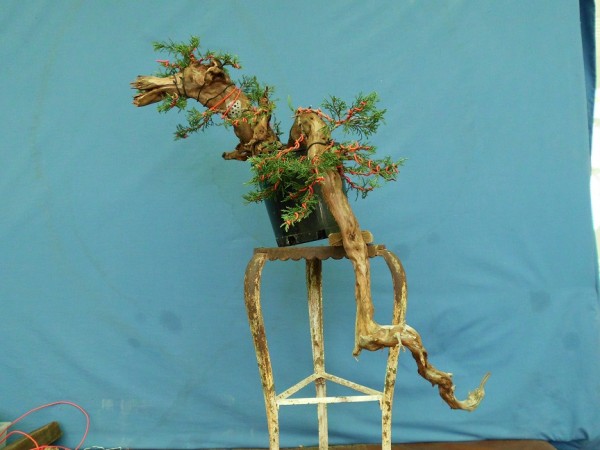
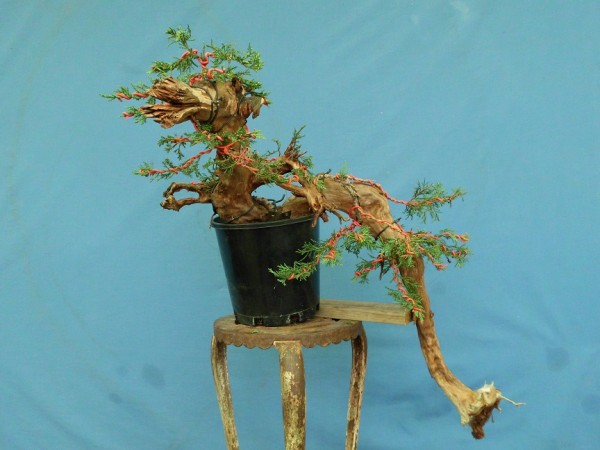
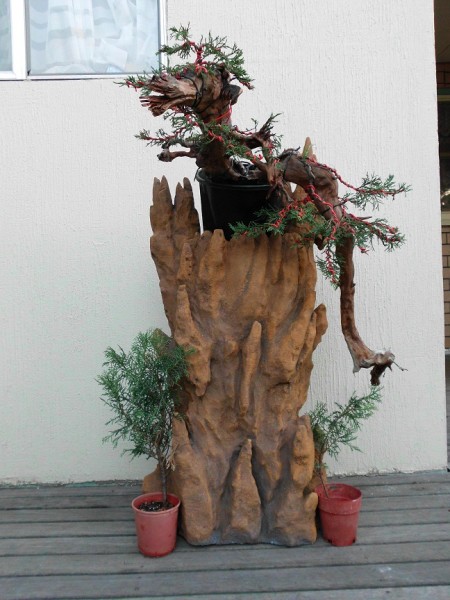
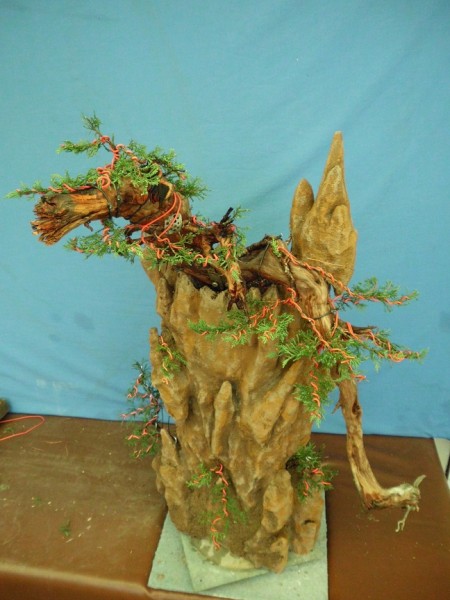
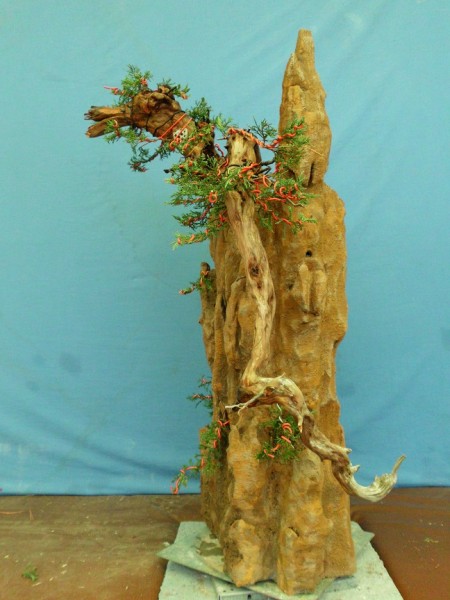
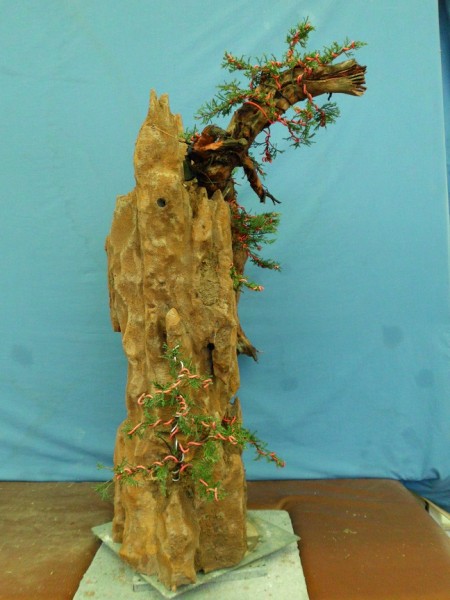
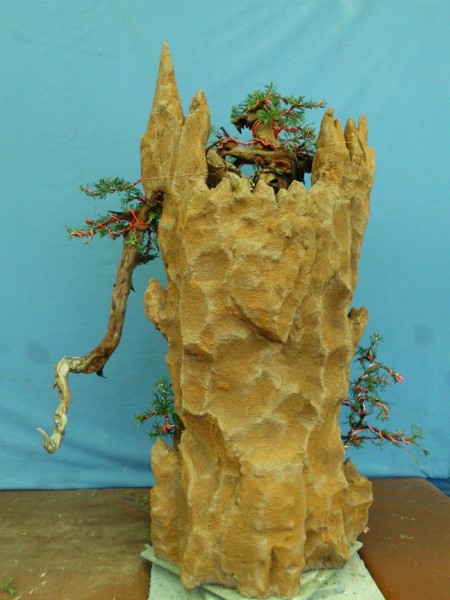
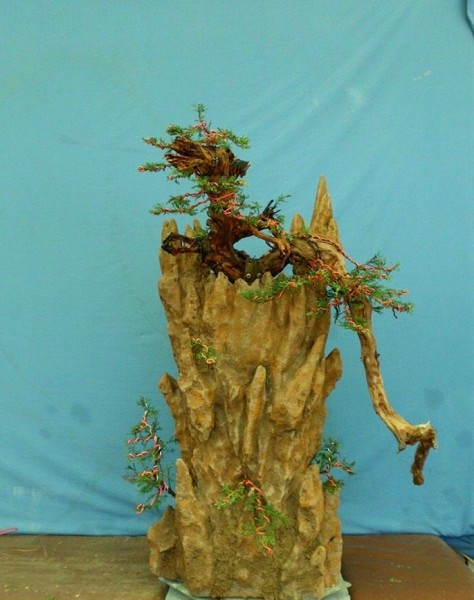
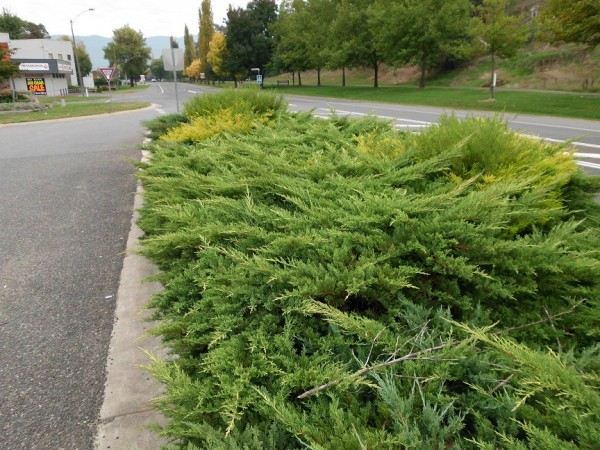
This has been my greatest challenge ever , collecting these Junipers before they were ripped out by the local council . 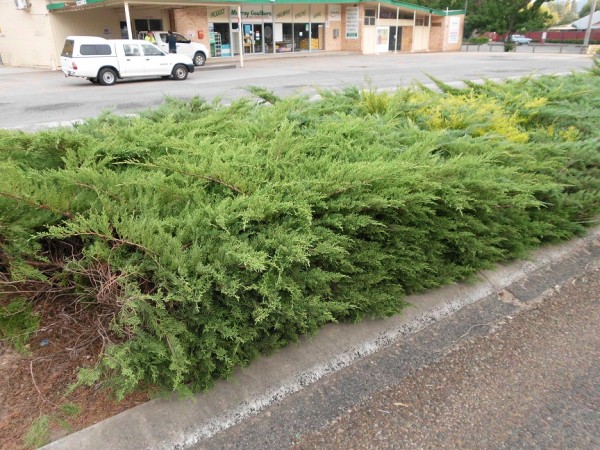 A tip off from a friend in the Parks and Gardens presented me with a huge challenge and a battle of whits in a matter of 10 minutes . These were to be ripped out by the council and run through a chipper .
 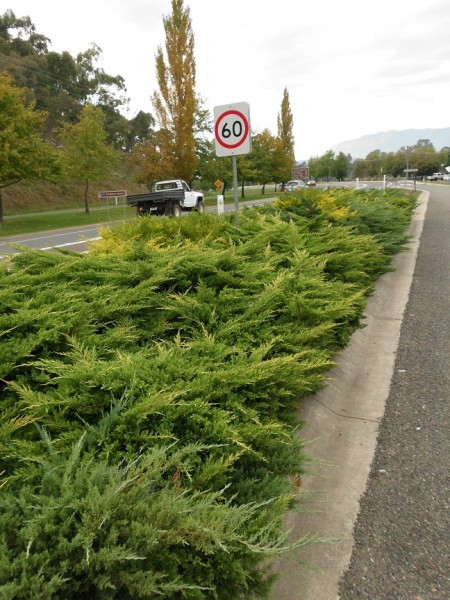 I received a call at 6.30 am stating if i wanted to save these junipers i had to at my expense remove them in 6 hours , by 7.00 am i was on my way with a hired mini excavator from a local operator and the challenge was on , all other safety requirements were met .
 Unfortunately i didn’t have my 4×4 so a trip to Bright to swap vehicles with the Wife and return to pick up the trailers .I was behind the 8 ball on this one
 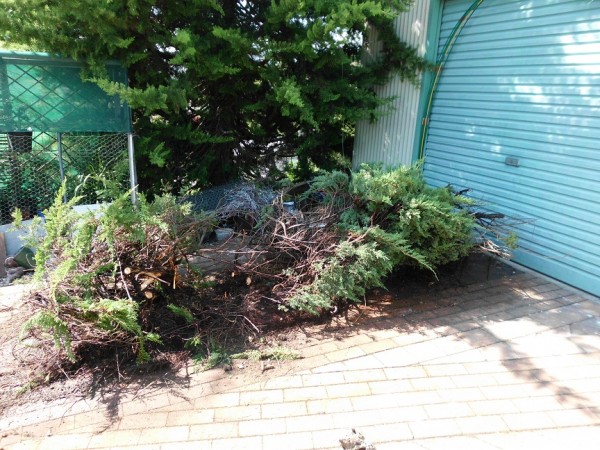 and by the time i arrived 3 of the junipers were damaged ,
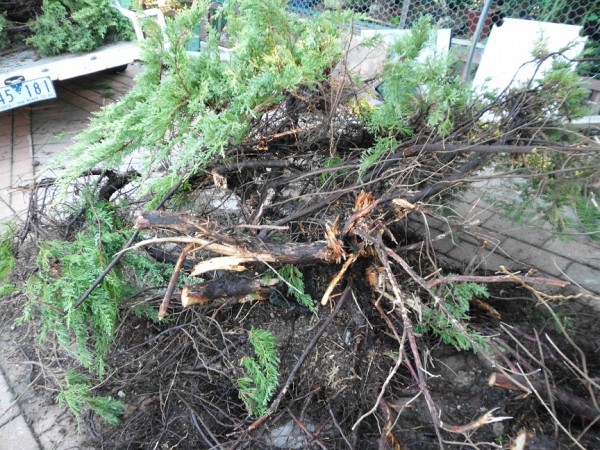 so i whipped out the chainsaw and exposed the trunk line on the remaining tree’s .
 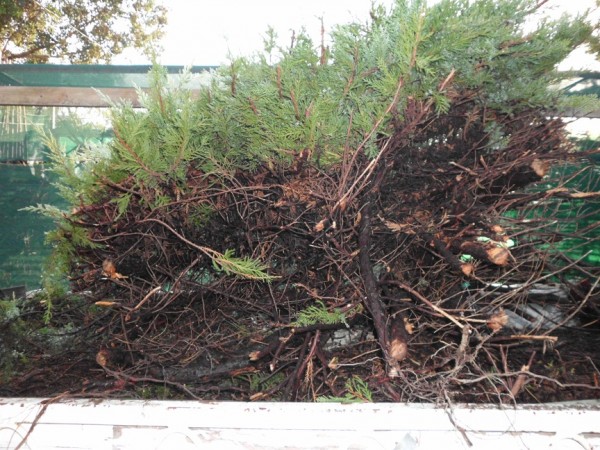 Under my instruction the operator work a little more gently on the remaining trunks
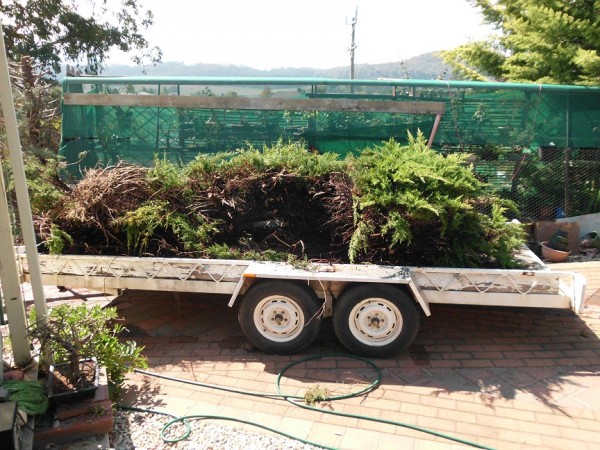 , 3 trailer loads were recovered
 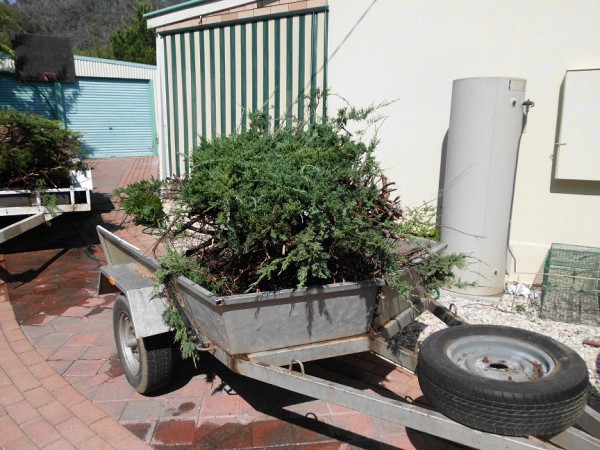 or be it saved from certain destruction .
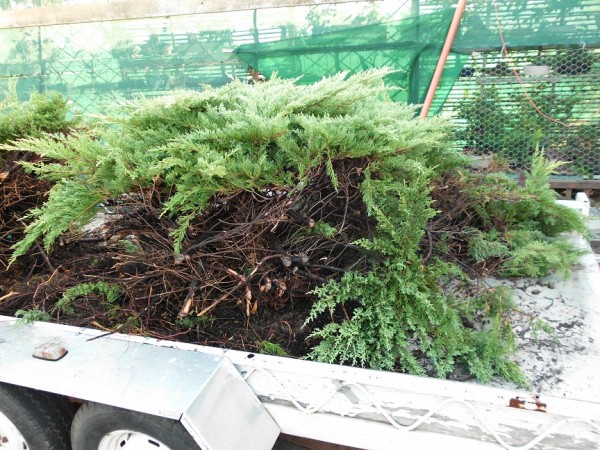 The cost was not cheap but worth every penny to have stock like this to work on in the years to come , providing they survive .
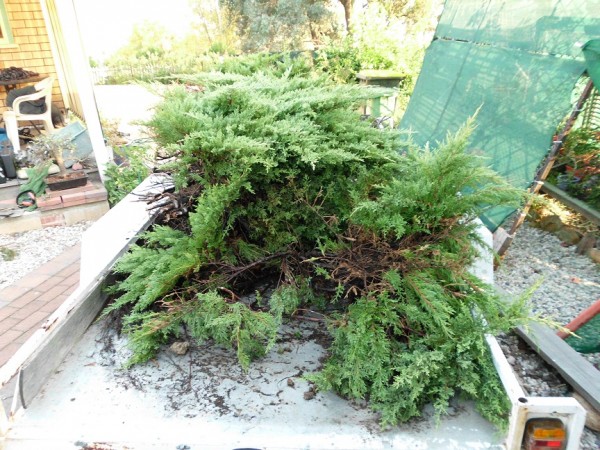 Its a good time to re-pot Junipers now so i have the timing right , all i need is some cooler weather , 30 degree’s Celsius is mighty warm to rip big material like this out of the ground .
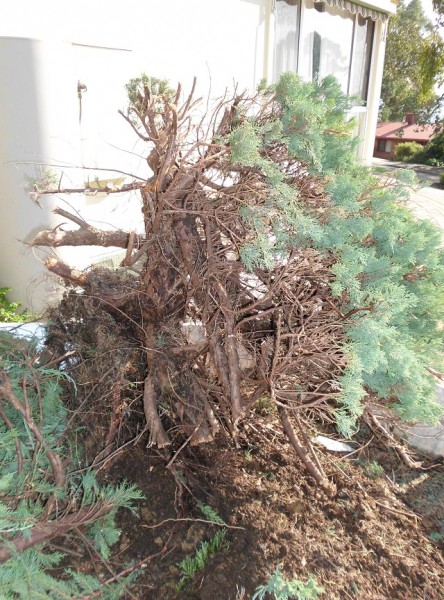 With all the 8 tree’s i could gather and 15 or so ground layered branches safely home they were hosed down continually during the heat of the day .
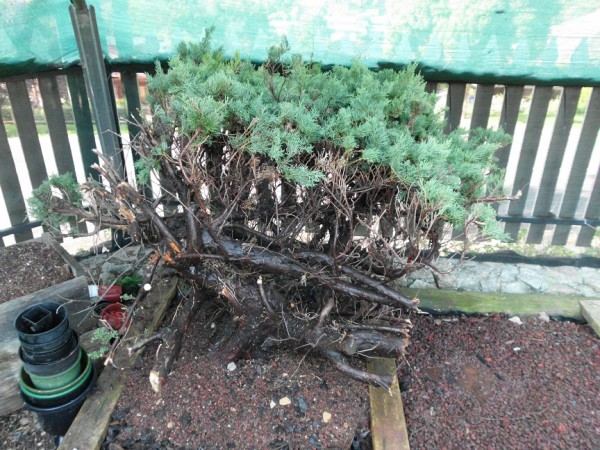 I managed to get 3 trunks and 10 layers cleaned up
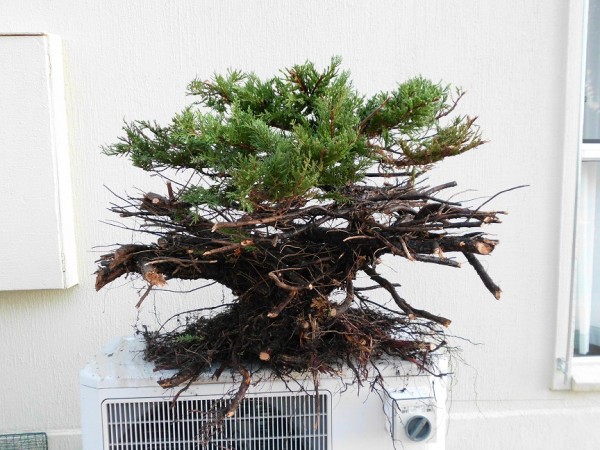 on the first day with the remaining plants worked over and planted the following day . The 1.5 tonne excavator struggled lifting these out of the ground a 5 tonne machine would have been a better option .
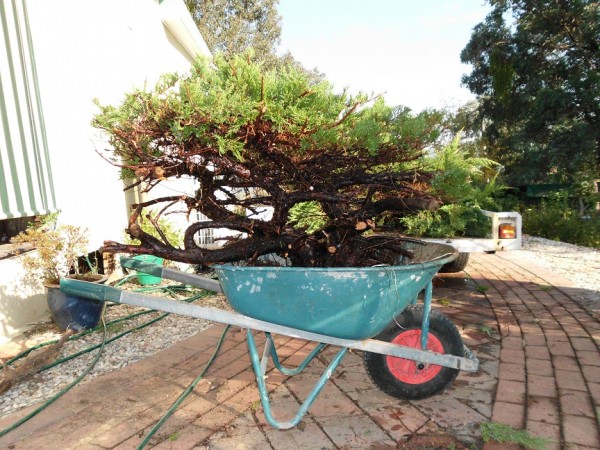 I struggled a little myself still recovering with a broken leg that refuses to heal and knit together .
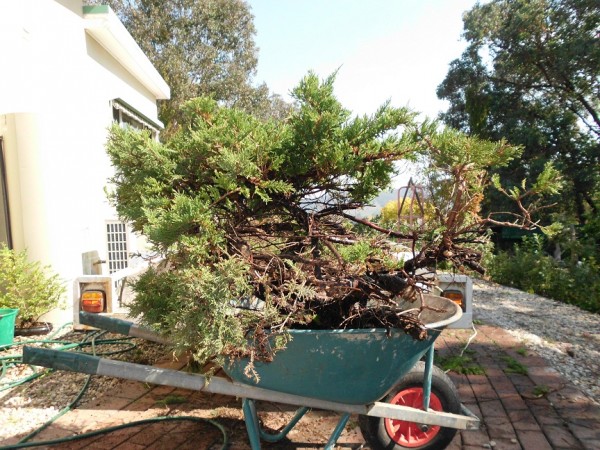 This was a 24 hour 2 day test of my stamina ,
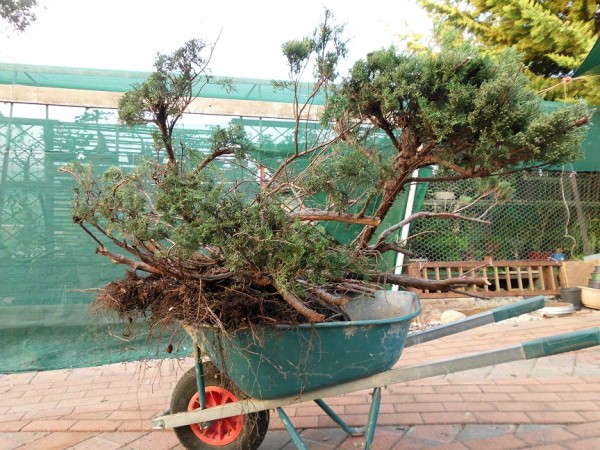 running on adrenalin one would have to say .
 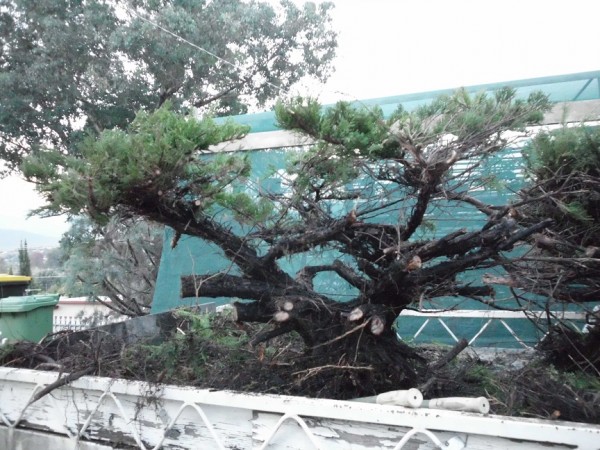 Now safely in wet grow beds they should recover from their ordeal and grow on to be some of the best collected Juniper material in Australia .
 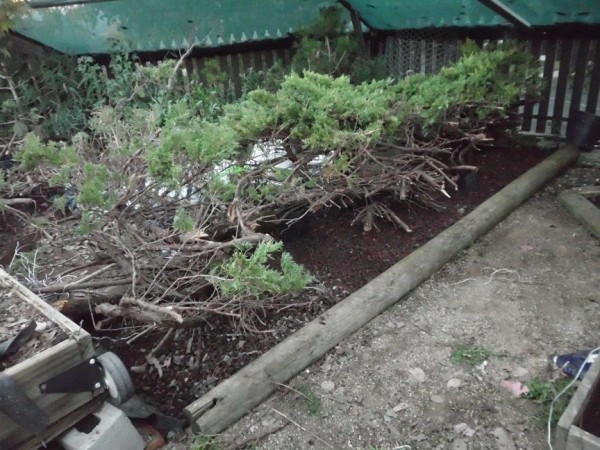 These plant’s were over 1 metre high and 3 metre’s in diameter, the root mass on average was 1-1.2 metre in diameter , just a little too big to dig with a pick and shovel .
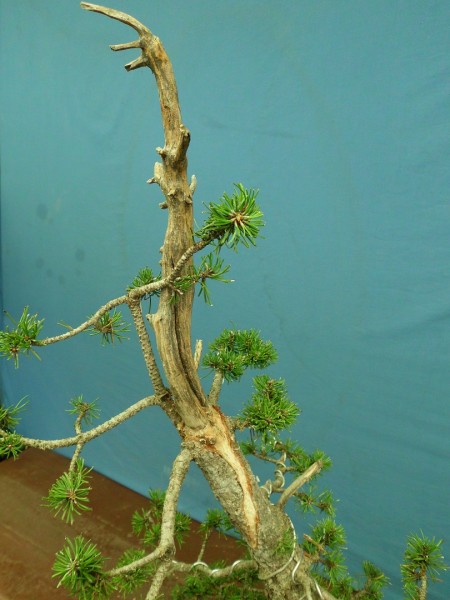
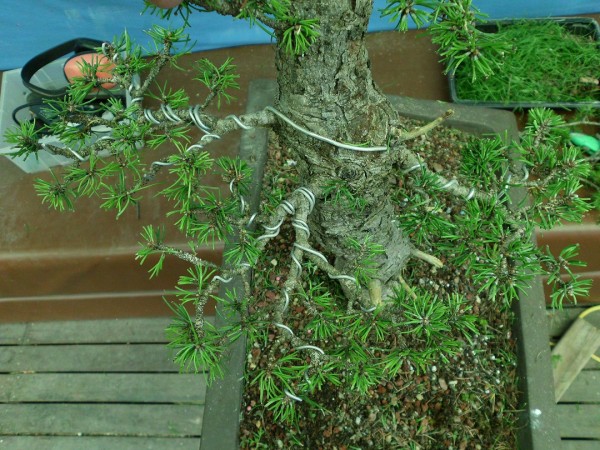
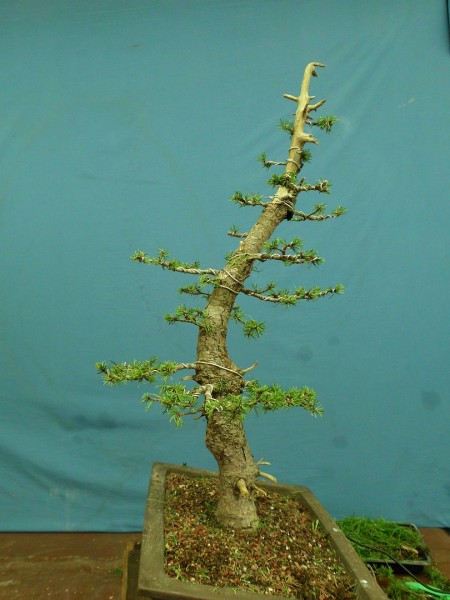
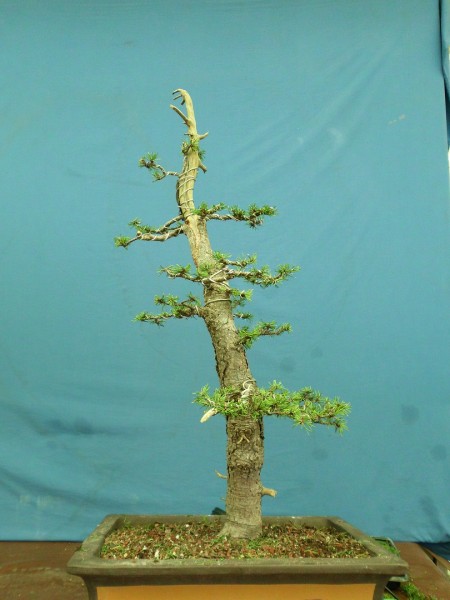
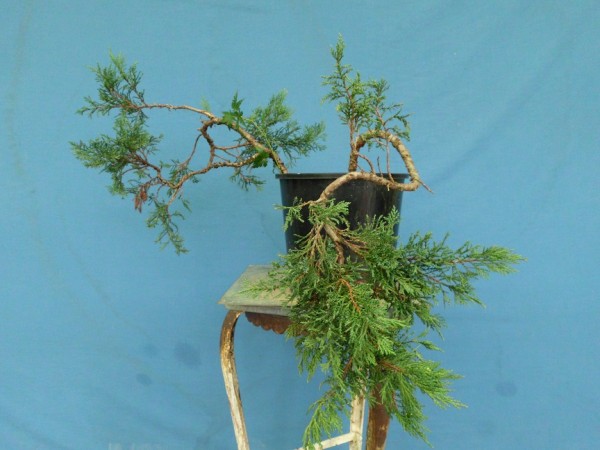
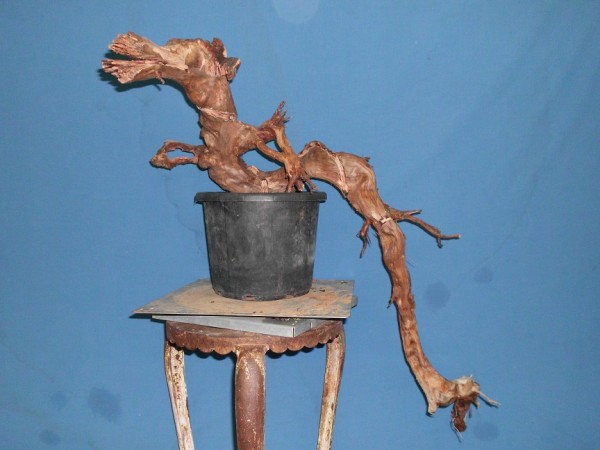
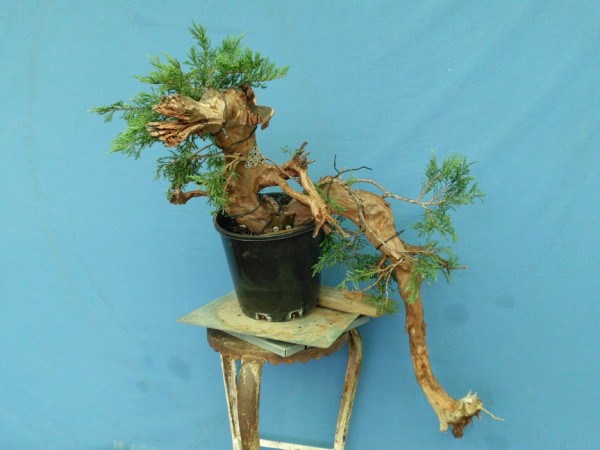
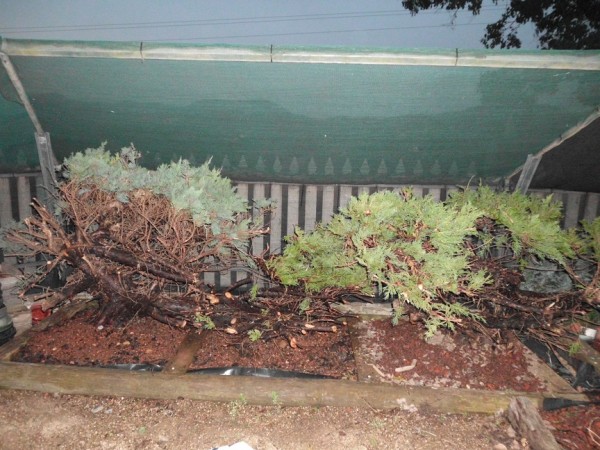 They were trimmed down to around 1.2-1.5 metre’s on collection and reduced to the minimum and pre styled as huge basic trainers .
 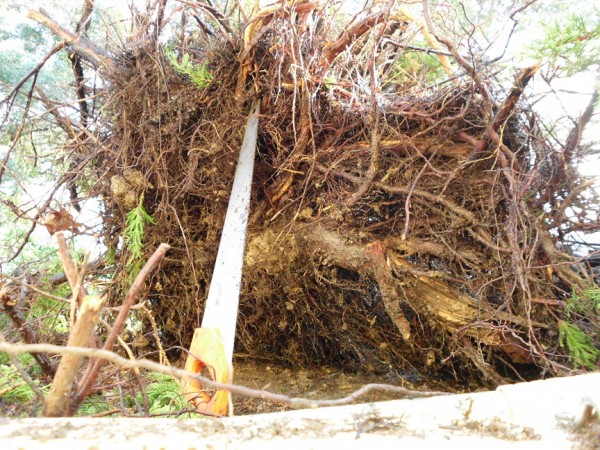 The bases on these rippers this one was 180mm x300mm
  most are around around 300mm plus and most have multi trunks , giving plenty of options if i need to split them into 2 tree’s . I don’t think i want to top this exercise for quite a while .
Cheers Alpineart

