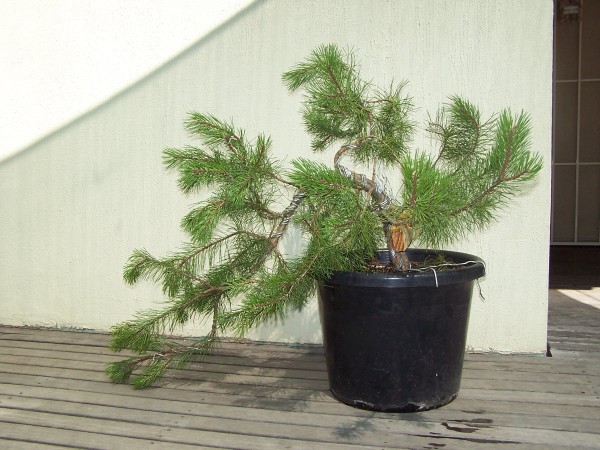
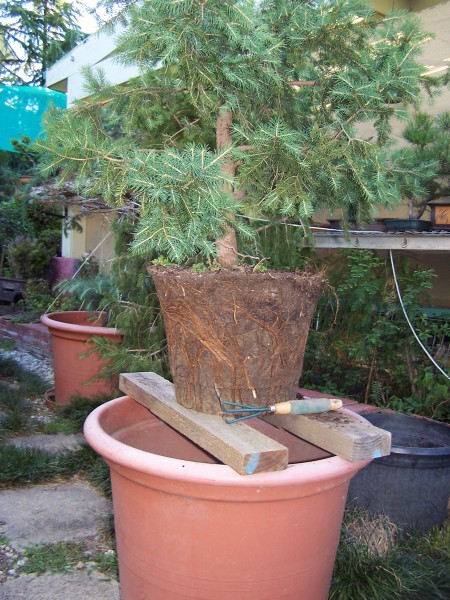
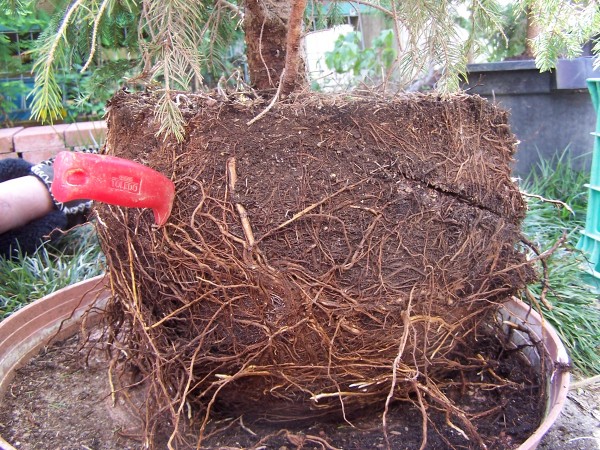
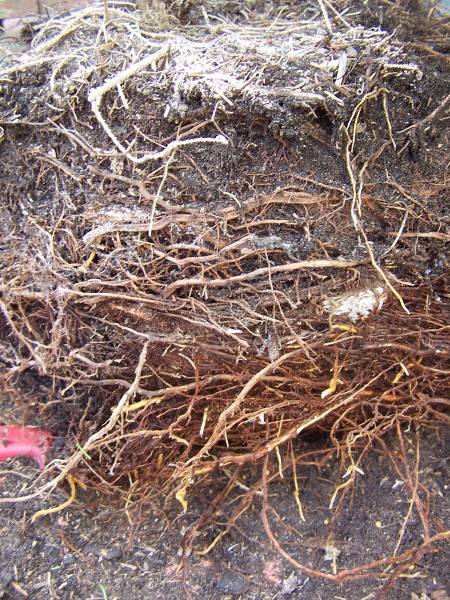
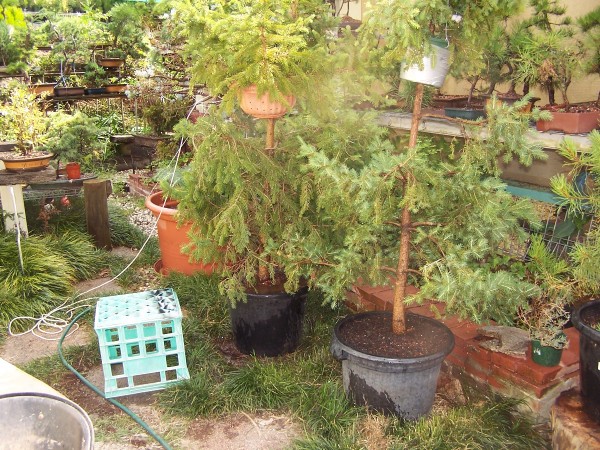
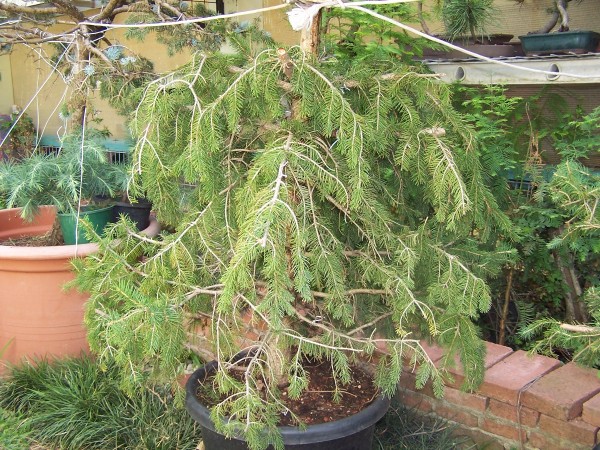
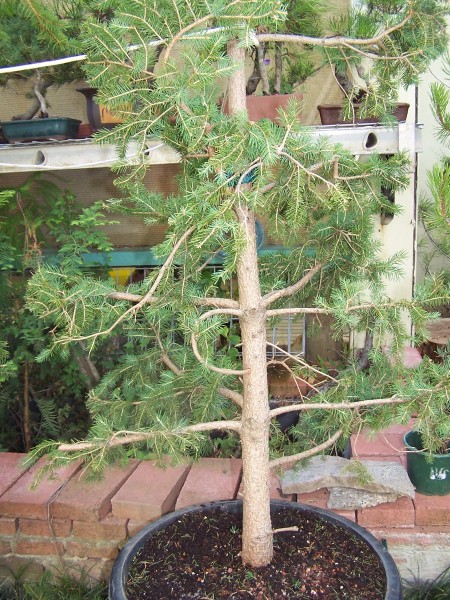
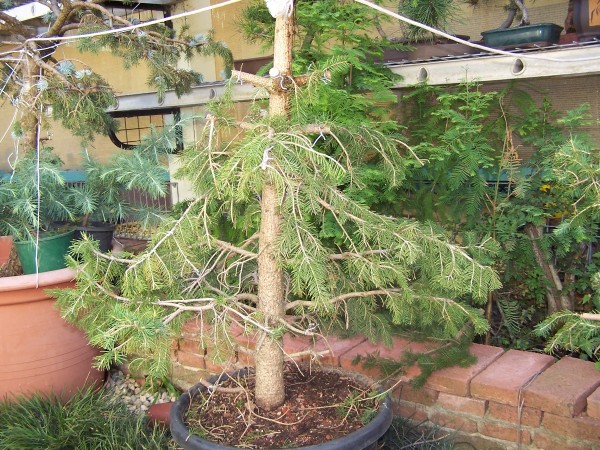
This was purchased for $35 just 4 weeks ago . I slip potted it using my usual method explained here in my blog . It has been potted into a 400mm plastic pot 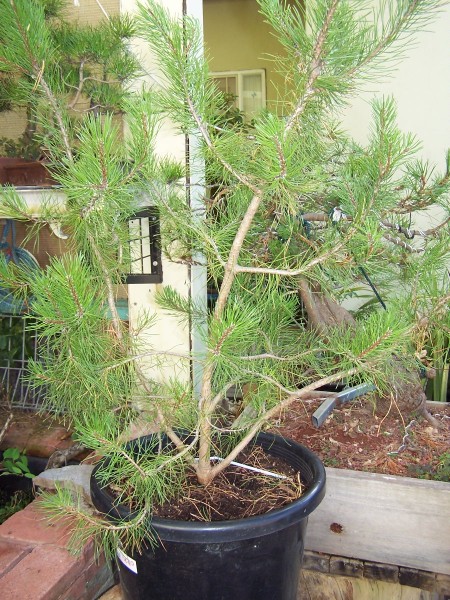 to allow for some root growth over the next 2 years . It is what i would class as a multi trunk or triple trunk , although the 2 lower outer trunks are basically branches .
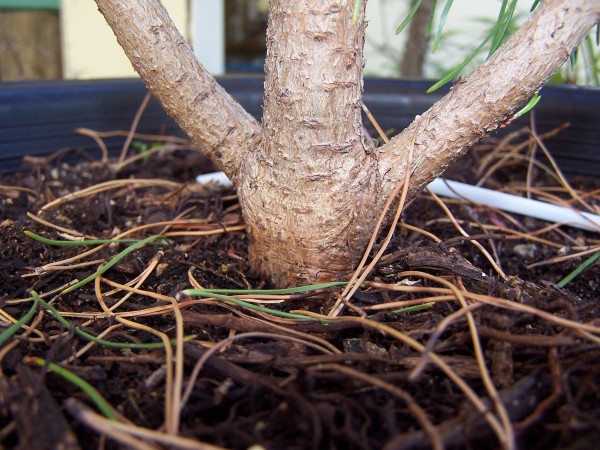 I have decided to transform this into a quality trainer for with several options included . Firstly i start by cutting 2 V’s above the union of the branches but into the trunk
 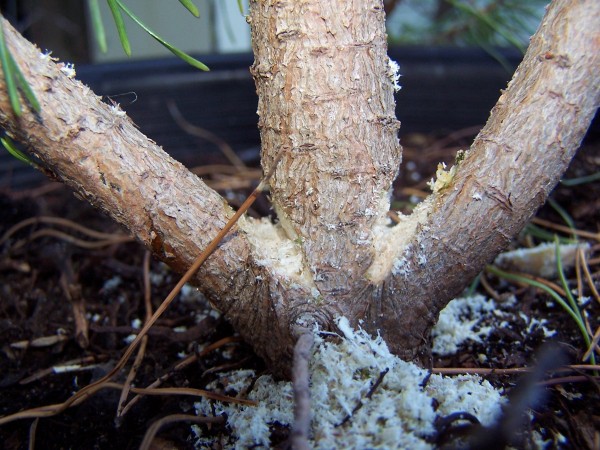 . This will allow the outer trunks to be compressed into the main trunk for the purpose required . Using a sliding clamp both outer trunks are compressed together
 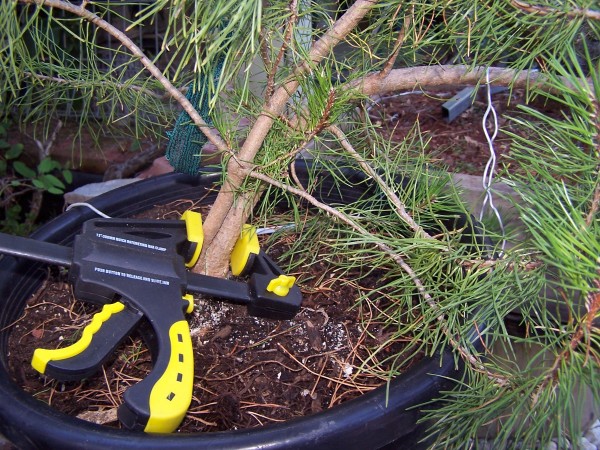 and a sharp knife is used to slice the bark to give a reference point for the spiral grooves required to embed the branches/trunks into the main trunk . This will help all 3 trunks to fuse together quicker rather than simply applying pressure and wiring . With both trunks marked in a spiral around the central leader i use a Dremel
 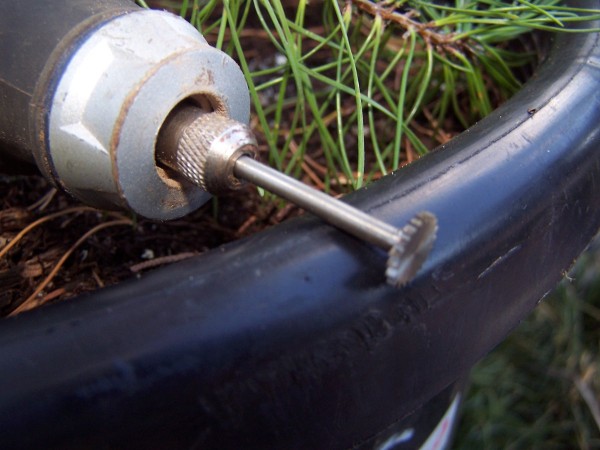 with a fine cutter to scollop out a spiral groove for the branch to sit snug into , a sliver of bark is removed from the outer trunk so wood meets wood and the bark lines up to the best of my ability .
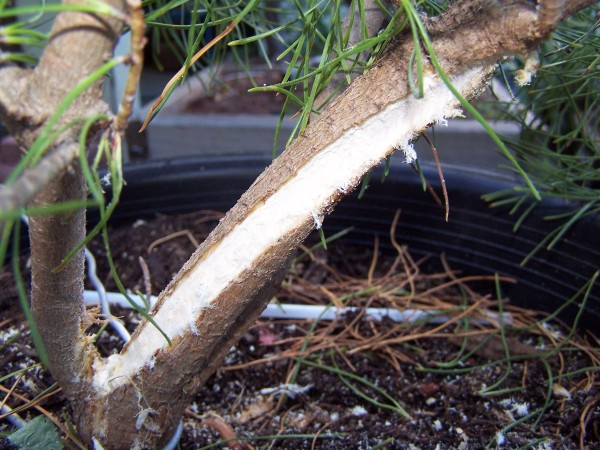 This is done and then clamped together , a stainless steel screw is then drilled and screwed into both branch and trunk
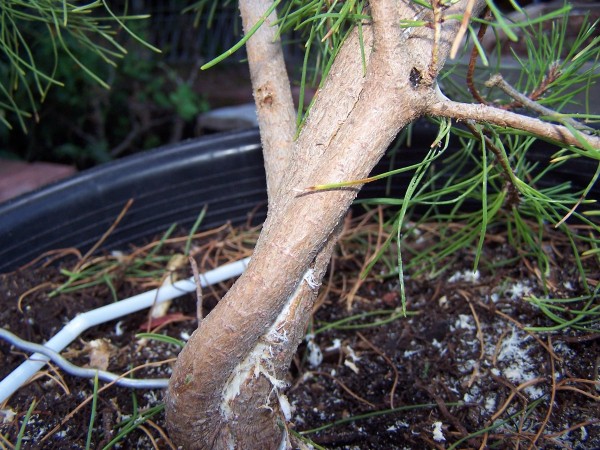 , i have worked on an area of 150mm at a time embedding , screwing and wiring up as i progress up the trunk . This allows me to utilize any movement that may be troublesome . If any branches needed removing from the outer trunks they are severed flush with the bark
 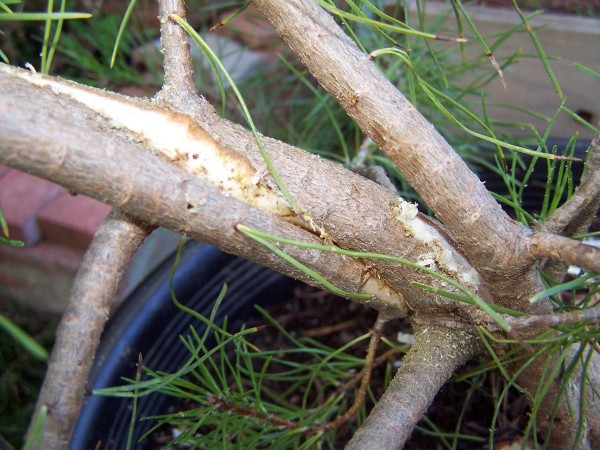 .No branches were removed from the main leader , however the leader was pre arched to alleviate any possible chance of snapping any trunk when the major bends will be applied .
. Working up the trunk to where the apex is required i then single out the apex leader and continue to groove and screw the remaining 2 trunks together . With all the trunks finished i applied 4-5 smaller wires at a realativley step angle for a future spiral shari , 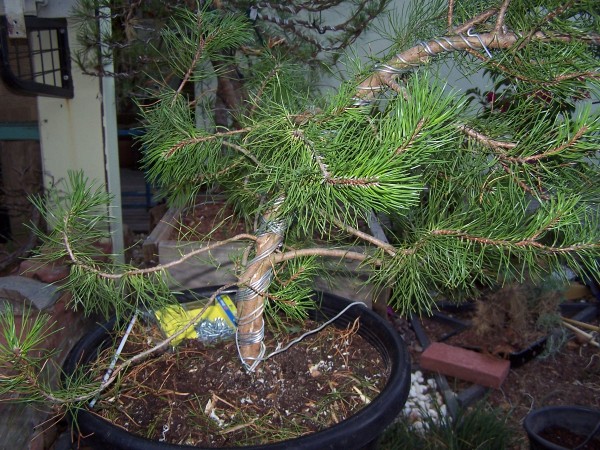 then 2-3 heavy wires were applied for the purpose of bending the trunk into shape . A hook and hold wire was applied to the base and i have inserted a 30mm block to begin the trunk bending process
and then tightened to aid the rotation of the trunk into a cascade fashion . The apex was then wired into position . 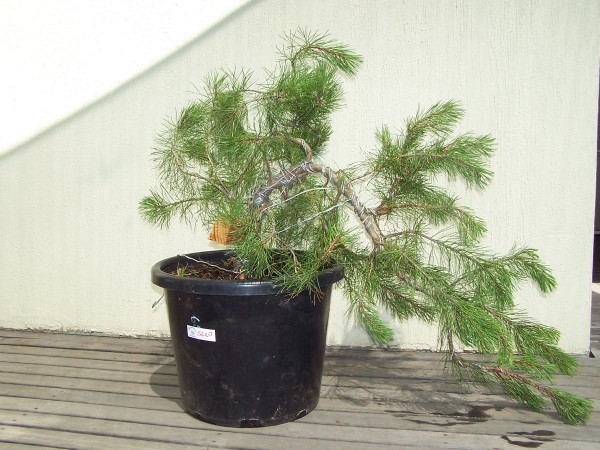 At days end this was left then continued on the next morning , i stripped off the unwanted needles and began to wire the side branches .All the tips were pinched out a the 3 main leaders were removed .After the wiring was completed ,
 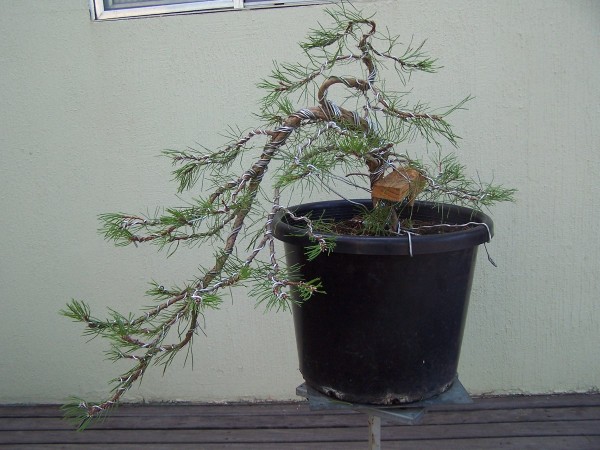 the block at the base was rotated to the 60mm position, this increased the first bend , i then simply styled it into a semi cascade . More movement will be continually added to the base over the coming months
 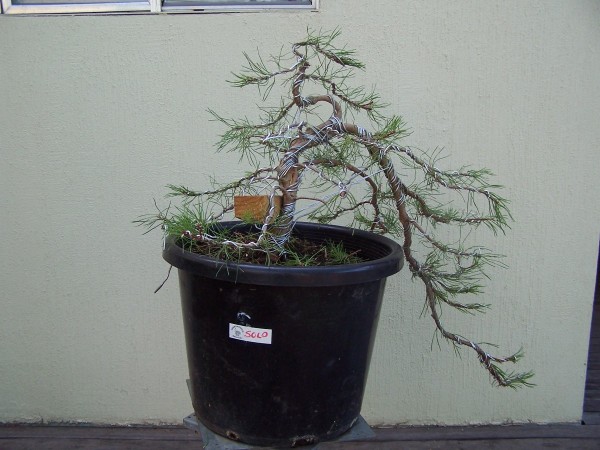 Now this is not the finished trainer ,i have left all the lower branches in place to use as sacrifice branches to fatten the trunk and aid the fusing process. In time these will be layered off for new trainers and the stubs jinned along with the shari the wires will create .
This will resemble a collected yamadori trunk in a few years time , like the Northern hemisphere guys take for granted 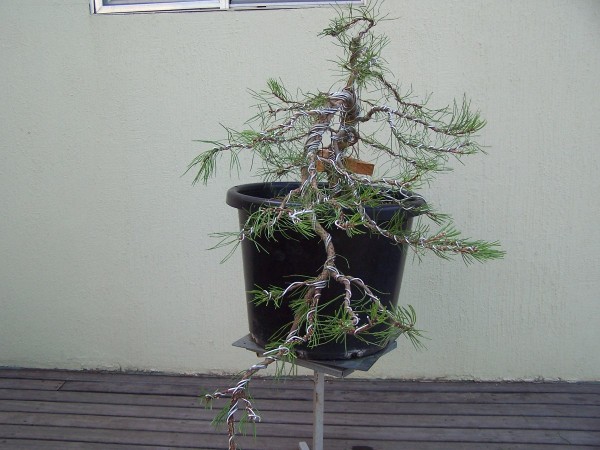 .Unfortunately we from the Land Down Under don’t get to collect old aged knarly pines due to the fact they were all introduced species from up north about 90 -140 years ago .If i want it i must create it , there lies the challenge , i have left the door open on this one for 3 possible styles .
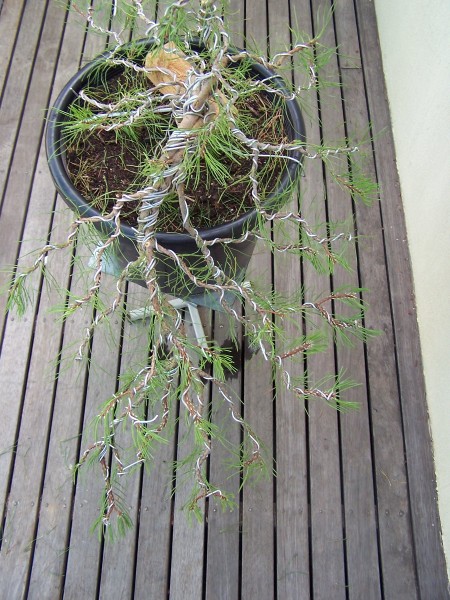 1; leave it as is for a semi cascade 2; layer to apex off for a small informal upright and a full cascade 3; layer the tail off for a cascade and use the lower trunk and apex for a larger informal upright . Plenty of options on this trainer , no thing set in concrete as yet .
If i haven’t killed it with this torture i can always kill it with kindness . The finished height for the Apex is 400mm , from apex to tail it measures 900mm . This exercise took about 8 hours over 2 days due to the plus 35 degree hot Summer days .All in all a good days work for an old fella .
Cheers Alpineart

