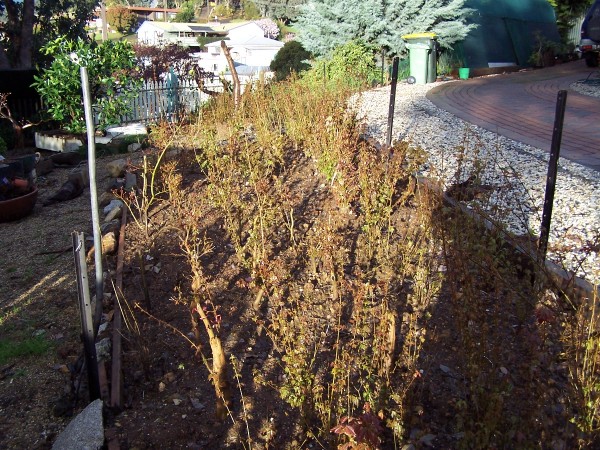
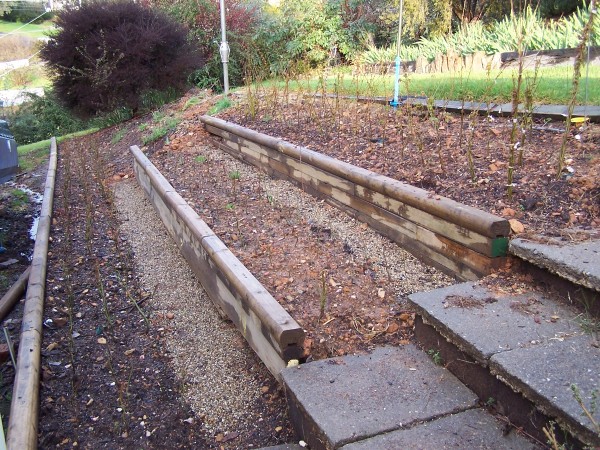
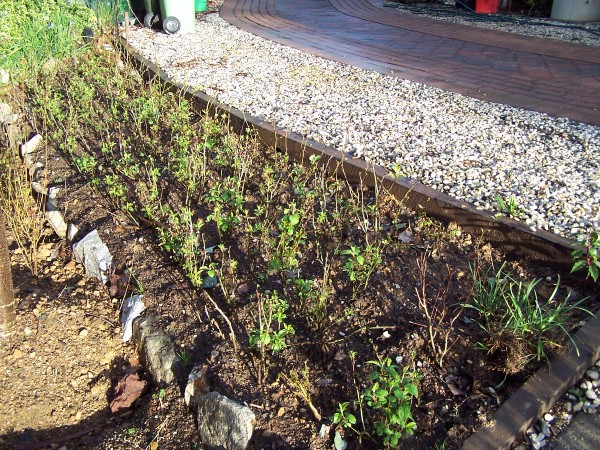
This is a progression to the original Inarching/approach graft JBP’s 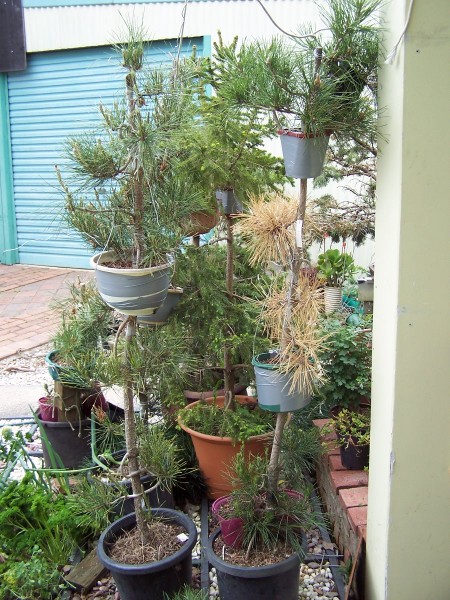 .While it has been a very good project over the last couple of years it has been a learning curve as to how to approach the layering and inarching process on Pines in general . There has been some failures ,
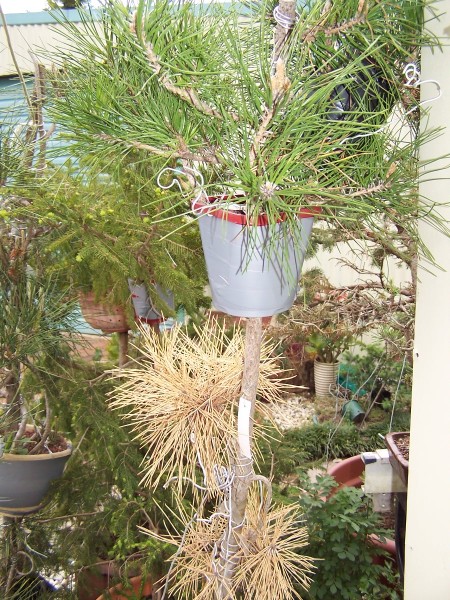
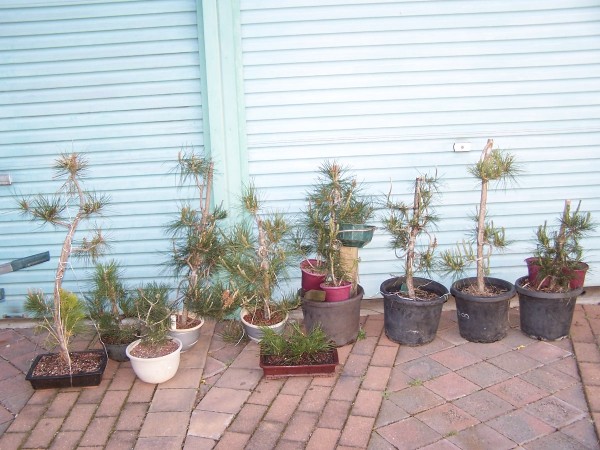 lessons learned is a better way of putting it . I consider my glass too be Half full with most things i do , and the benefits are far greater if i have the right mind set . One tree has me puzzled as to why it has died in the middle while the other have grown on , maybe the stock was of lesser quality or had issues before i started , none the less i have gained plenty of info and a few more trainers to play with .
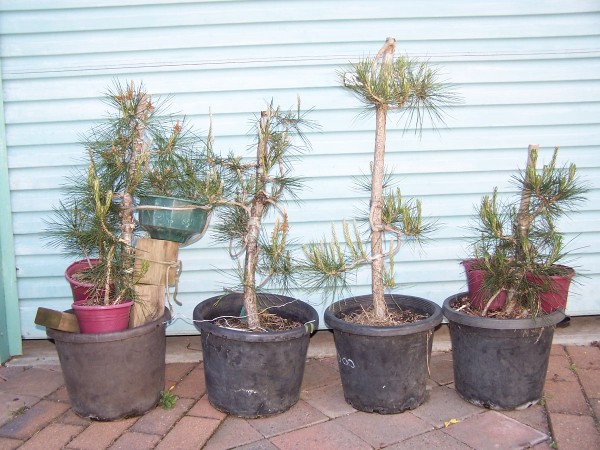 These are the original trunks , now at a manageably height of less than 1meter . They still have the approach grafts in place , they are some of the original layers first taken from the tree in 2010 and used for the approach grafts . All up over 50 inach grafts have been set and some 20 layers , not all have survived , 45 grafts have taken and are progressing well while some of the layers have not survived , the 16 that i have are growing on strongly .
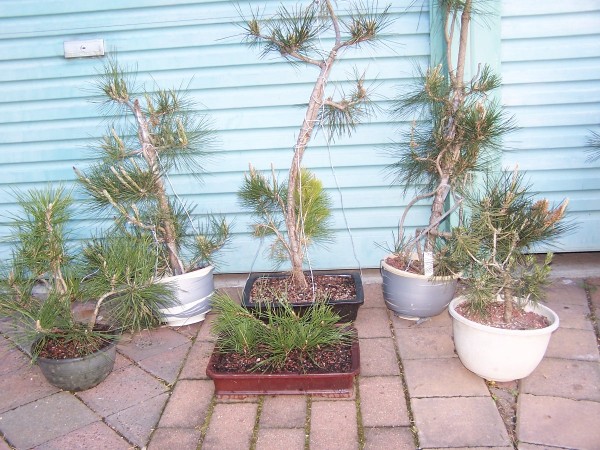 These will now be allowed to recover then over the next season they will be turned into trainers , the 1 in the middle back is the original fused apex , yes it has lost 2 of the 4 trunks but more have been added so its slowly progressing .The 2 in the front left are very week and with no roots they are in the hands of another power . I decided to remove them as the trunk had died in the mid section of the tree. Set for a spell in the green house they may very well pull through , although with no roots and only a callous to build on they are basically oversize cuttings .All in all its been a very rewarding couple of years , i have more than quadrupled my original stock , learnt valuable methods and idea’s as to how to approch pines on a different level . No they are far from finished , i am in two minds as to set more layers on the original trunks after the grafts have been severed .Then there is the bending and styling process that will be something special ,after all these are “Made in Australia” Not collected in the wild
Cheers and Happy Bonsai . Alpineart

