Page 1 of 3
Air layering process (WARNING: many photos)
Posted: January 24th, 2011, 12:54 pm
by Kyushu Danji
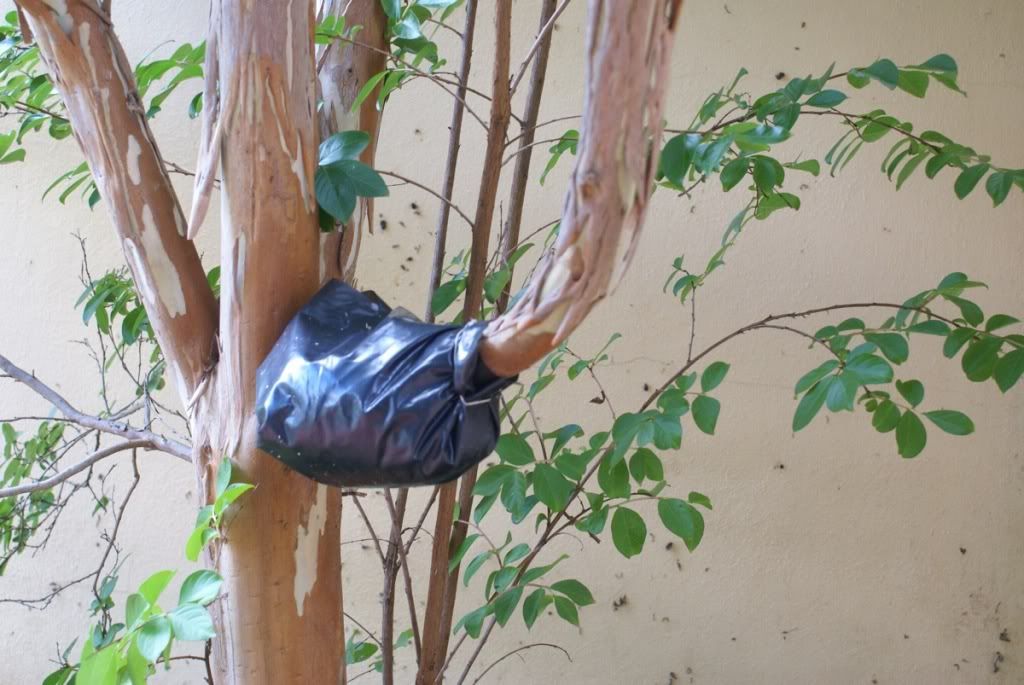
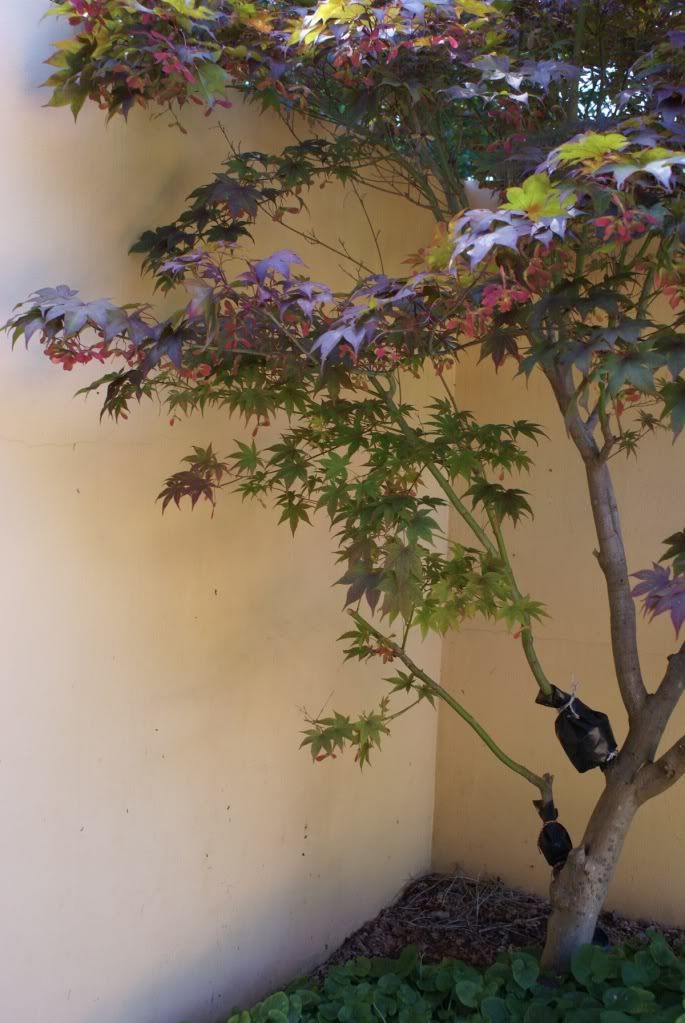
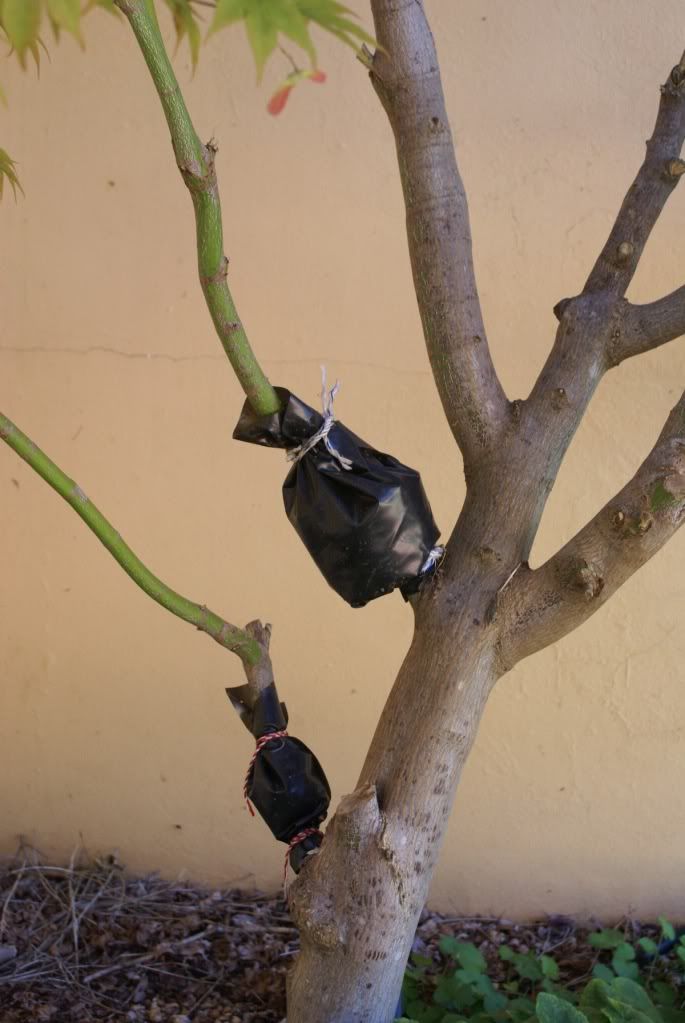
I am in the process of air layering a number of deciduous trees and shrubs around the garden. After reading the other threads that exist on this forum and others, I used the ringbark method for all of them - I first stripped a section of the branch I wished to layer down to the hard wood. This section on each occasion was larger in width than the branch's width. I then dusted this area with rooting hormone and covered with sphagnum moss that had been soaked in a pail of water and then squeezed until just damp. Then a waterproof black plastic was placed over the moss and tied tightly at both ends. Each layer was a different size, and I sometimes layered two branches from the same tree. This was all done 3 weeks ago.
I have a few issues that I would appreciate being cleared up:
1. Was the method I used appropriate on the species layered
2. Are the bags around the layer big enough to ensure adequate root growth to support the foliage
3. How long should the layer take to develop an adequate amount of roots
4. What should be done to care for the layer over the winter (if necessary)
Please note that not all of the layers I have attempted are intended for use as bonsai - therefore any advice on whether the layer is a good potential layer for bonsai purposes is not necessary here. I would just like to ensure that what I have started can be finished successfully.
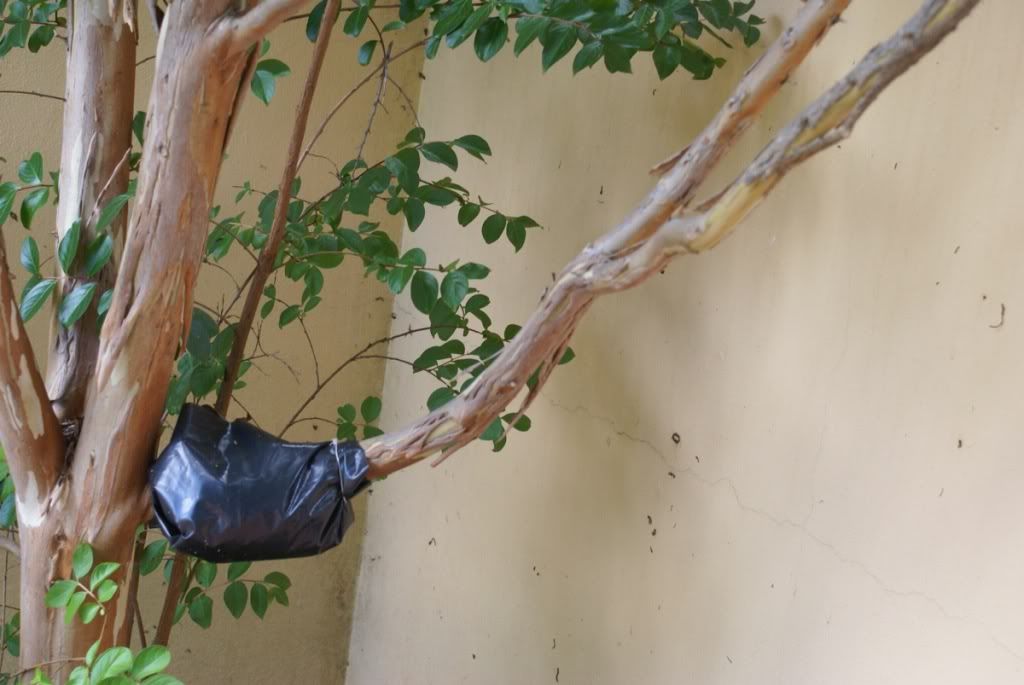
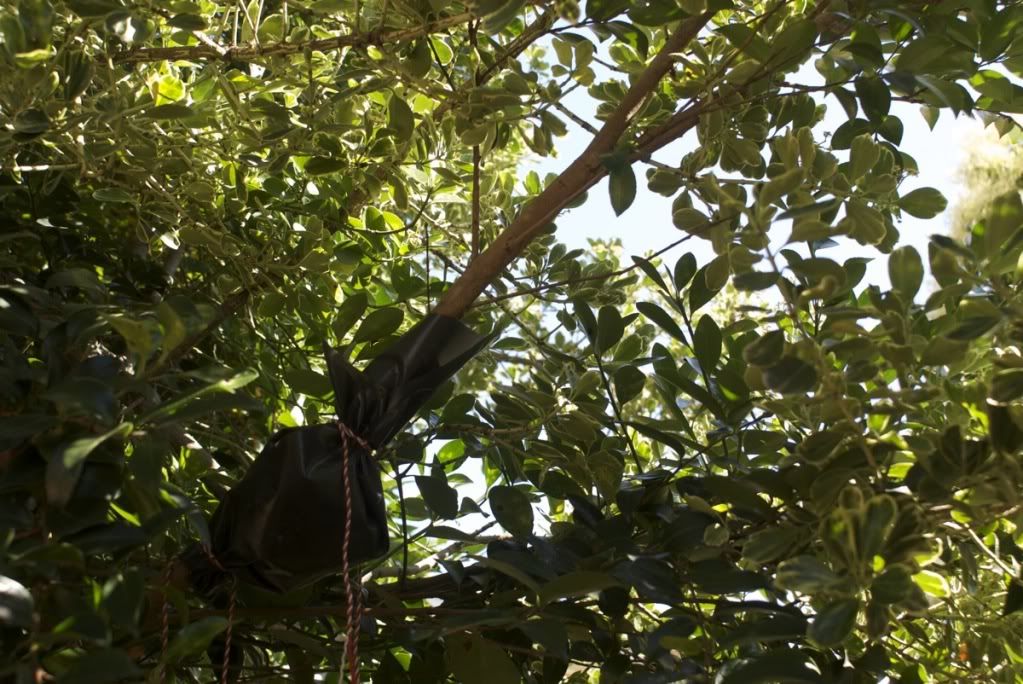
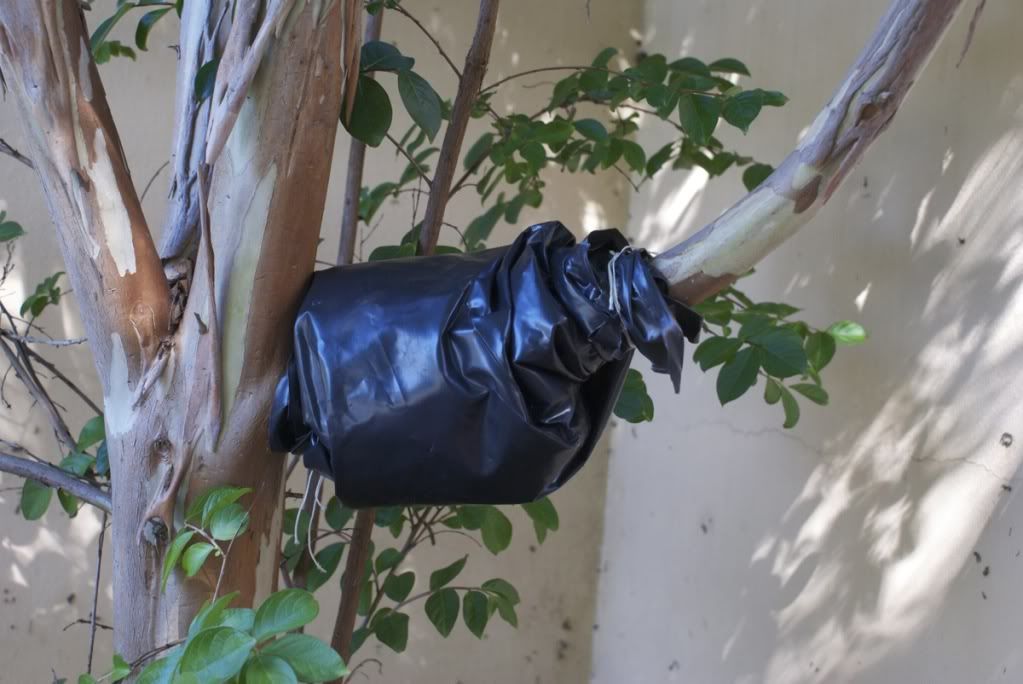
Crape myrtle
I wanted the flaking bark, and the branch had to go anyway, so I was a little greedy with this layer. I'm not sure if the bag is large enough to support such a large branch/so much foliage??

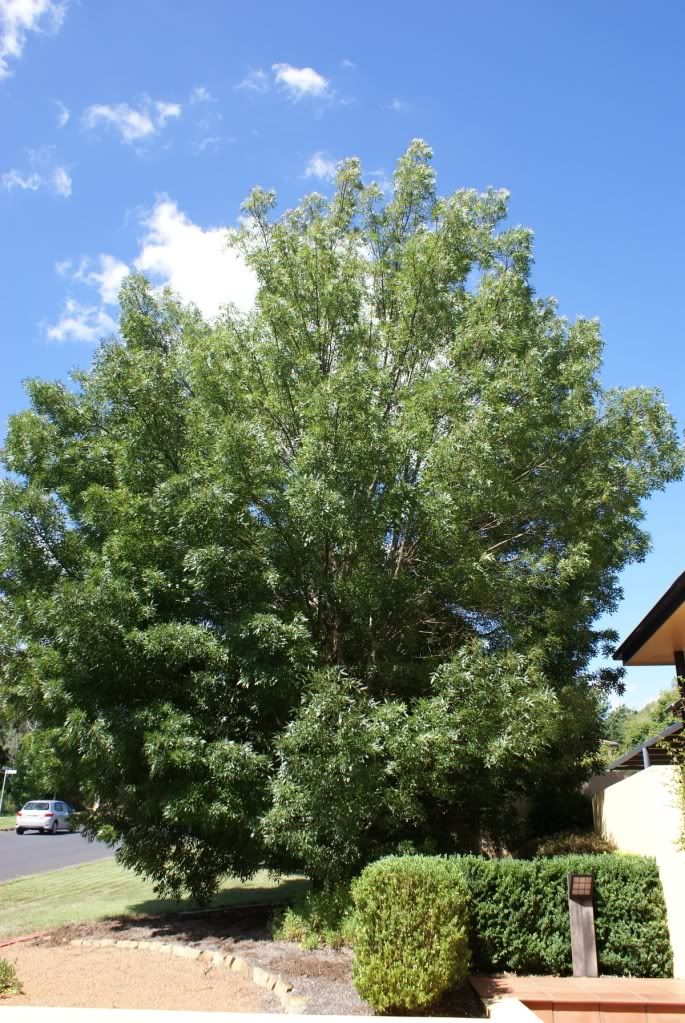
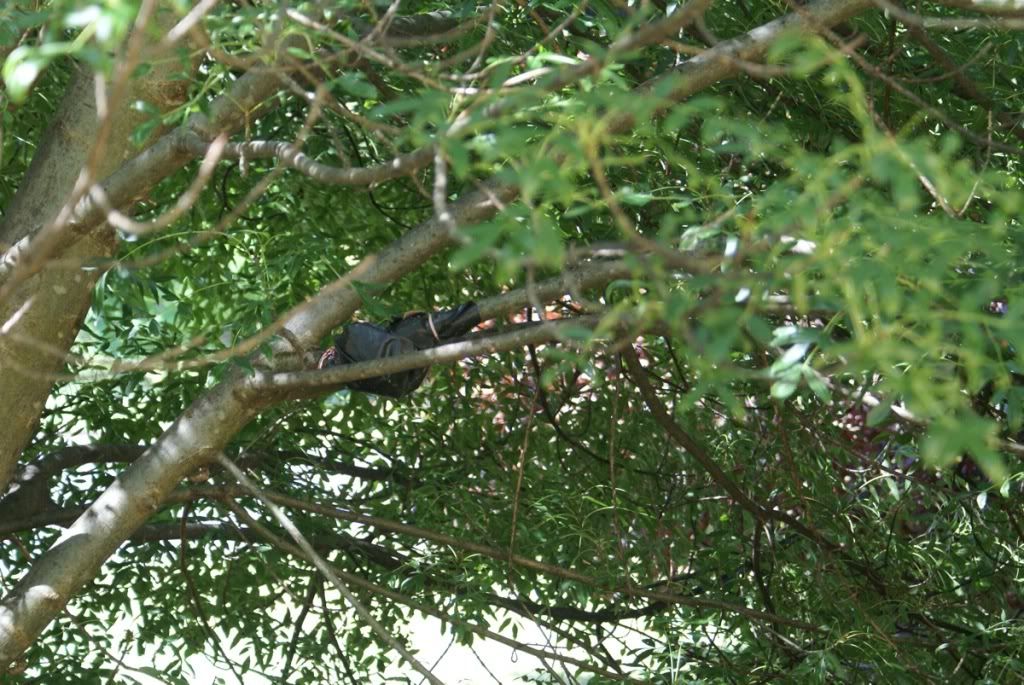
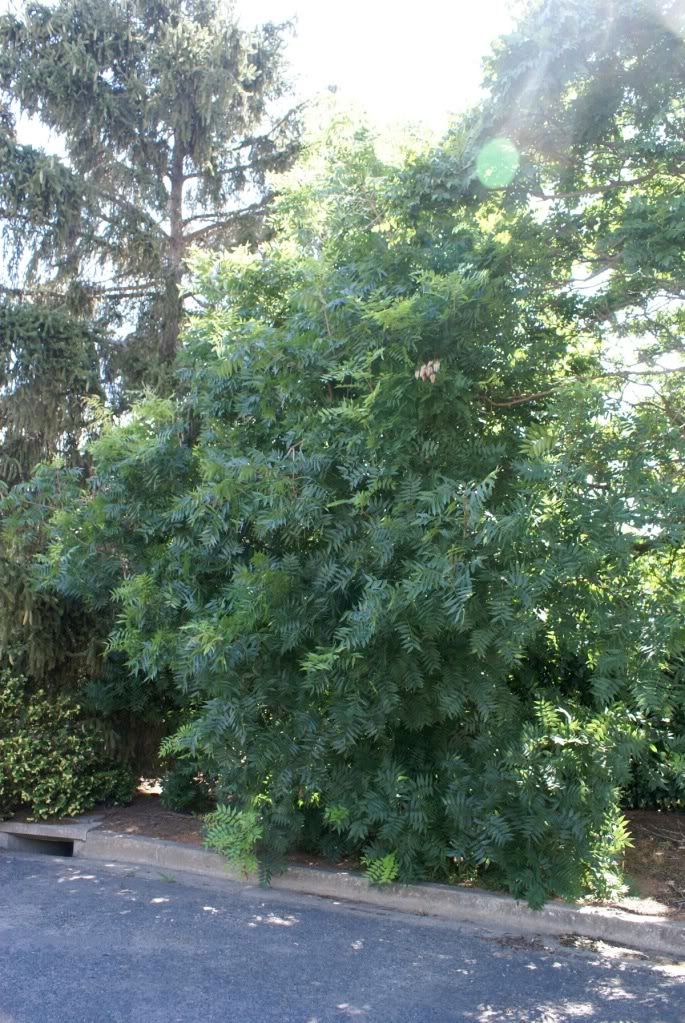
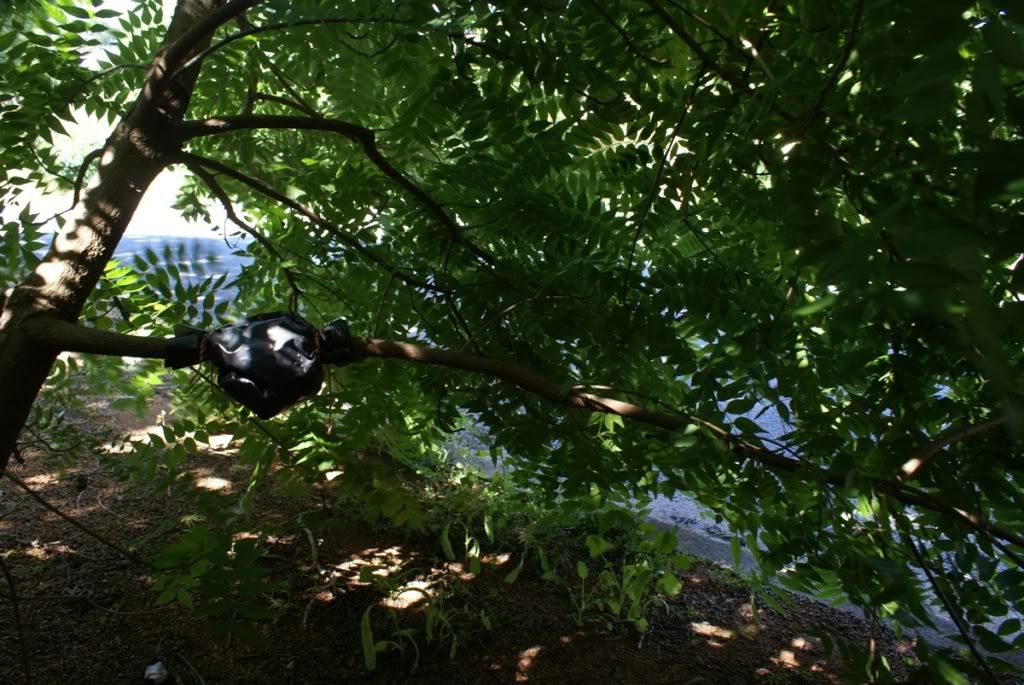
 Ash
Ash
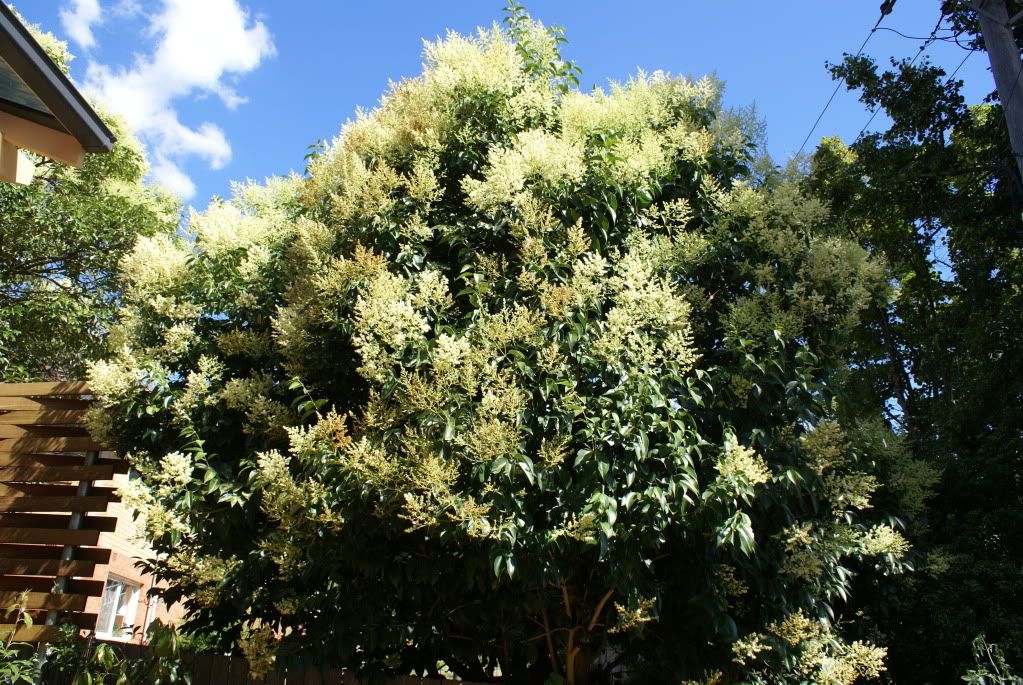
 Lilac?
-
for use as bonsai
 Japanese maple 'bloodgood?'
 -
for use as bonsai
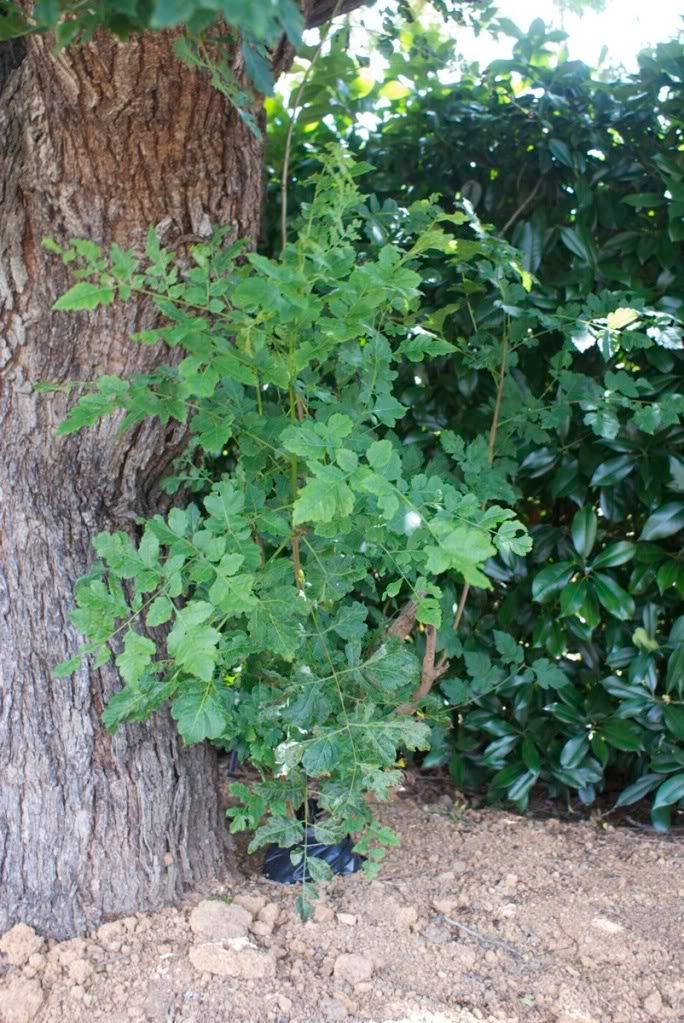
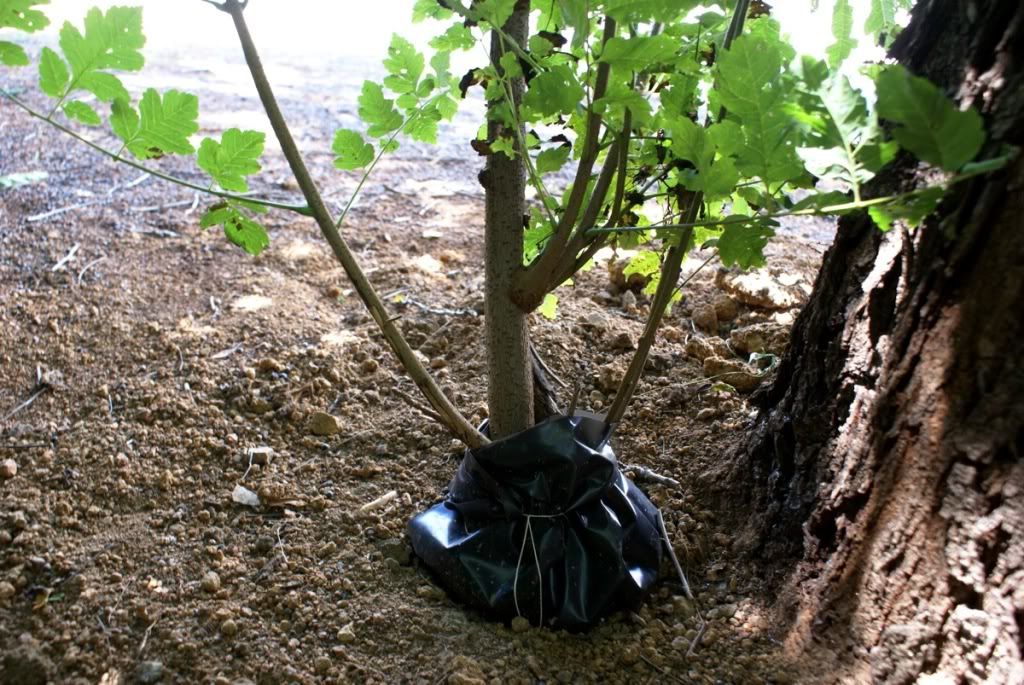
 Chinese pistachio
 -
potentially for use as bonsai
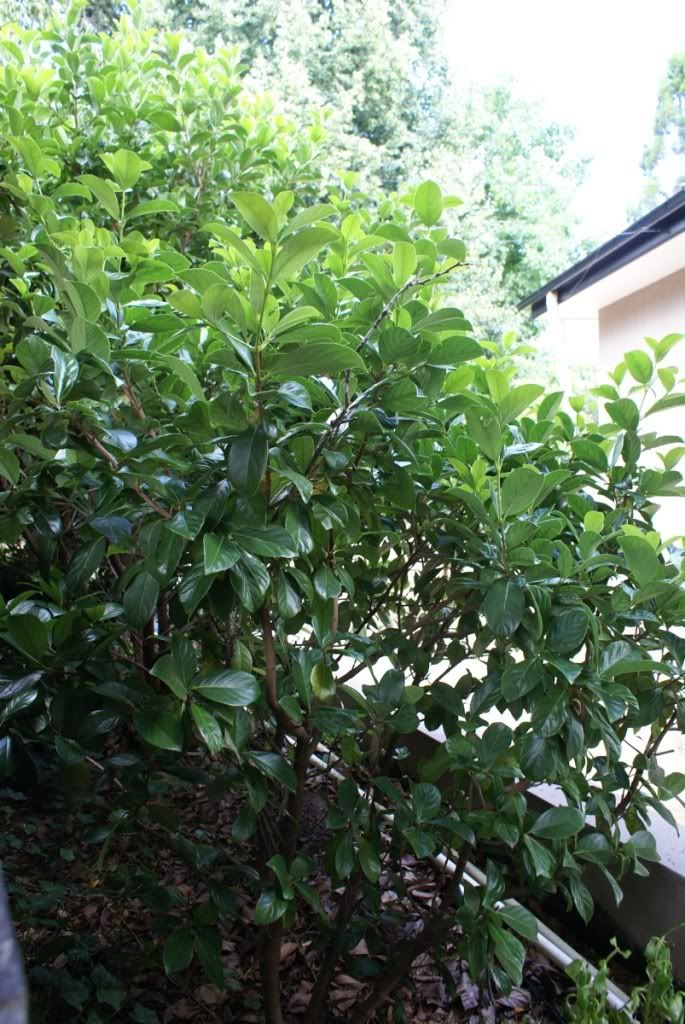
 Camellia
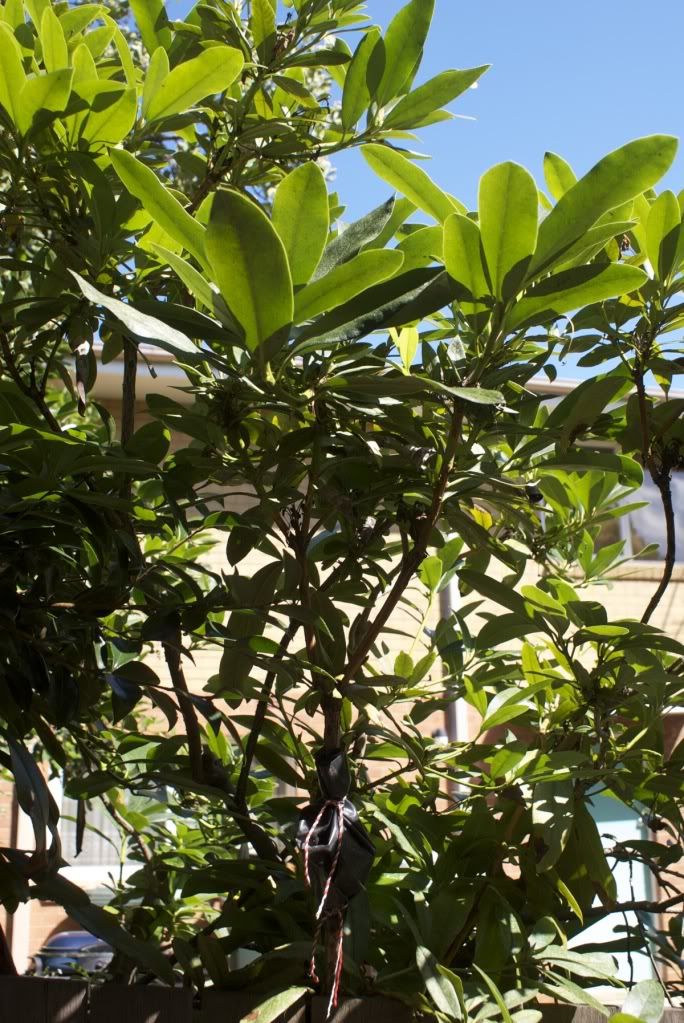
 Rhododendron
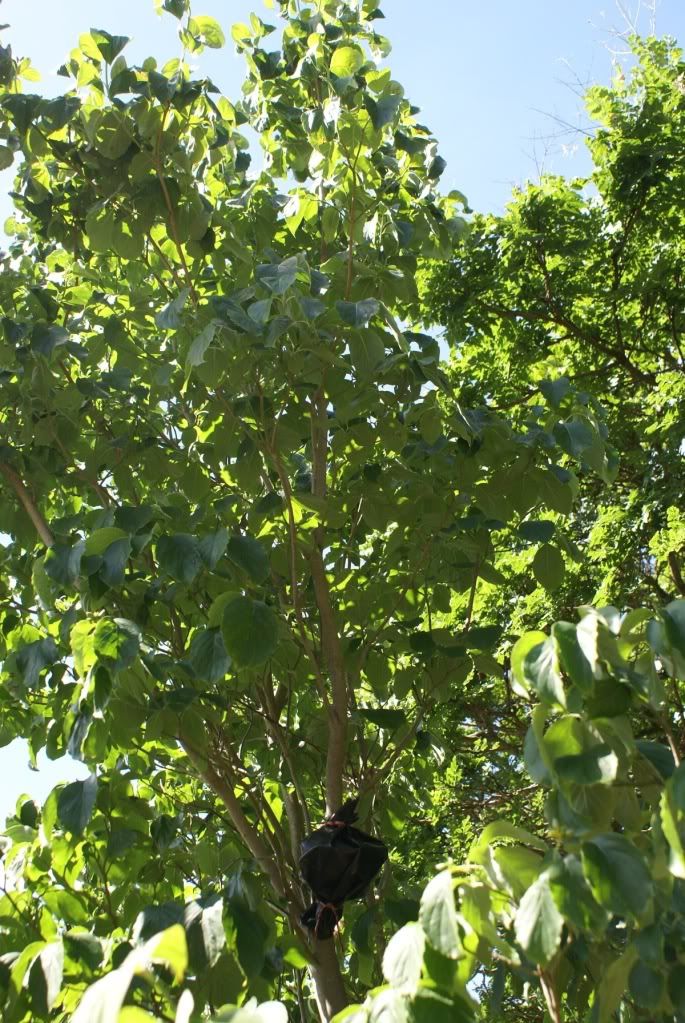
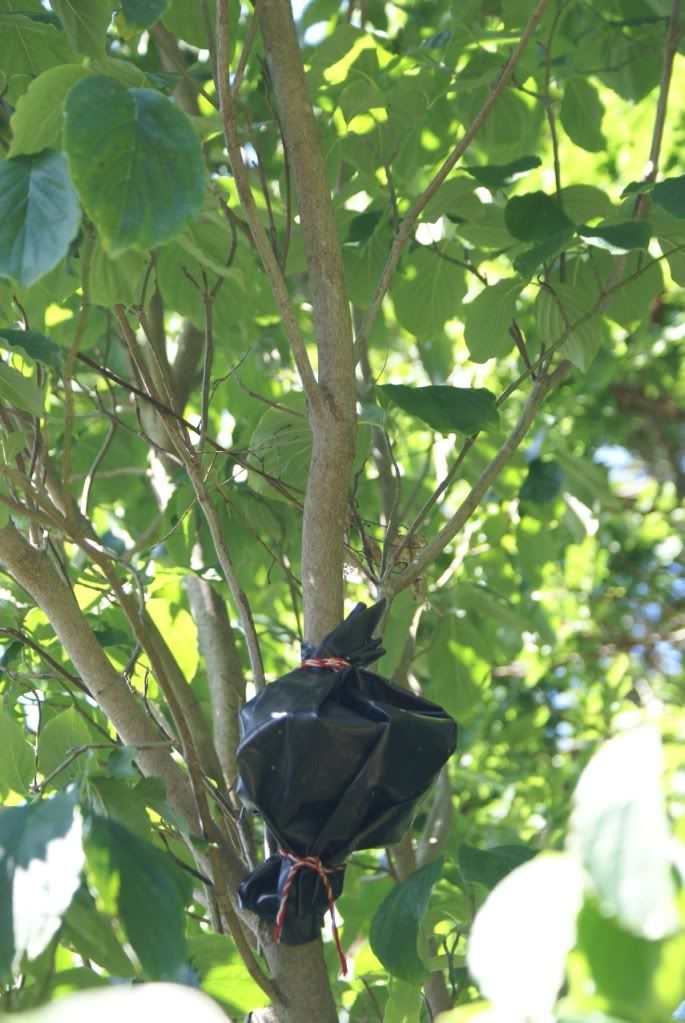
 Flowering dogwood
 -
potentially for use as bonsai
 Kaffir lime
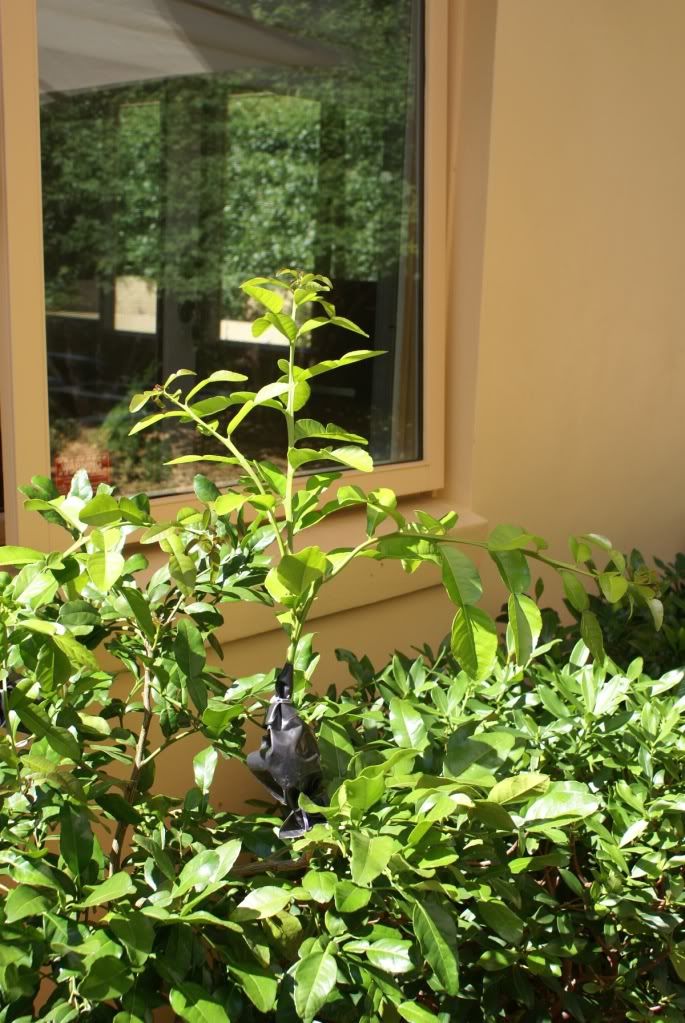
I am happy to trim back branches/foliage to an extent if necessary in order to prevent these layers from failing.
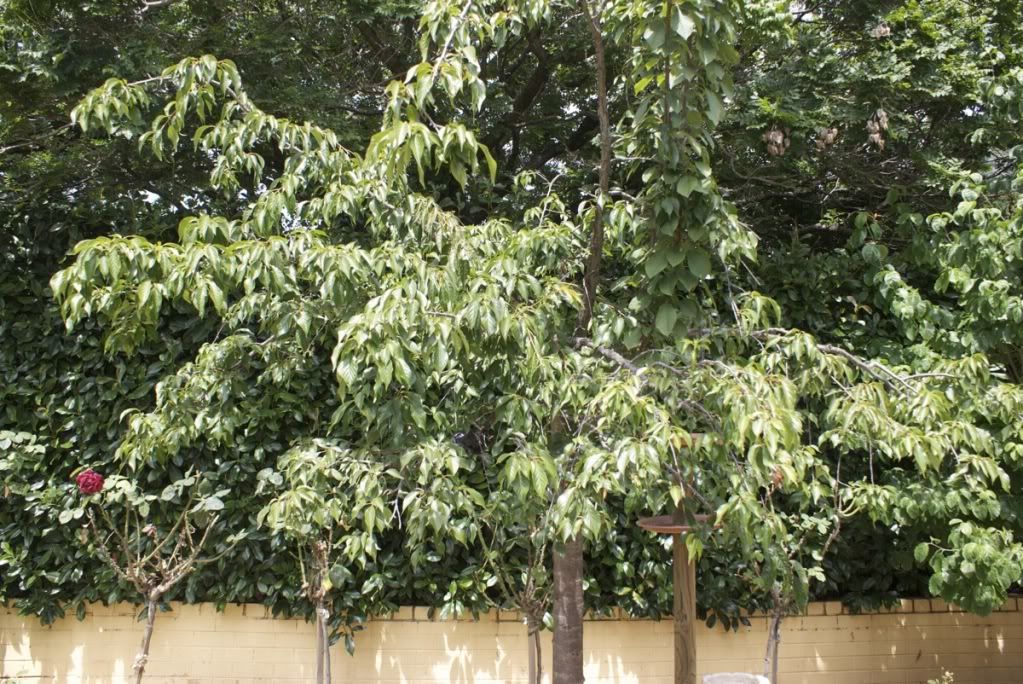
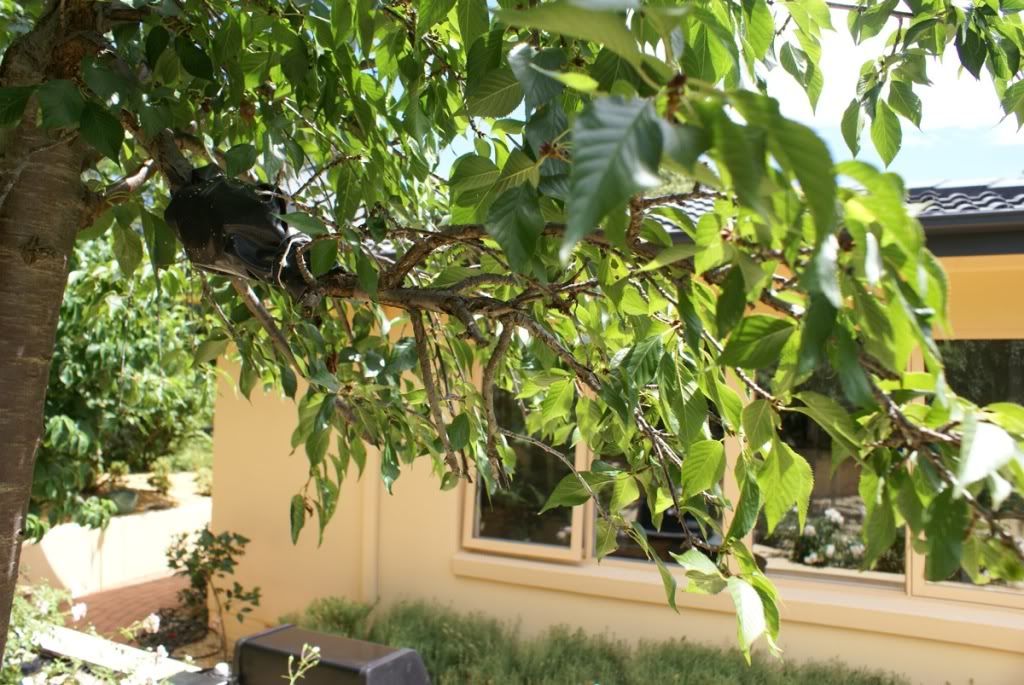
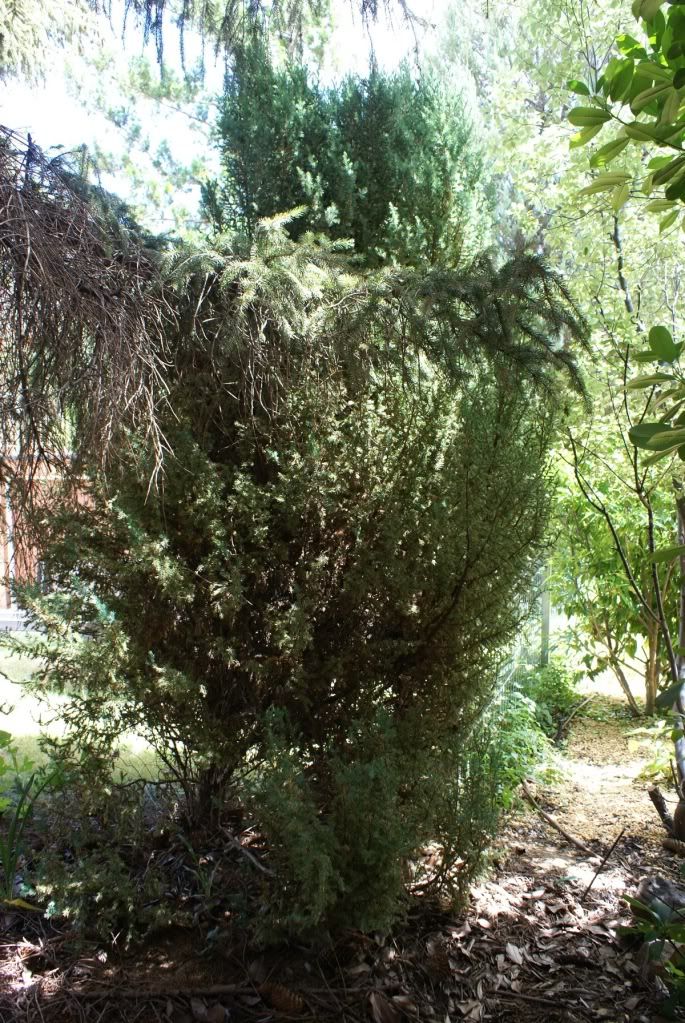
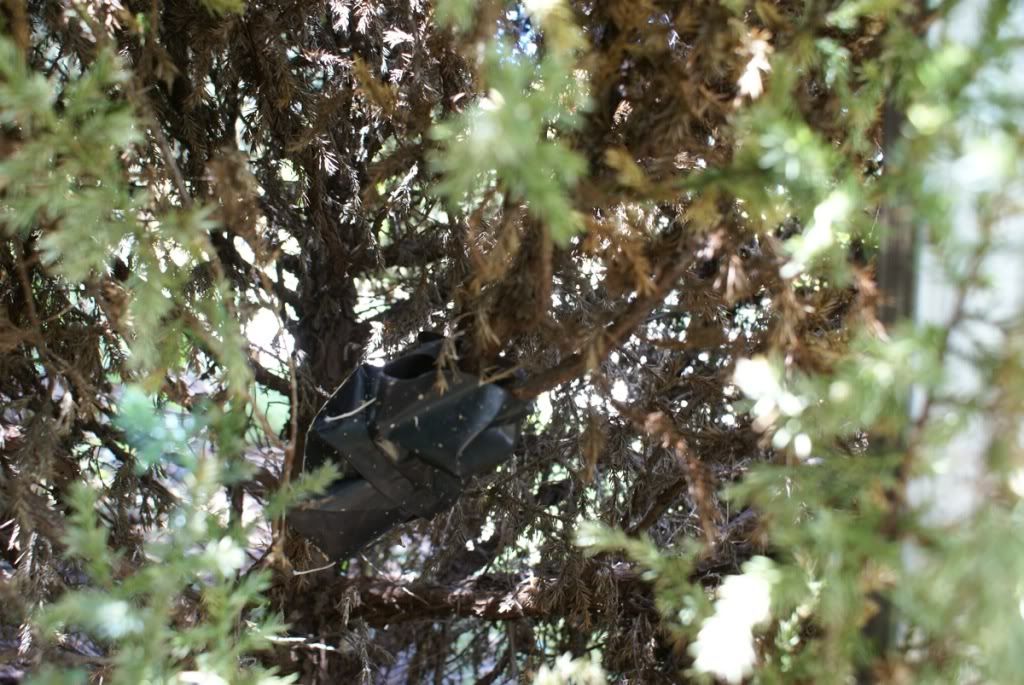
I have also recently layered a golden raintree, juniper, gardenia and flowering cherry. They are fairly small though so I have not posted any photos just yet.
Thanks in advance for your time and expertise

James
Re: Air layering process (WARNING: many photos)
Posted: January 24th, 2011, 1:12 pm
by Gerard
Nice trees to practice your techniques, but you really need some branching just above the layer which is interesting enough to make the exercise worthwhile.
Timing is important, if you attempt the layer when growth is rampant results can be achieved in as little as 5-6 weeks. If the layer is left too long the cut will heal and the new roots will die.
I like the rule, layer on Melbourne cup day and cut off on Australia day. I find this works well for most species although I have not attempted conifers.
Two trees which I layered in November are ready to cut, I will do this tomorrow and post some pics.
Re: Air layering process (WARNING: many photos)
Posted: January 24th, 2011, 1:13 pm
by MattA
WOW James you have been busy...
I have to head out but will reply later with a few of my own experiences that may help in your pursuits..
Matt
PS size is irrelevant, lets see em.. I will try to post pics of some of my own as well .. I think this could become a great resource for all of Ausbonsai and anyone else who stumbles onto it... Lets hope some other members chime in with specific species they have had success with & the methods used...
Re: Air layering process (WARNING: many photos)
Posted: January 24th, 2011, 1:17 pm
by ozzy
"(WARNING: many photos)"
We like photos

Re: Air layering process (WARNING: many photos)
Posted: January 24th, 2011, 1:29 pm
by Webos
Good work,
I usually use clear plastic plastic so that I am able to see the roots as the develop. I think it is also a good idea to use branches that have good strong growth on them since it is the movement of nutrients that causes the phenomenon to occur
Re: Air layering process (WARNING: many photos)
Posted: January 24th, 2011, 2:17 pm
by Kyushu Danji
Re: Air layering process (WARNING: many photos)
Posted: January 24th, 2011, 2:37 pm
by astroboy76
hi, im no expert but i have learnt a little from trial and error when it comes to airlayering. i have also learned a lot from this forum..
some advice if you require it :
Firstly...BE PATIENT hehe. wait until roots start to show behind the plastic then leave the layer on until the bag is chock full of roots. at this time it is important to not let the moss dry out.
i usually make sure there is a big handful of moss around the wound. i wrap in clear plastic so i can see when the roots are starting to grown under it. not having clear plastic means you will need to unwrap the plastic periodially to check for roots which may cause the moss to unwrap from the branch (especially if not roots are present) and may cause damage to the newly growing roots which are quite fragile.
I dont normally wrap in black plastic but i have heard of some people wrapping black plastic over the clear plastic as the darkness tends to increase root production. On my Prunus Mume i noticed a great deal more roots growing ont he shaded side of the layer.
hope this helps!

Re: Air layering process (WARNING: many photos)
Posted: January 24th, 2011, 2:42 pm
by astroboy76
oh and one more things. make sure the moss is held quite tightly against the wound. if it is too lose or there are large air pockets the layer may fail
Re: Air layering process (WARNING: many photos)
Posted: January 24th, 2011, 2:44 pm
by astroboy76
it may just be me but its looks like most of the moss on ur myrtle layer has sagged to the underside of the branch? having a nice tight layer will not onnly increase ur chances of success but help hold everything in place and will also lessen water loss on hot days
Re: Air layering process (WARNING: many photos)
Posted: January 24th, 2011, 2:48 pm
by Handy Mick
Mate, you should watch the Grahame Potter clip in this method, very good.

Mick
Re: Air layering process (WARNING: many photos)
Posted: January 24th, 2011, 3:38 pm
by Kyushu Danji
astroboy76 wrote:it may just be me but its looks like most of the moss on ur myrtle layer has sagged to the underside of the branch? having a nice tight layer will not onnly increase ur chances of success but help hold everything in place and will also lessen water loss on hot days
I agree. I have fixed this problem, and added a little more growing room/tightened up the string in the process
Thanks for the observation
Re: Air layering process (WARNING: many photos)
Posted: January 24th, 2011, 3:55 pm
by robc
Kyushu Danji wrote:ILilac?- for use as bonsai
I have bucket loads of these trees growing all around my place. I thought they were a privet or somthing similar and ive always wondered how they'd go as bonsai. Does anyone know the exact species name? and how suited they are to bonsai??
Re: Air layering process (WARNING: many photos)
Posted: January 24th, 2011, 4:02 pm
by Kyushu Danji
robc wrote:Kyushu Danji wrote:ILilac?- for use as bonsai
I have bucket loads of these trees growing all around my place. I thought they were a privet or somthing similar and ive always wondered how they'd go as bonsai. Does anyone know the exact species name? and how suited they are to bonsai??
It might be a privet. It certainly never has flowers like the lilac I knew did. However the leaves are so similar, I just thought that's what it was. If it is a privet, some species are apparently suitable for bonsai:
http://www.bonsai4me.com/SpeciesGuide/Ligustrum.html
Re: Air layering process (WARNING: many photos)
Posted: January 24th, 2011, 5:09 pm
by craigw60
Its privet alright syringa only flower in spring and are deciduous.
Good luck with all your layers
Craigw
Re: Air layering process (WARNING: many photos)
Posted: January 24th, 2011, 5:47 pm
by Mojo Moyogi
That Juniper? is Juniperus squamata 'Meyerii' - Meyer's Juniper and they are pretty good for bonsai.
Cheers,
Mojo