Privet

Post photo's of your bonsai under-construction for discussion and inspiration.
Post Reply
User avatar
missybonsai
Aussie Bonsai Fan
Aussie Bonsai Fan
Posts: 116
Joined: August 17th, 2009, 5:43 pm
Favorite Species: Trident Maple
Bonsai Age: 3
Bonsai Club: Nepean Bonsai Society
Location: Western Sydney

Privet

Post by missybonsai »

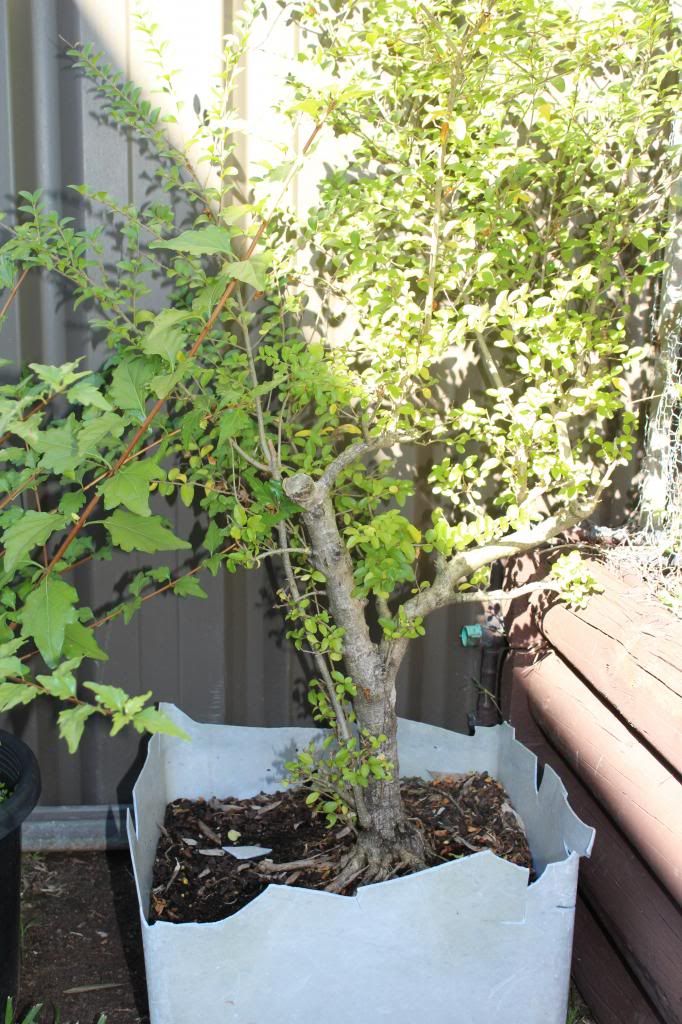
This privet was collected in 2008, and ever since has been just sitting in my yard. It was collected because it has great nebari and has a two-inch trunk :cool: Did some pretty big work on its nebari a couple of years ago and has been going gangbusters ever since :tu: Took an air-layer off the top as well. Today I decided to do some major work, and finally get it going somewhere! I cut off a lot of un-needed roots e.g. ones that grew down, were out of place etc, as well as shortening long major roots. I also did a major trunk chop. depending on where this buds out in spring it may end up a broom or formal upright style (I'm leaning towards broom, but tell me what you think!)
Here's how it looked at 1pm this afternoon:
Image

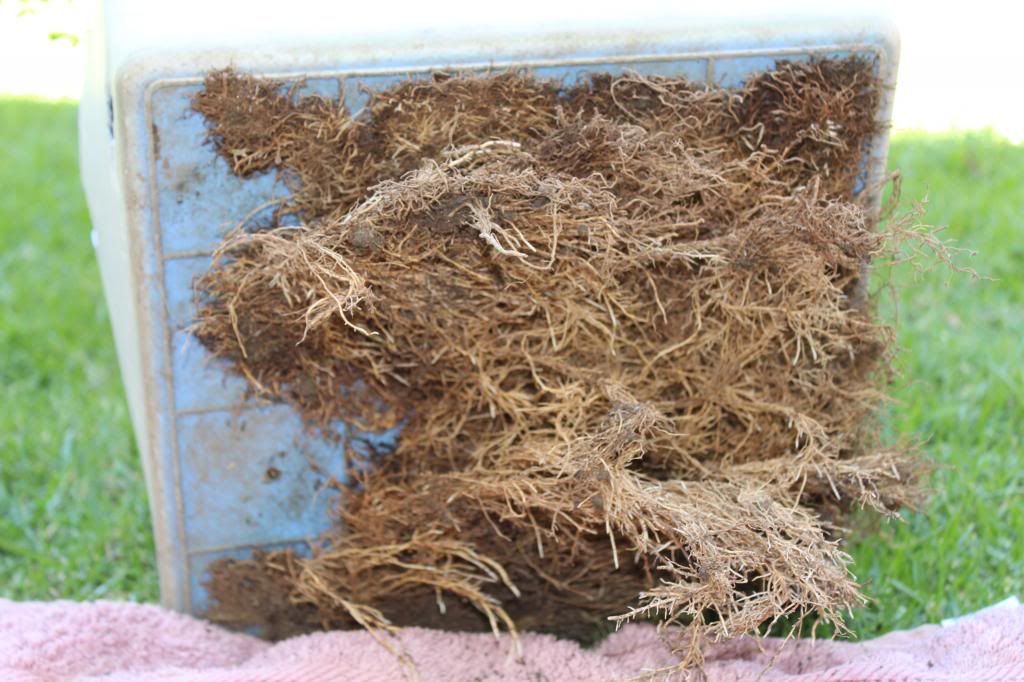
The roots growing through the bottom of the pot!
Image

How the nebari looked before:
Image

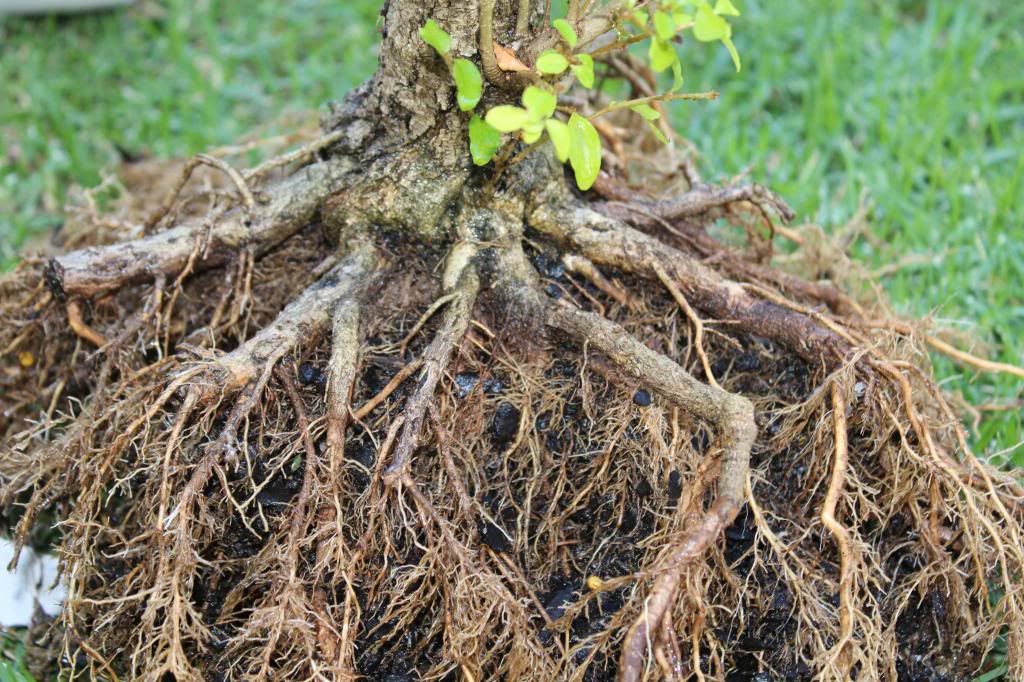
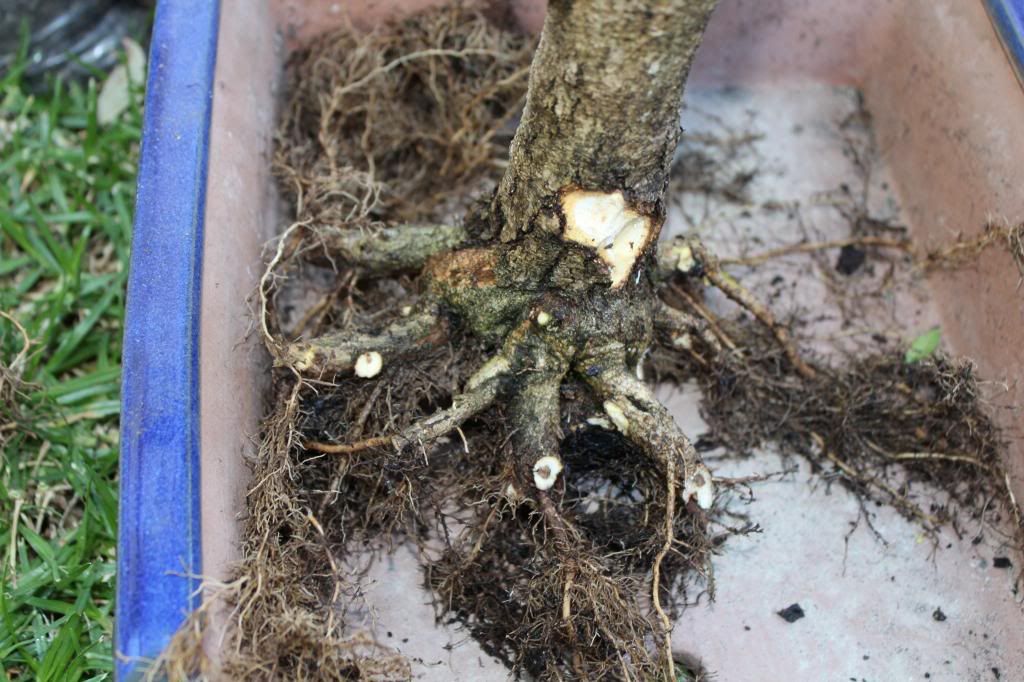
How the nebari looked after:
Image

The final result:
Image

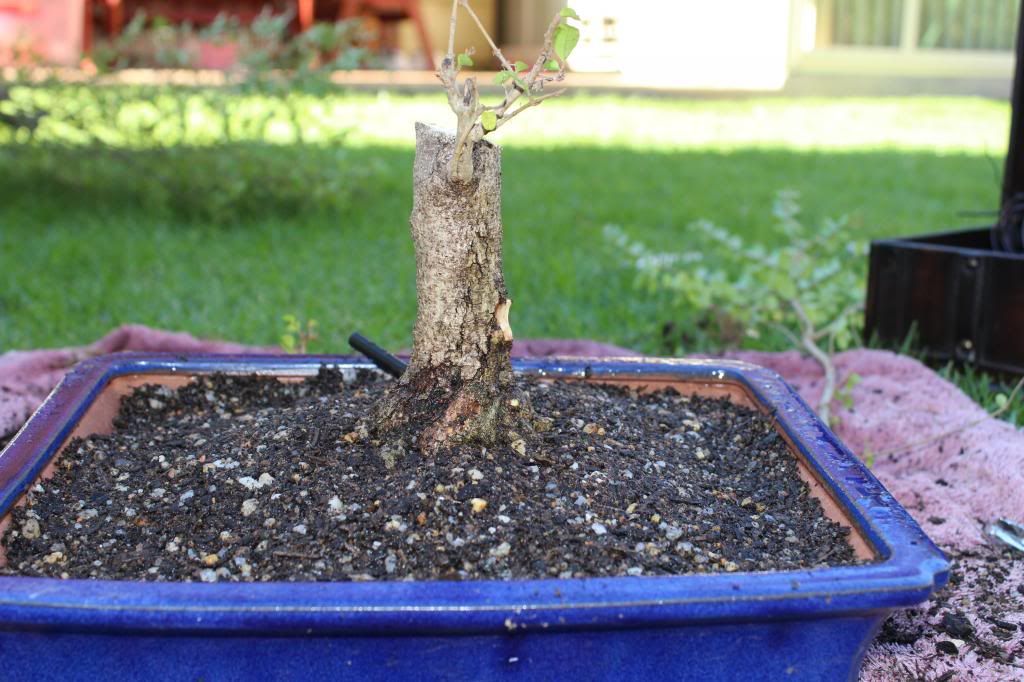
The chop will be carved at a later date. The black pipe at the back is holding a small root up, as it was growing downwards too much, forgot to take a photo of this though. I just love the powerful flare base on this tree, combined with the rough bark. Now just hoping it will spring back, but its a privet, she'll be right! :aussie: comments, opinions, critiques etc welcome as always!
Isitangus
Aussie Bonsai Fan
Aussie Bonsai Fan
Posts: 915
Joined: May 7th, 2012, 9:18 pm
Favorite Species: Figs & anything flowering or unusual
Bonsai Age: 1
Bonsai Club: campbelltown Bonsai club
Location: camden area, NSW

Re: Privet

Post by Isitangus »

Looks good, my only comment of any use would be to get it into a bigger pot.


Sent from my iPad using Tapatalk HD
User avatar
MoGanic
Aussie Bonsai Fan
Aussie Bonsai Fan
Posts: 1250
Joined: May 3rd, 2012, 7:15 pm
Favorite Species: Shimpaku
Bonsai Age: 0
Location: Victoria

Re: Privet

Post by MoGanic »

Very nice work there. The root pruning will assist in increasing trunk flare.

I agree that it could do with a slightly larger pot but that is really up to how often you want to repot it. As you have experienced - VERY STRONG ROOT GROWTH!!!! :mrgreen:

Just make sure you keep up with the pruning and that little pot will be fine as a training pot. As far as I can see the only time a larger pot is the ONLY choice is when the tree is too weak for root pruning.

I'd possibly go with broom style too - the flare + relatively straight trunk are excellent foundations for this style :). The alternative is to let that one branch grow out but hmm decisions decisions.

I'm not sure if I've ever seen an evergreen broom though! This would certainly be a first. hehe good luck wiring in the final stages of ramification haha :lol: :lol: :lol: :lol:

Good work! thank you for posting :).

-Mo
There are many ways to do things, but only one "best" way.
User avatar
missybonsai
Aussie Bonsai Fan
Aussie Bonsai Fan
Posts: 116
Joined: August 17th, 2009, 5:43 pm
Favorite Species: Trident Maple
Bonsai Age: 3
Bonsai Club: Nepean Bonsai Society
Location: Western Sydney

Re: Privet

Post by missybonsai »

Thanks guys! I think maybe the photo is deceiving for how large the pot actually is. The "after" photo of the nebari shows that the roots are butting right up against the edges of the pot, but this was not the case once it was positioned properly - I just plonked it in the pot to show the roots in the photo, and then positioned it properly afterwards. Im planning to repot it again next year to check on progress of the roots anyway.

Mo thats exactly what I was thinking, the base flare is perfectly suited to broom. But we shall see. I have seen one privet styled as a broom and it looked amazing, though unfortunately as you said, they are evergreen so no wintry skeletal silhouette :tounge: I will just have to watch that it doesn't end up looking more like topiary than bonsai! I have a few other broom styles in the works (coincidentally one of them with the layer from the top of this tree). I was never a fan of broom styles but needless to say that has changed and I'm now hooked :lol:

Thanks for the encouragement, and I'll be sure to keep you posted on this tree's progress!
User avatar
MoGanic
Aussie Bonsai Fan
Aussie Bonsai Fan
Posts: 1250
Joined: May 3rd, 2012, 7:15 pm
Favorite Species: Shimpaku
Bonsai Age: 0
Location: Victoria

Re: Privet

Post by MoGanic »

No worries Missy!!

And please do keep us posted! I can imagine in a couple years or more when this tree has reached a good level of development that it will serve as an excellent lesson for newbies at that time!!

Thanks again for taking the time to document. :-)
There are many ways to do things, but only one "best" way.
User avatar
missybonsai
Aussie Bonsai Fan
Aussie Bonsai Fan
Posts: 116
Joined: August 17th, 2009, 5:43 pm
Favorite Species: Trident Maple
Bonsai Age: 3
Bonsai Club: Nepean Bonsai Society
Location: Western Sydney

Re: Privet

Post by missybonsai »

I just wanted to provide a little clarification for any beginners: this kind of work should not be done on just any tree. Privet are an extremely vigorous species, and this particular one is healthy. Those are the reasons I did this amount of work in one go. If your tree is not VERY healthy, and its not a privet, tread lightly. Ideally for a lot of other species this amount of work should be completed over the course of years not hours. I have killed trees in the past by being too enthusiastic about root-pruning, I'm still learning what can and can't be done for specific species. Especially pines and junipers should never be treated in this manner unless you want a dead tree; they should never be bare-rooted as they will lose vital beneficial bacteria from the root-system. And of course, never remove this much foliage from a juniper or pine!
For those learning about root pruning, you can see in my "after" pic of the nebari that all large roots were cut just after a rootlet (a smaller root), this allows the root to still support itself and the tree while it grows more. This is much like training a new leader after a trunk chop - the rootlet will thicken and provide taper and ramification, which are just as important in roots as the branches. The cuts were also made on an angle, with the cut surface facing up, which again makes for a smooth transition in taper. Finally, you should always leave a large amount of fine roots when root pruning - these provide the tree with food and water while it recovers!


If any more experienced members would like to post more info, feel free to do so in this thread! :tu:
Last edited by missybonsai on April 26th, 2013, 9:26 am, edited 1 time in total.
Post Reply

Return to “Bonsai Progression Series”