

This is a QUICK fix. I do not recommend using this tutorial if your images are going to print.
In this post we're going to look at fixing up and poorly exposed image.
Have you ever taken a photo where there is a shadow over someones face or you didnt get enough detail here you want it?
We're also going to use layers in this post as well. When playing around in photoshop you should try and use layers as much as you can so that if by chance you have the image or make a mistake you can just delete that layer and start again.
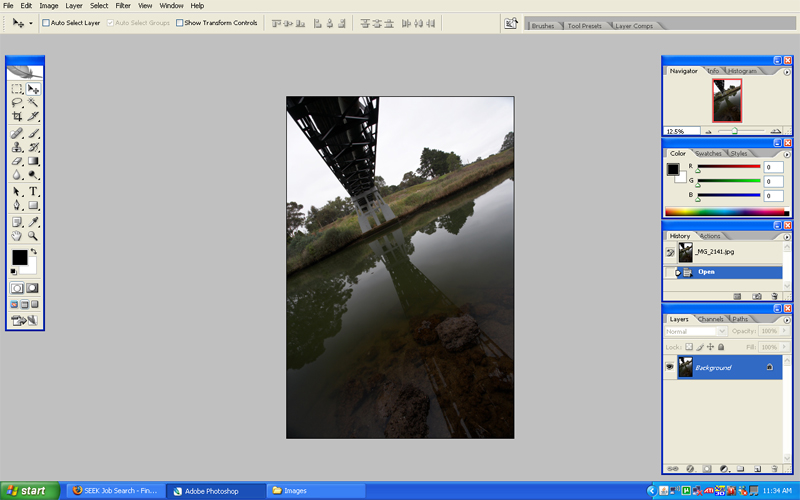
Step 1:
Open your image in photo shop!
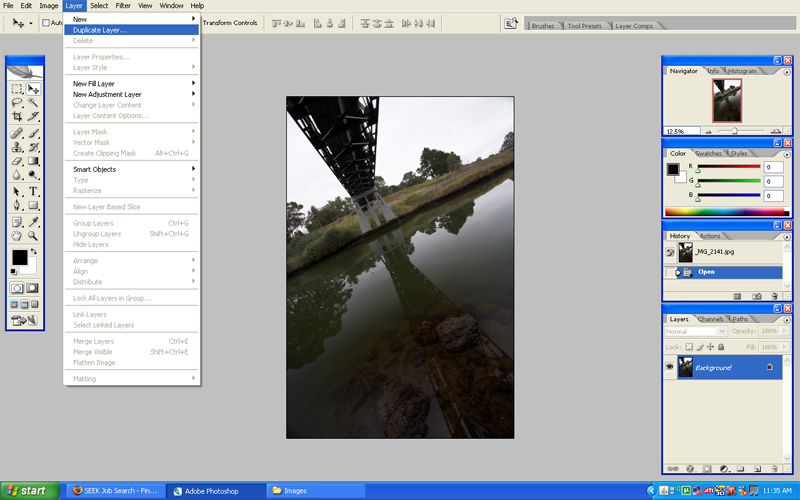
Step 2:
Layers > Duplicate Layer
Step 3:
Layers Box will open. Your layer will be named "background copy" leave it as is and click ok.

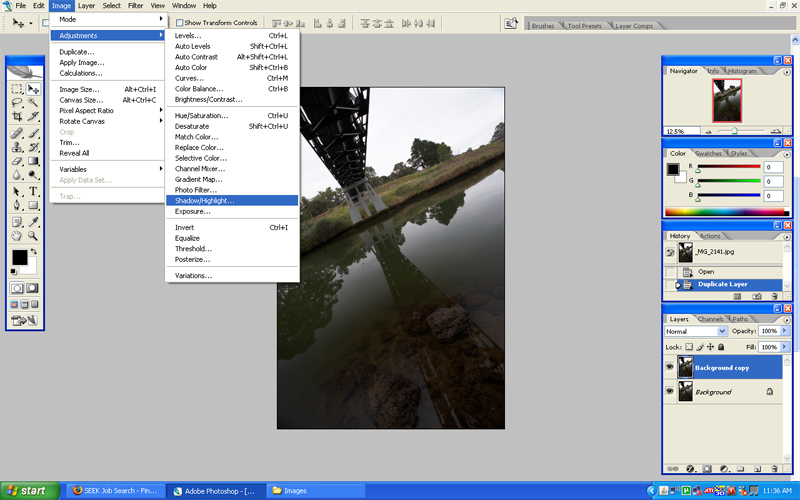
Step 4:
Image > Adjustments > Shadows & Highlights.
As you can see on the layers tab(bottom right) I have the background copy layer selected.
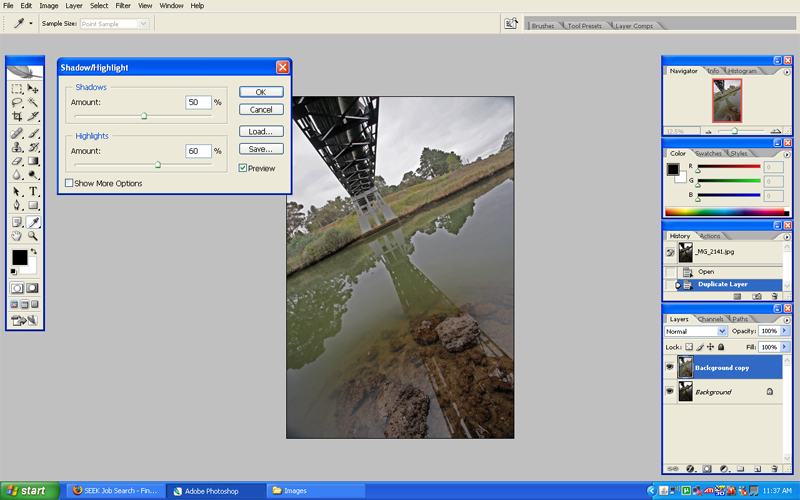
Step 5:
Shadows & Highlights Box will open. You have 2 options Shadows & Highlights.
The more you slide the shadows slidebar the more the shadows lighten up.
The more you slide the highlights slidebar the more the highlights darken.
For this image i wanted to pull out some of the shadow under the bridge and also the tree line on the other bank.
I also wanted to pull out some detail in the clouds.
And a Before and after to compare.

