
Quite a few years ago I picked up this piece of old second hand timber that was a fantastic red colour. At that time all I did was put it through a “thicknesser” and stored it away. Recently I took it out and decided it was time to transform a single piece of timber into a stand and so this is the process. I hope you like the result.
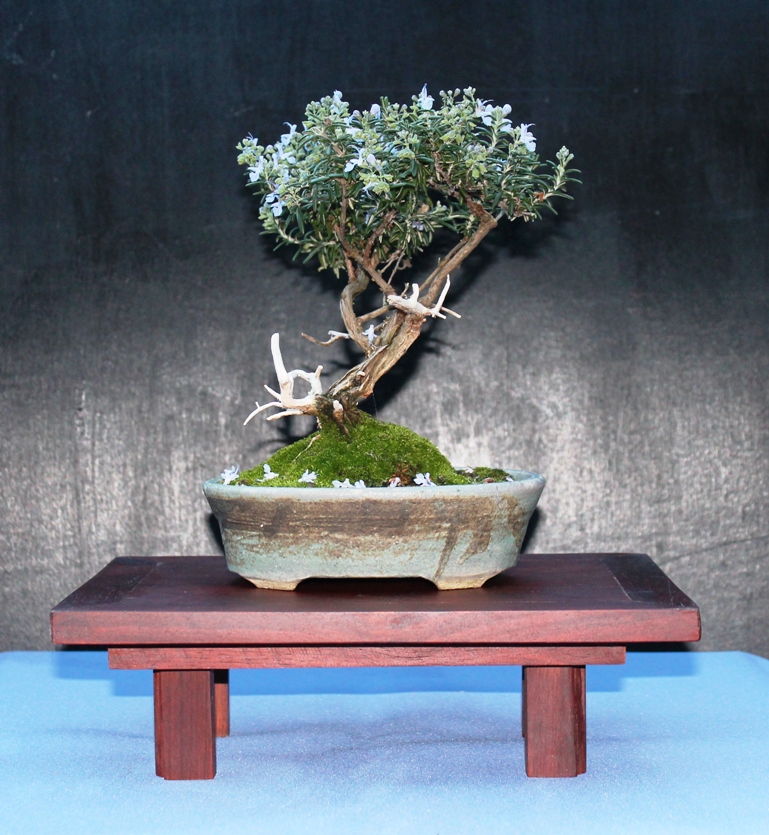
The finished product
When I started this project I had a tree in mind for the stand, and it isn’t the one in the photo above. That tree is still in training but it should be ready for exhibition on this stand in October this year.
When I started this is how the timber looked, about 1200mm x 150mm. As I said it is second hand and had a number of nail holes in it so when I cut all the pieces I needed there was some waste, but it was the colour that really attracted me.
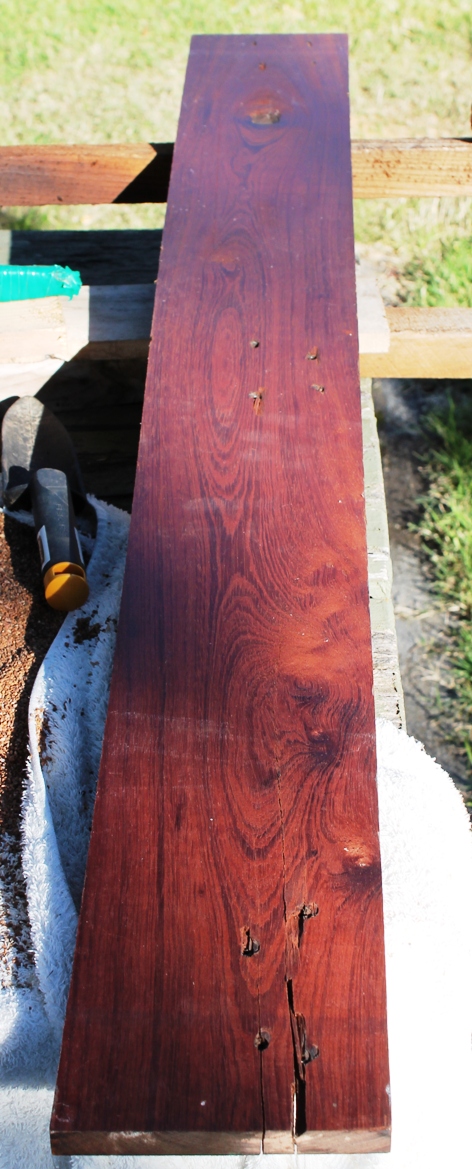
The look at the start of the project
The next step was to cut it into the pieces I needed for the construction.
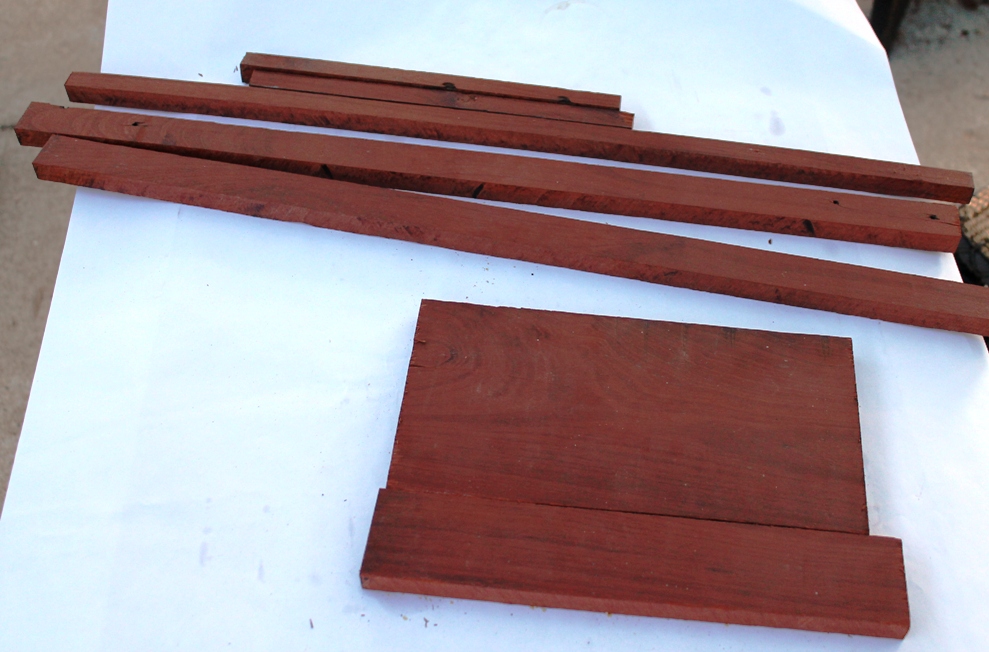
All the pieces cut
Cut again to the desired lengths and shapes
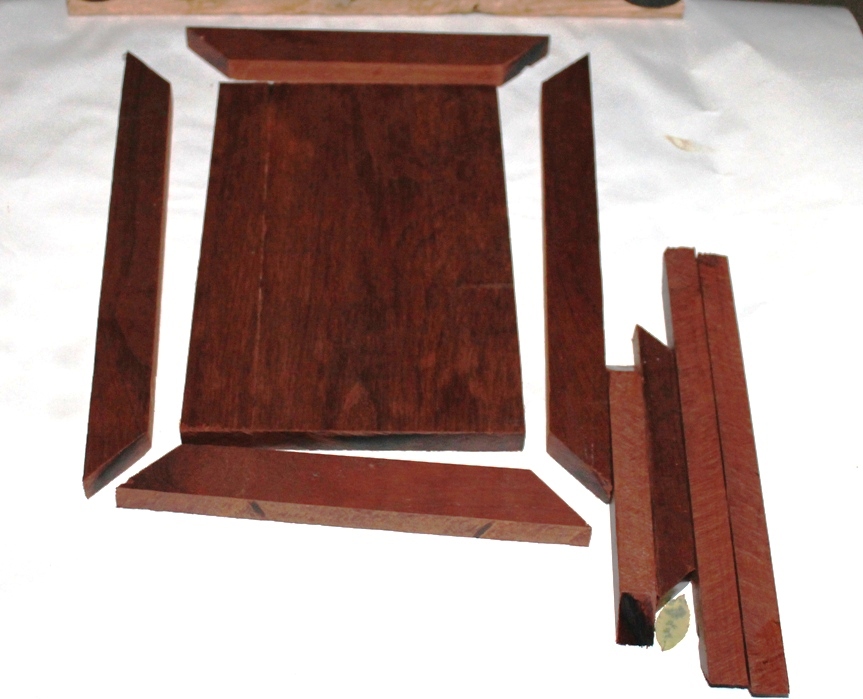
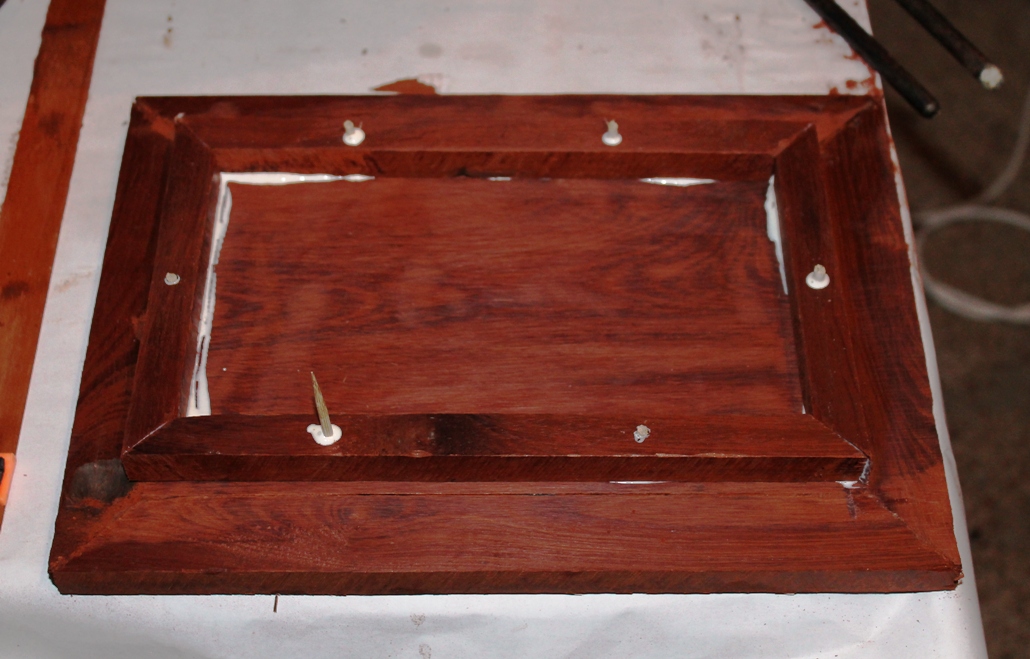
After cutting all the pieces I needed then it was time to attach everything together. After I had the top assembled it was time to start the sanding process, and there was a considerable amount of sanding to be done.
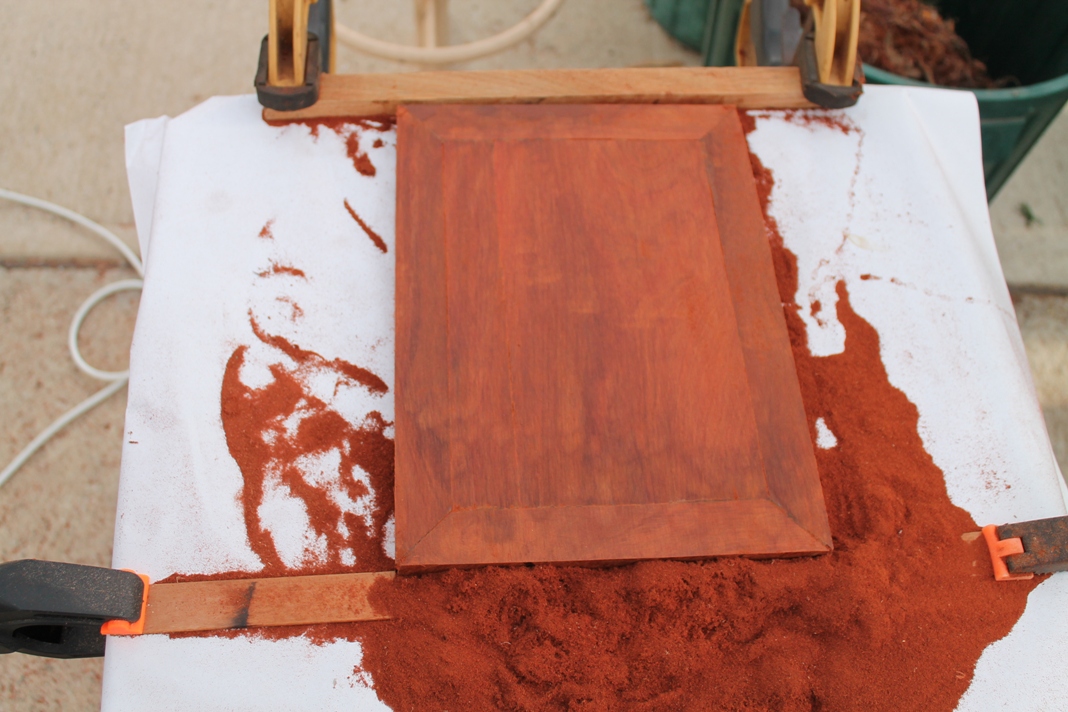
The sanding in progress
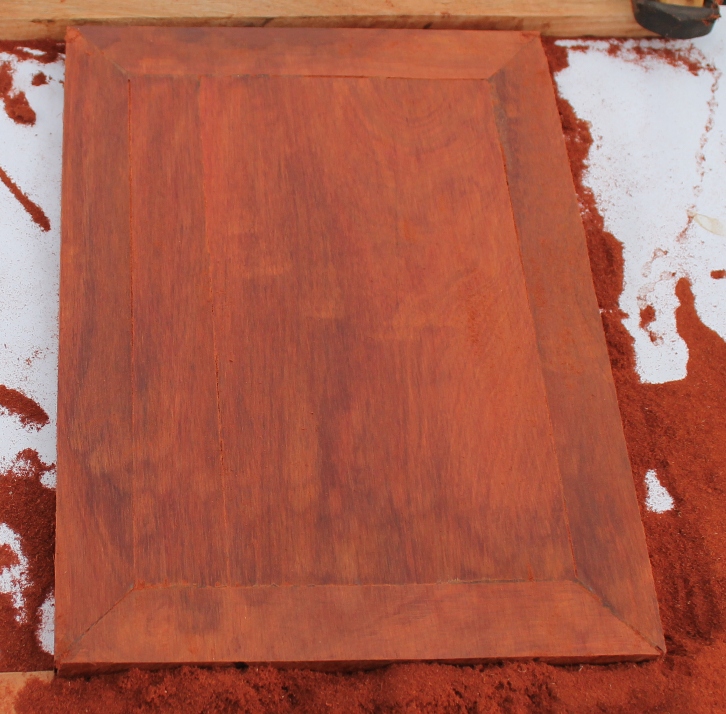
Rough sanding completed
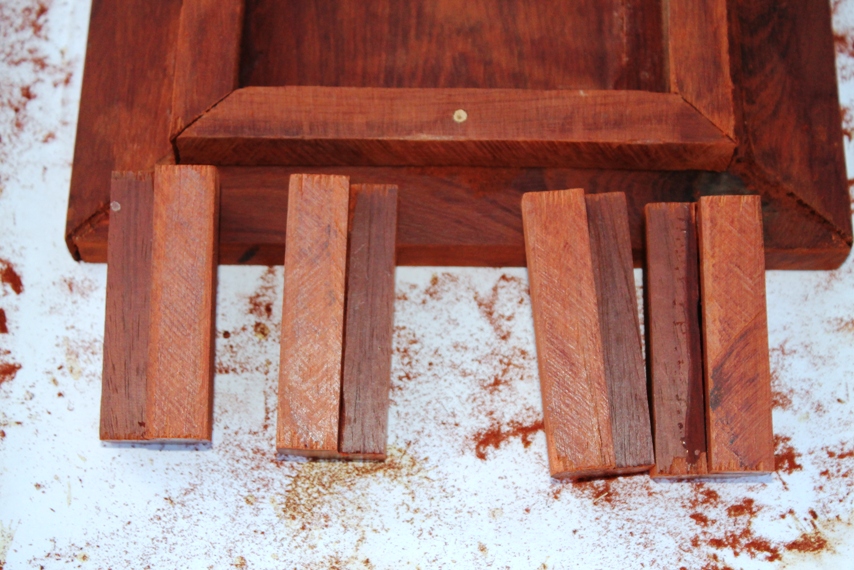
Now that the top was completed it was time to turn my attention the other side, and then the legs.
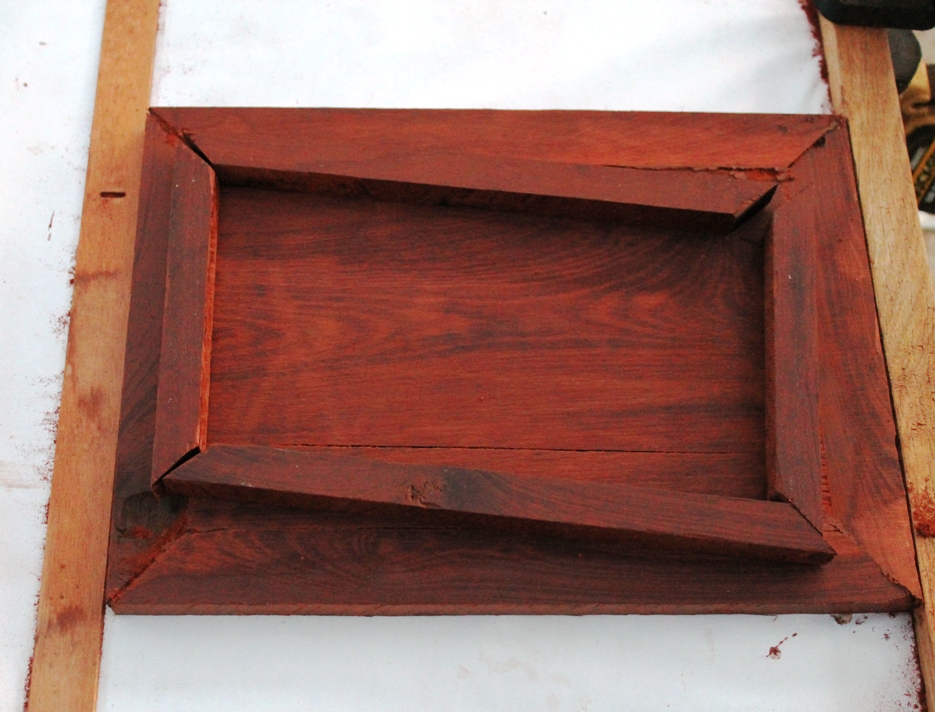
The bottom pieces cut
Ready for attachment
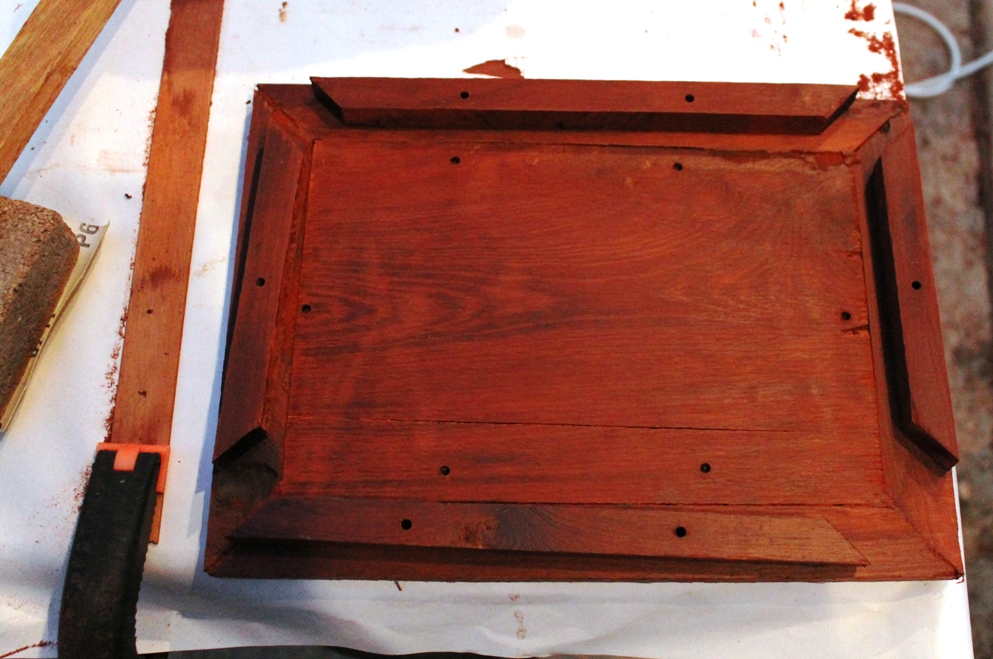
Now attached
After the glue dried and the dowling was cut flush, the bottom was sanded. Now for the legs…..
The legs cut to size and shape

The legs now put into place
Everything is now in place and I moved onto the final sanding, very fine sanding to bring out the texture of this timber.
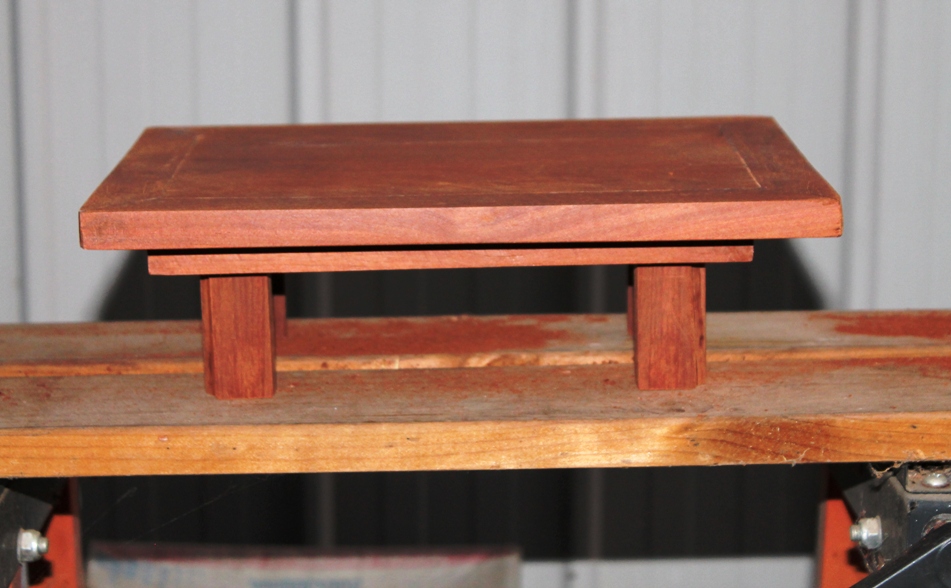
All put together and ready for the final sanding
Final sanding finished
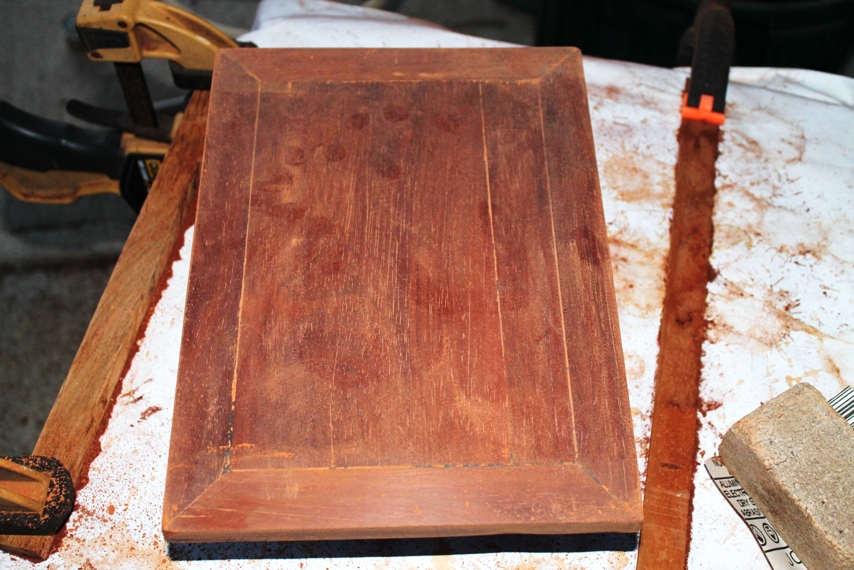
The only thing remaining was to apply the finishing coats. I selected “orange oil” as my oil of choice and when that was dry I applied another coat. As a finishing application I applied a liquid bees wax polish.
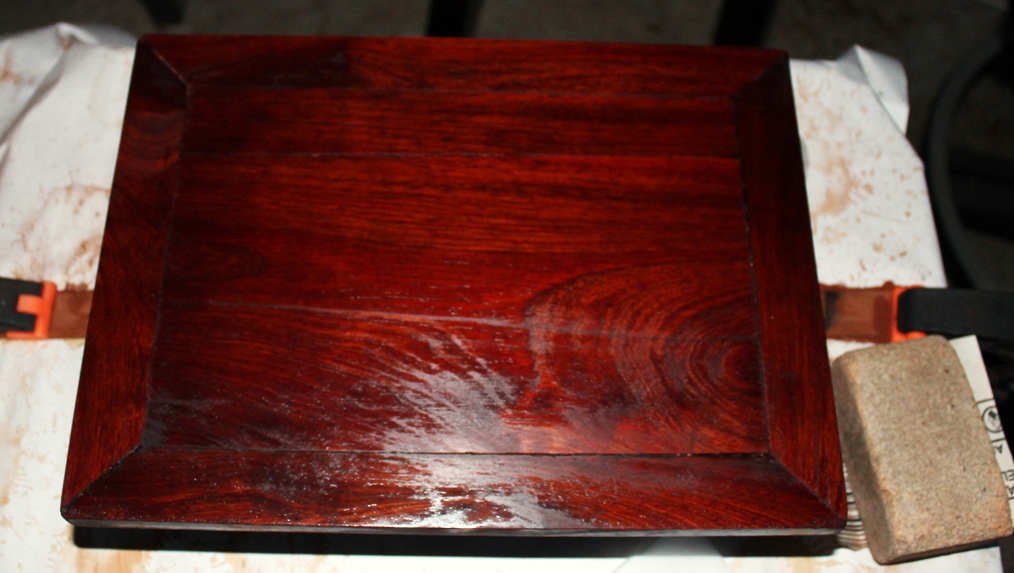
First application of oil
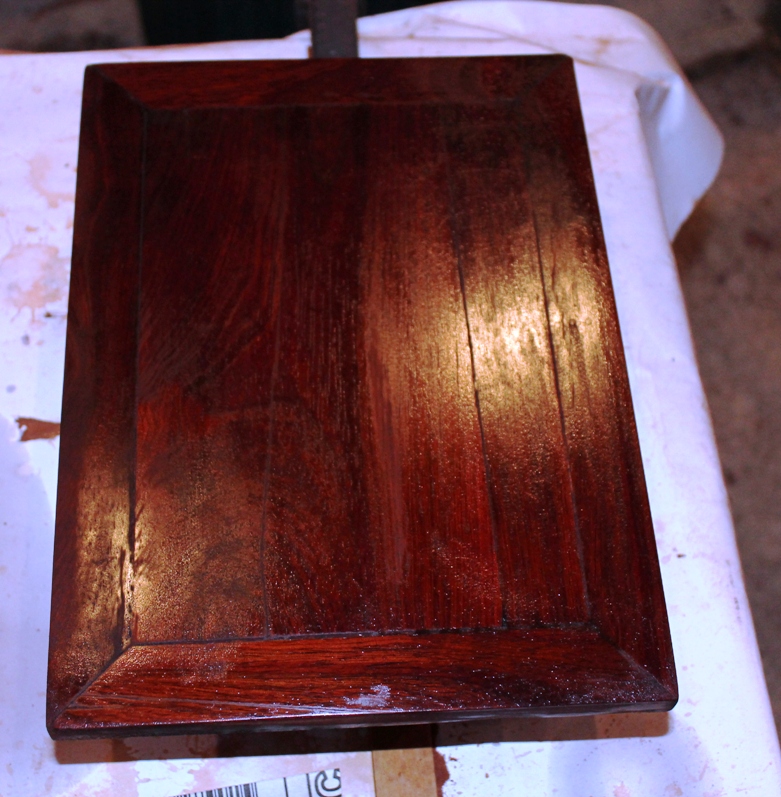
Second application of oil
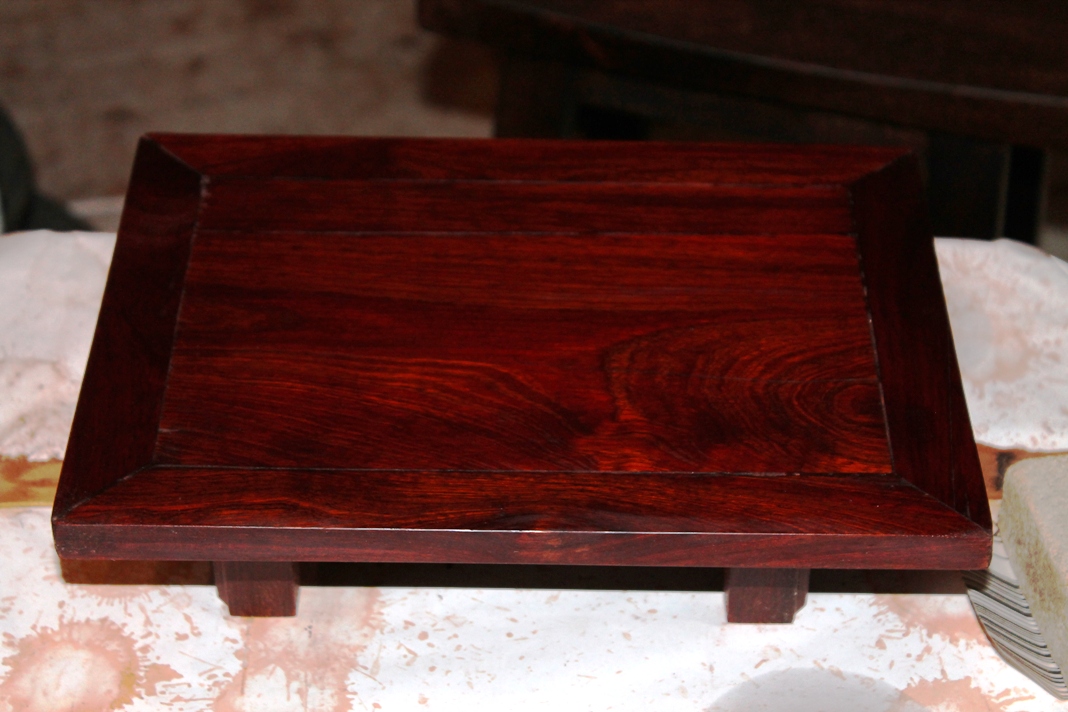
With the bees wax finish
Generally I am quite pleased with the outcome and hopefully I will learn a few more techniques so I may make a few more stands of ever improving quality. This timber is very hard, rock hard actually and unfortunately I do not know what type of timber it is, but the colour is sensational.