Alnus Cordata – Italian Alder.
This tree was due to be cut down and used for firewood so in 2008 I had the opportunity to dig this tree and possibly save it. It was dug from a property on the road between Goulburn and Crookwell and at the time of digging was about 5 metres tall. It was however in poor condition resulting from many years of severe drought in the area.
I cut it down to about 2 metres tall, dug it and then potted it into a very large wooden box. It was well watered and fertilized over the next three years and it responded well to this and rewarded me with lush growth.

The before look, over 2 metres in height
In December 2010 it was time to commence this trees journey into life as a bonsai. All the major branches were cut off and the trunk was reduced from about 2000 mm to about 400 mm. A very large V shape cut was put through the top of the tree to the nabari with the idea of creating a “split trunk” style bonsai.

Height reduced and large branches removed

The big V cut
The weather on the day we planned to carve was not as kind as it might have been but we persevered. The initial carving was done with a 100mm arbortech grinder and followed up with a Ninja bit attached to a Makita die grinder. It did rain on and off all day so we moved the tree, box and all, under cover so we could continue the process.

Carving stage 1

Carving the other side

A more refined carving has now started
These trees are tough and grow quite quickly and I am informed that they were used as post for piers that stand in water so they should be resistant to rot. However the carving was designed not to allow water to “pool” in the V section.

Carving close up number 1

Carving close up number 2
The day of carving did create a large amount of “saw dust” but the process was worth it.

And now a look at the final product for this year.

Here is a look at the tools of choice for this job.

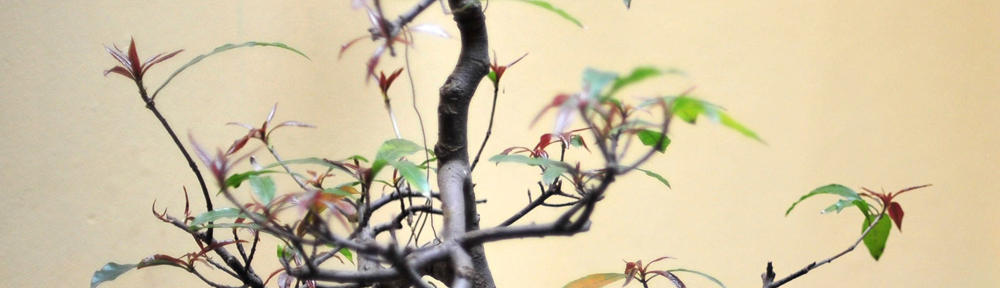
After a big day of work on this tree it was put away to recover. A good drink and some fertilizer to assist the process of recovery. The tree did recover very well and by September of 2011 had many new branches and secondary branching.

A bit of wire and a good trim to put the branches in place for the coming growing season.

By January of 2012 the growth was quite good.

I bought a large training pot for this tree and in July 2012 I decided it was time to pot it into a bonsai pot for the first time. It is quite difficult to get suitable pots in this very large size so I will be looking for a “display” quality pot until I can locate one that will suit this tree.

The potting mix used was 2 parts commercial potting mix for native plants, 1 part course washed sand and 1 part diatomite and the pot took nearly two builders barrows full of the mix.

I was a little disappointed that I had not washed all the old soil away before potting this tree up after it was dug. As can be seen in the photo there is still an amount of clay close to the trunk and this needed to be washed out completely. I was also a bit disappointed that the root system was not as extensive as I thought it should have been but hopefully the new mix will encourage improved root development.


The side view of the root ball.
After washing and clearing of the old mix the roots were trimmed so they would fit into the new pot, and then the tree was potted. A good watering was all for that day.
The following day I trimmed off unwanted branches and wired most of the remaining branches and placed them into position.

Trimmed, wired and ready for spring.
It is quite difficult to get a studio style photo of really large bonsai just because of the weight (this one is about a four person carry) and you therefore loose a bit of clarity with your photos.

A look at the nabari

The final product for now.
There will be much more work done on this tree over the coming months and years, especially some more carving work to give it a more refined look.
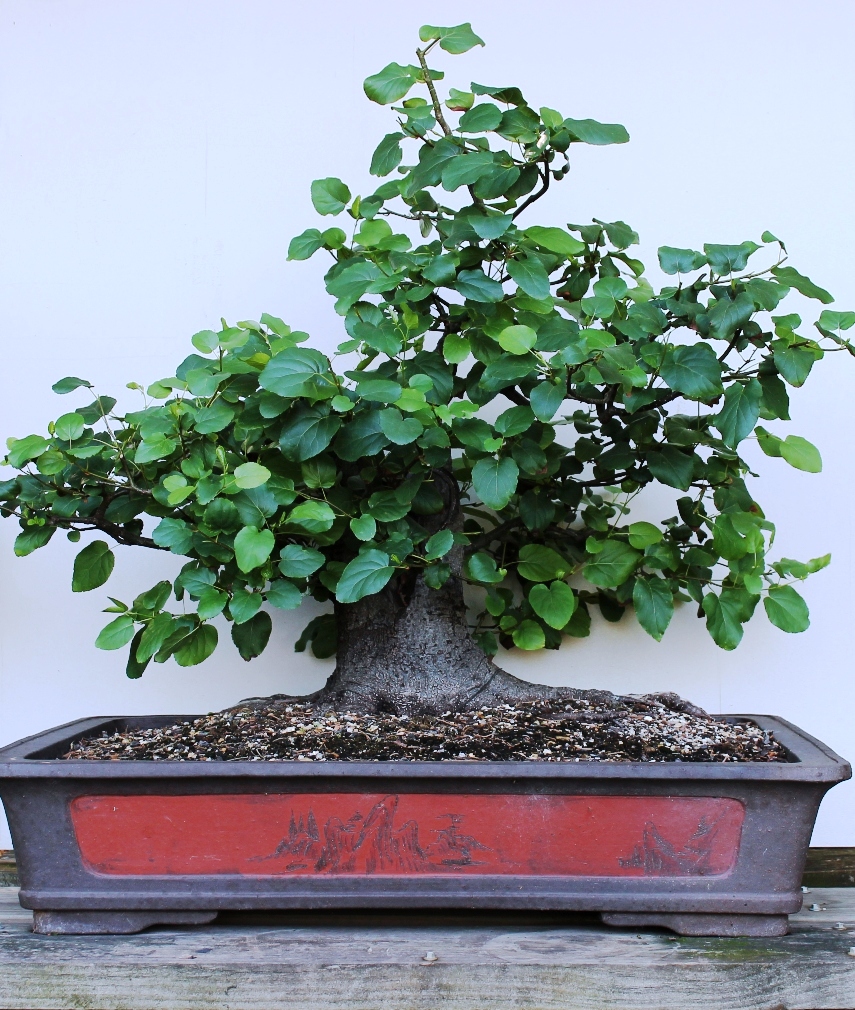
Photo 30 January 2013 showing bonsai in full leaf.
The above photo taken in January 2013 shows the bonsai now in full leaf. It has been trimmed a number of times during the season and there are some secondary and a few tertiary branches and that will help to increase the foliage mass and also to reduce the size of the leaves. A few more years are needed to get a full foliage mass but it is now moving in the right direction. The growth this year has been good so I am considering a new pot for this tree.
An up-date on this progression. I have purchased a new pot for this bonsai, one a little smaller than the current pot, and one that I hope will enhance the look of the tree.
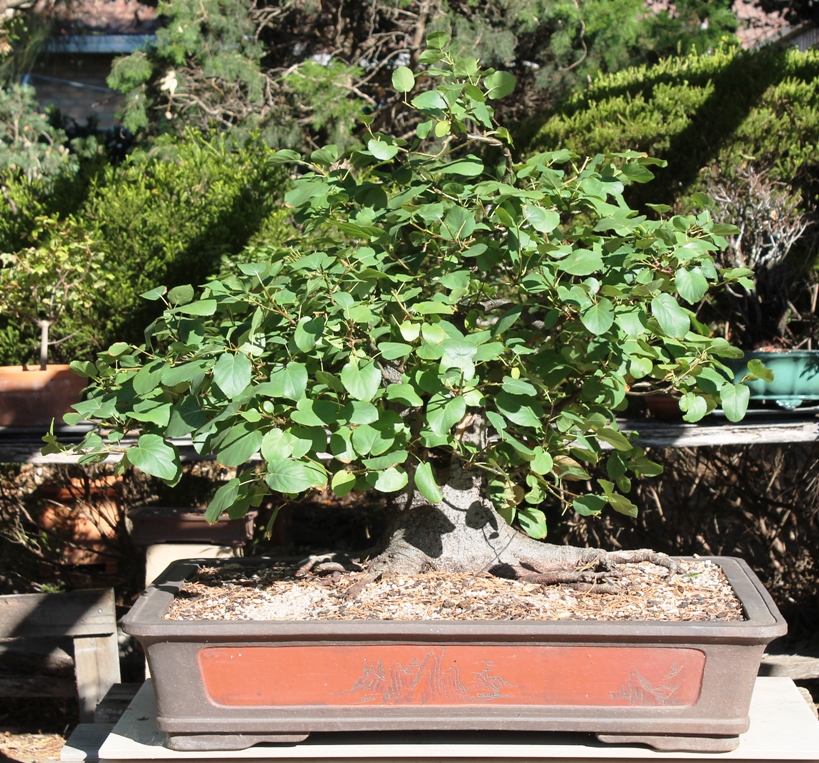
Photo January 2014
The above photo was taken at the end of Summer 2014, and I apologise that there is no proper background to this photo, but it does show that the foliage is filling in and that it is in need of some additional refinement, which will occur over the coming months.
The intention is to repot this in winter 2014 into the new pot and continue the development of a refined ramification process.