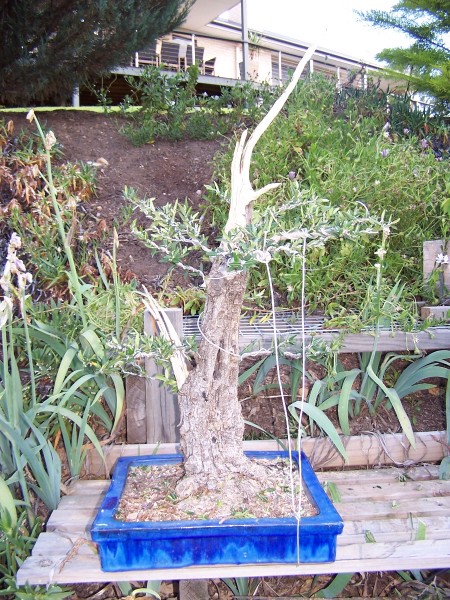
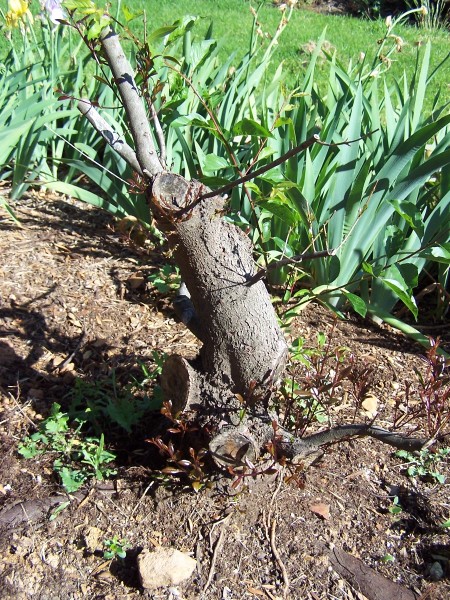
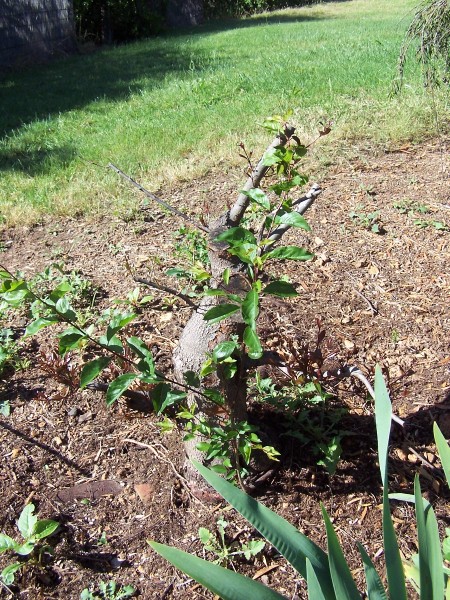
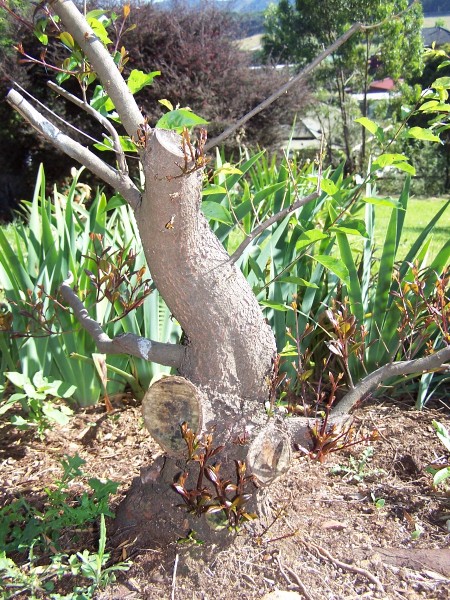
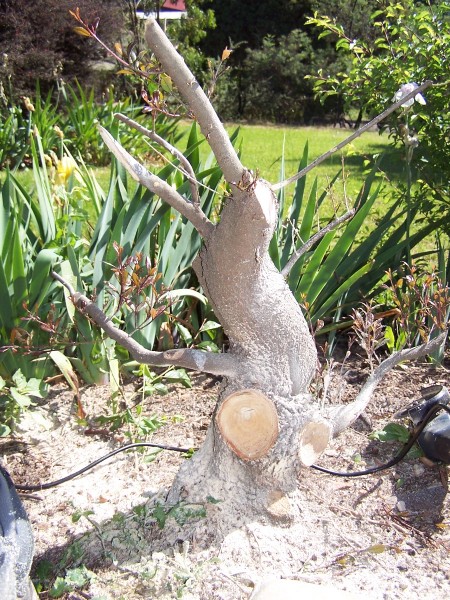
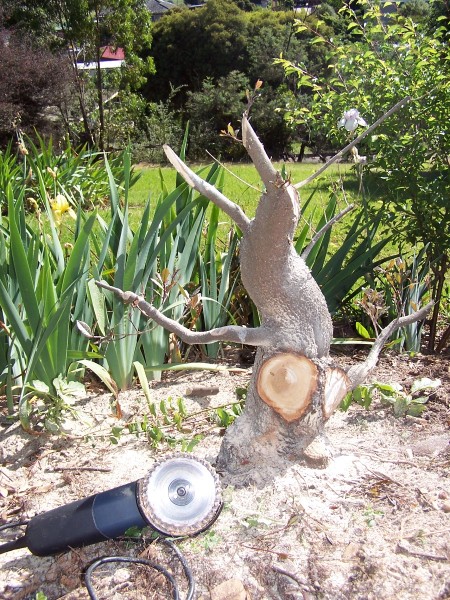
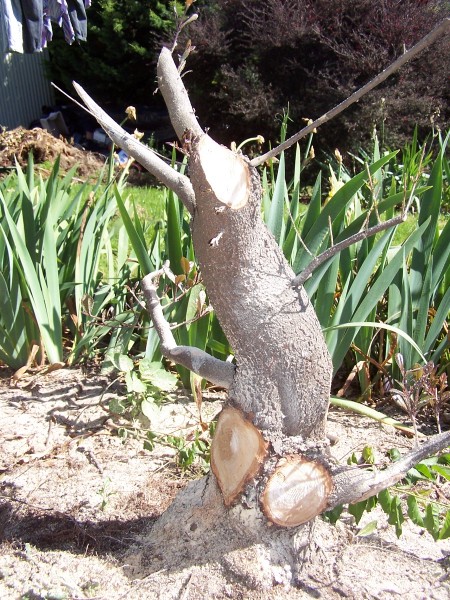
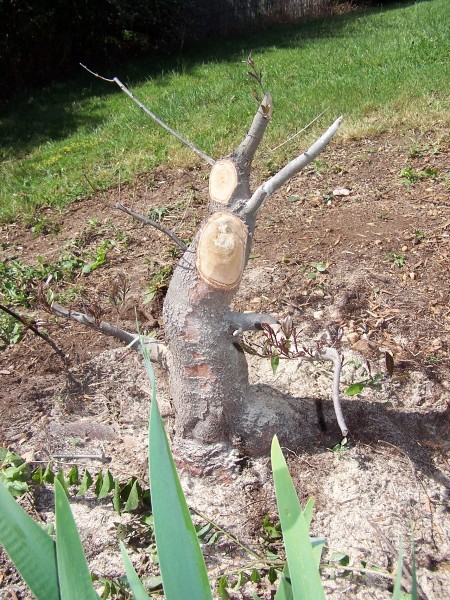
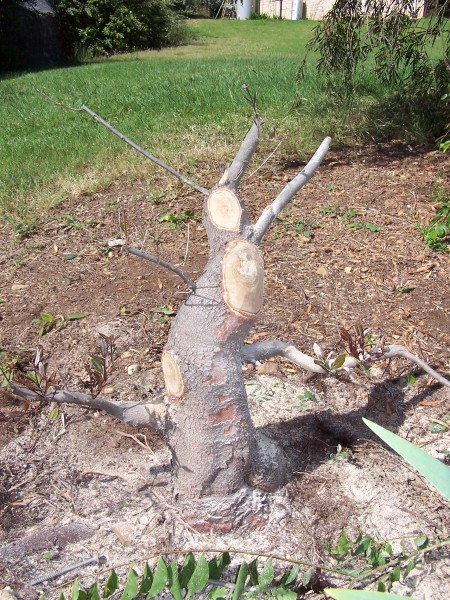
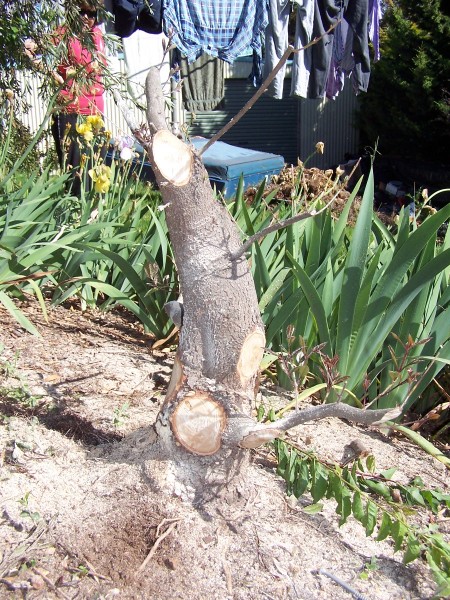
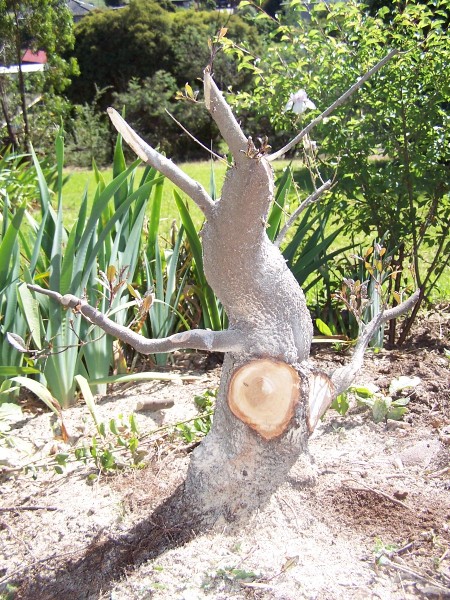
This was collected a couple of years ago , the tree itself was estimated at 60-70- years old .Standing about 3 m high its base was close to 500mm . Using an old bow saw with the teeth having extra set placed on them to give clearance i cut it off and trimmed it to fit into the car . When i returned home i simply flat cut the base to around 350mm and only 40mm in thickness .This was placed into a pot with coarse river sand and sat in a water/sand tray to retain moisture .After the first season it was transplanted into a 400mm planter tray .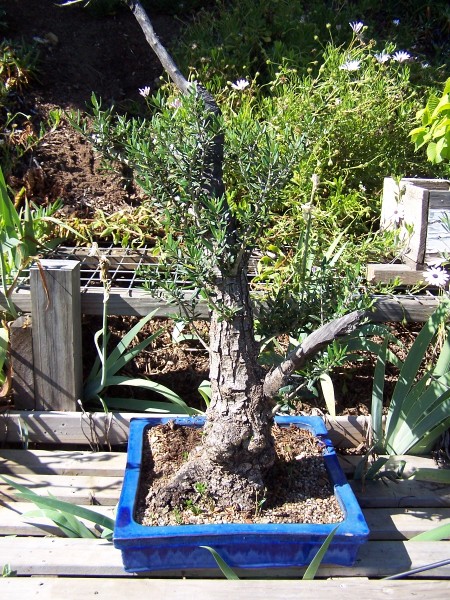 It has constantly suckered up at the base , however i managed to selectively retain quite a few well positions branches .The soil mix is basically pine bark and potting mix as my bonsai mix is too open for moisture retention for this species and size .I do have smaller olives in my scoria blend and they are growing well .
 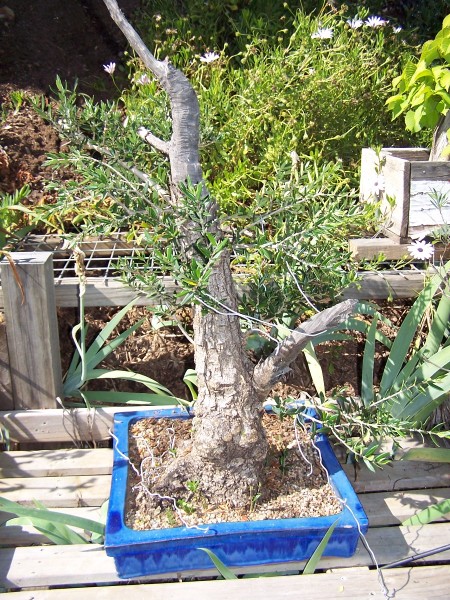 Because the branches are growing upwards i have put some wires on to hold them clear of the dead wood to be carved , don’t want to severe a branch now .
 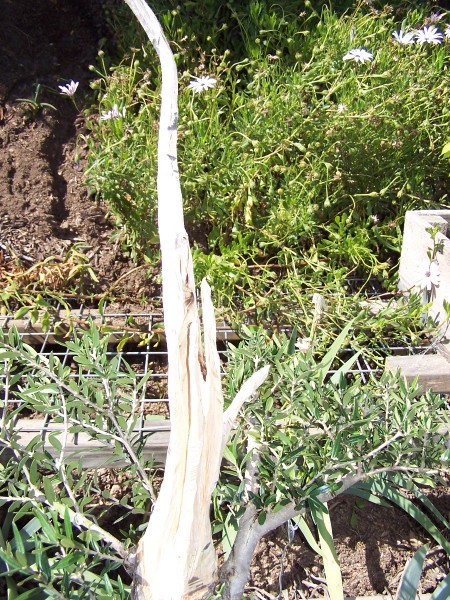 I began with the apex and carved and refined the straight section with some movement
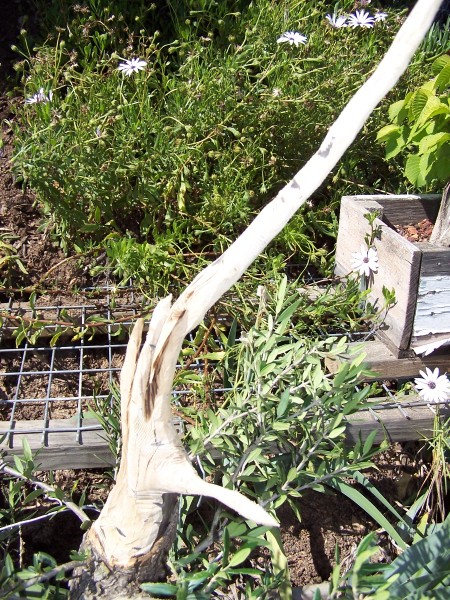 and thinned out for taper .I have also carved a section to represent several branches to add some extra character .
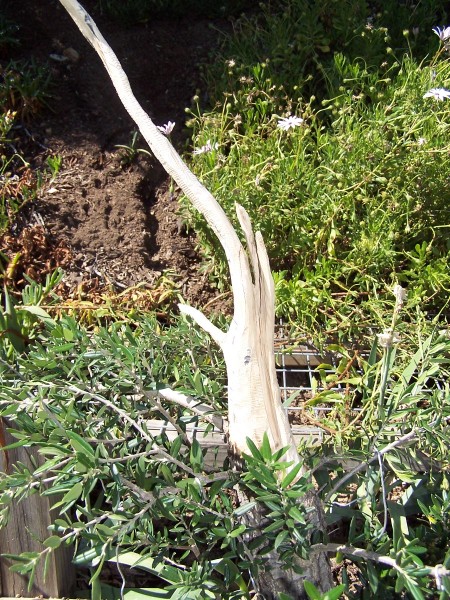 With the apex finished i worked the lower dead section originally on the tree ,
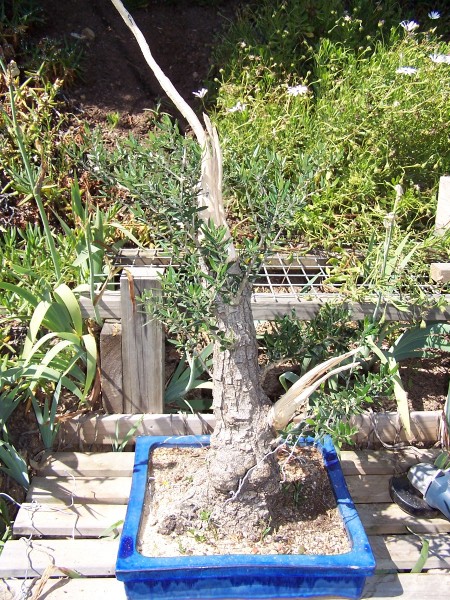
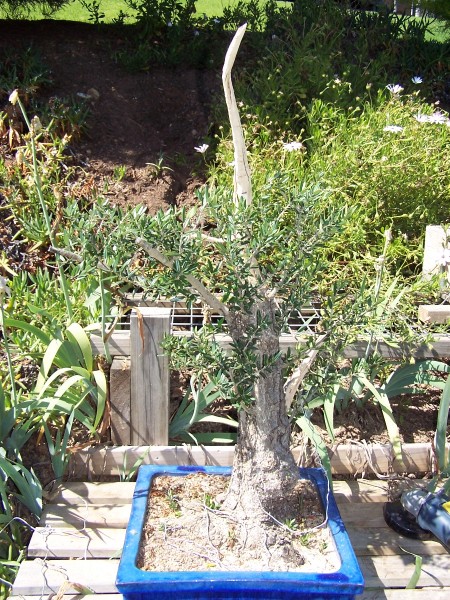 this to was carved to represent several branches .
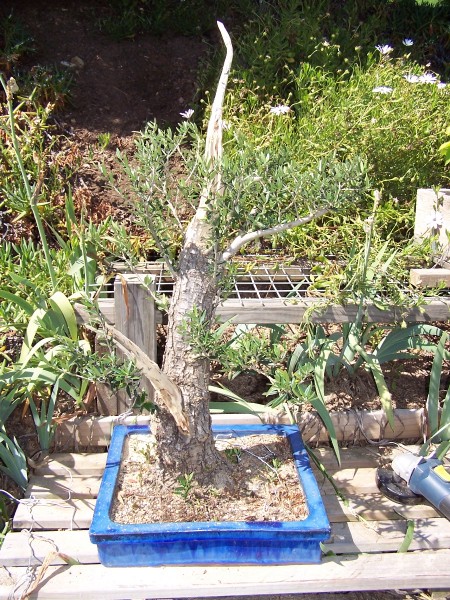 It all needs refining however that’s a task for another day .
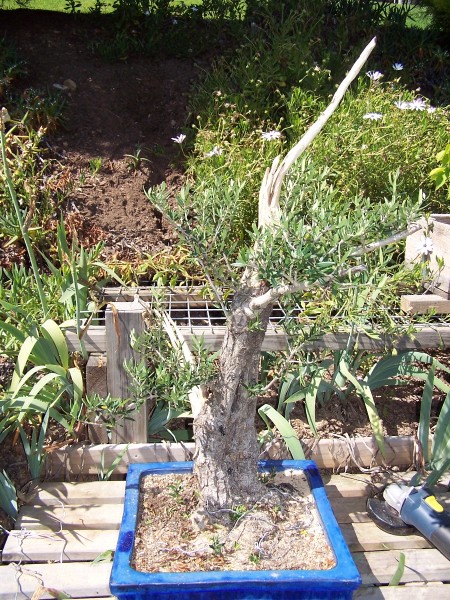 With the carving finished i applied some wire to the branches
 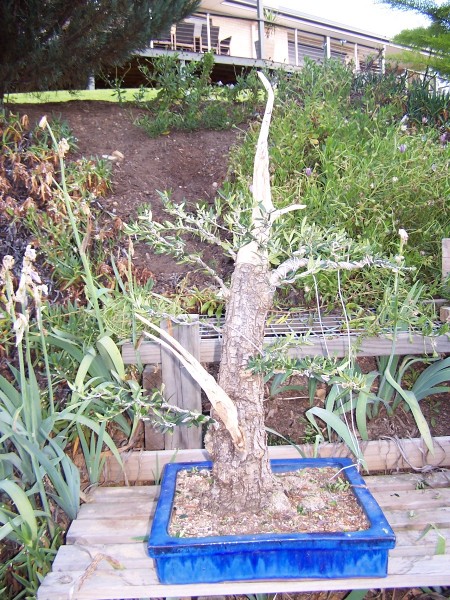 in order to get some movement and establish a structure to work on in the future
 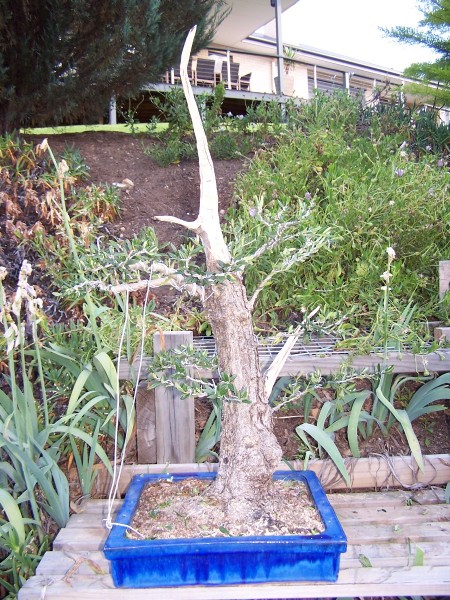 .With a quick trim and shape its all over .I will paint the carved sections with lime sulphur as the dark grey blends in too well with the foliage colour
 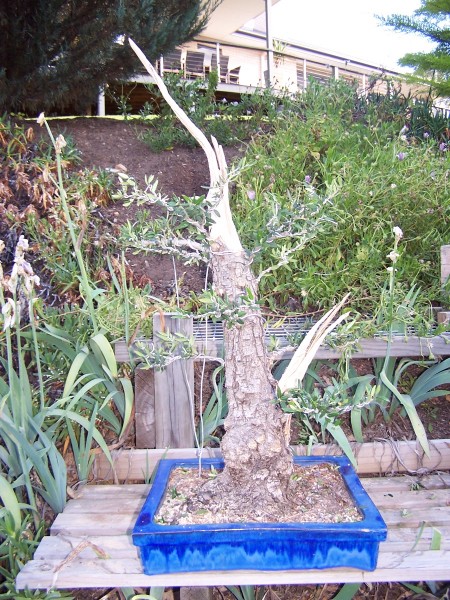 . I need to find a suitable container to house this bugger , at the moment i don’t have anything suitable other than the tray its i now .

