Latest Entries »
Well i have been busy , but also recovering from surgery to remove the steel plates and screws from my leg . Numerous mundane tasks associated with growing and training bonsai have been done around the place . I have managed a few major projects , this being one of them , and my input here has been very slack to say the least . This has been a good project using one of the huge Juniper trunks that failed to survive the collection and transplant ordeal . Not being physically fit enough to take care of them 5 died however i will use the trunks as phoenix Grafts as i locate the appropriate material to do these dead wood trunks the justice they deserve.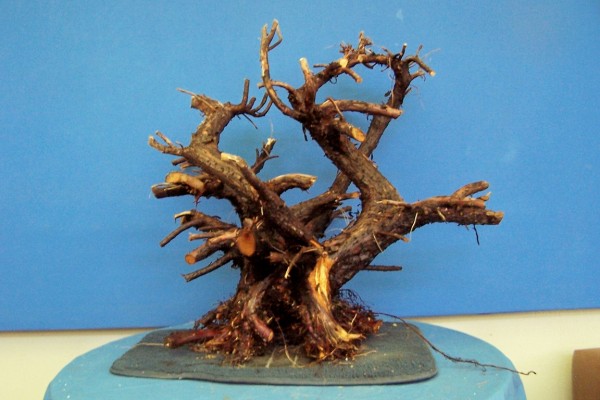 This was laying around awaiting a suitable plant to attach to the trunk . Which such an impression piece of dead wood only a good specimen would do it justice . In my travels i located a Shimpaku Juniper and it has worked out nicely to make this trunk come to life .
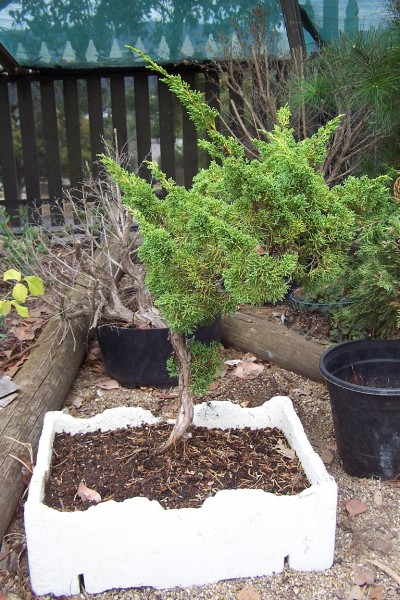 Due to the fact that the dead trunk required stripping it wasn’t going to be easily achieved . I used a pressure washer to remove the bark after 8 hours it was relatively clean .
 Time to hook into the stubs and remove the unwanted pieces and peel some of them back . With live material this job it quite simply however dead wood doesn’t peel back with the greatest of ease
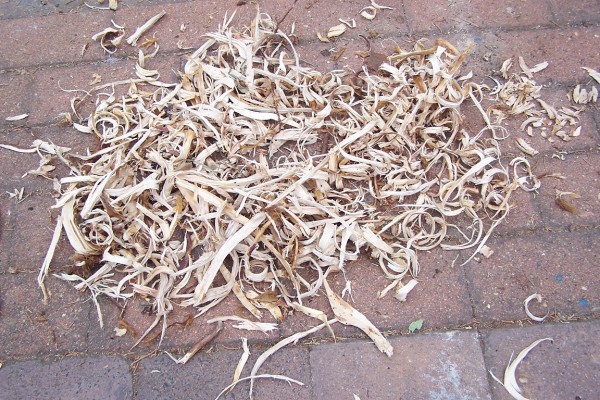 so after several hours i decided to maintain most of the natural wood and simple carve it slightly just to add a bit of character to the limbs .
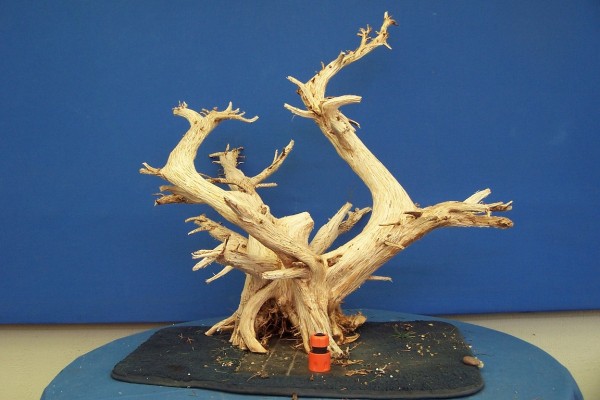 When i carved it to a happy medium , i applied a coat of lime sulfur and allowed it to dry , then hosed the excess off to prevent it leaching into he bonsai soil . A couple of days later the liming agent was still somewhat present after handling the trunk so i hit it with the pressure washer to remove any trace of leaching .
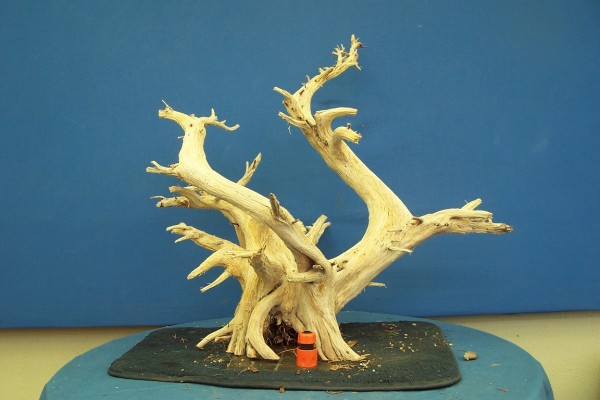 This was allowed to dry again then it was time to put the action in and pot
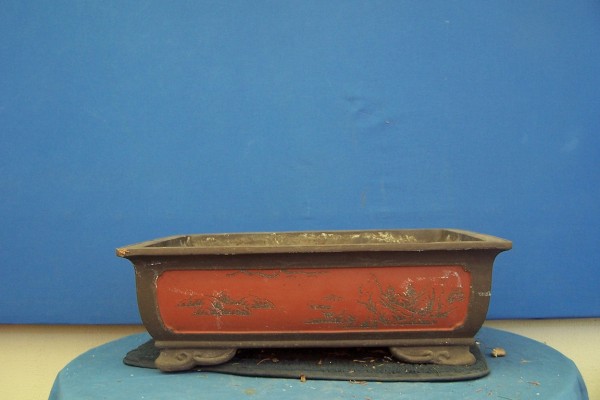 the Juniper into
 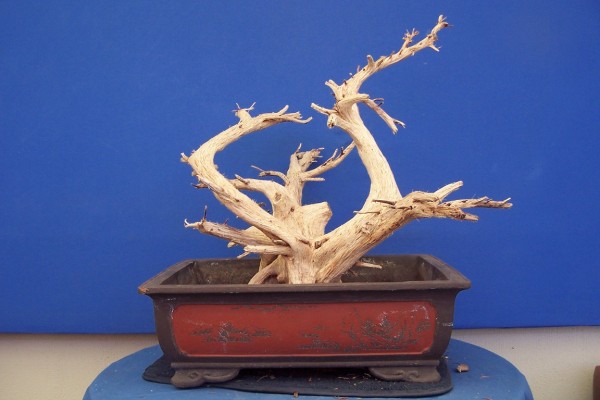 its new home .
 With the Shimpaku in place
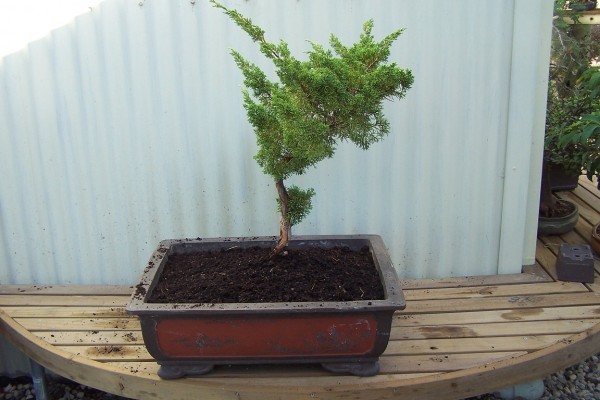 I simple slid the dead wood trunk down and around the juniper carefully placing the branches in the appropriate positions .
 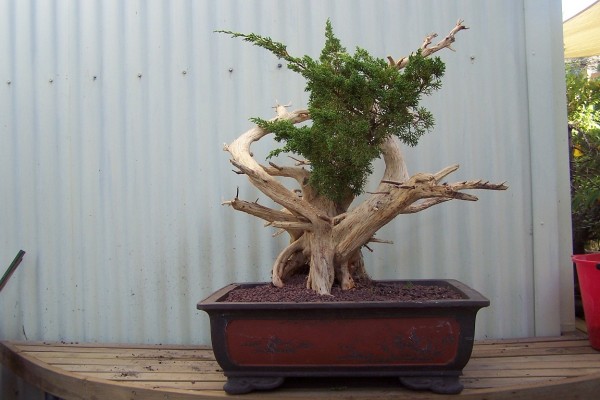 A closer look revealed it needed some serious bending unfortunately the 30mm trunk wouldn’t move some i used the trunk splitters just above the base to split the main trunk and aid the bending .
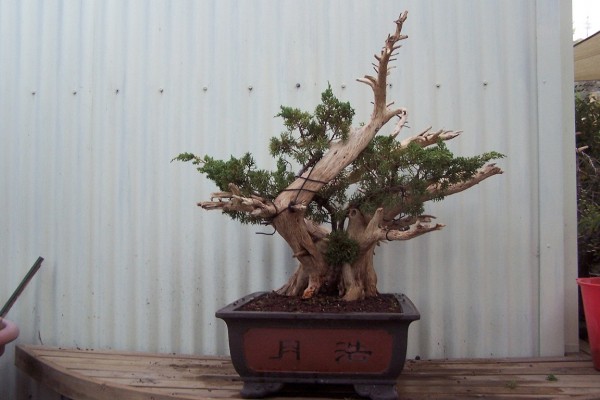 I attached a screw to the base to hold the live trunk to the dead wood and then splitting a main branch and then bending it into position .
 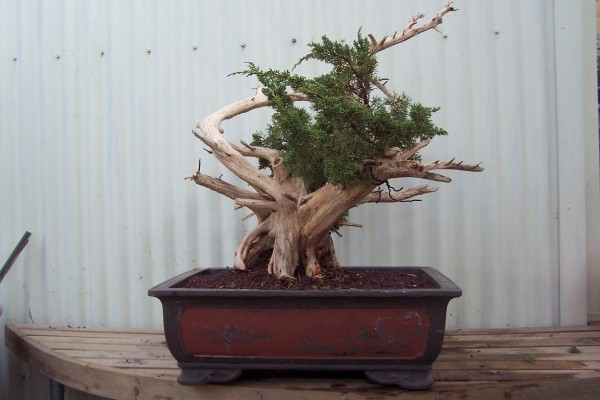 With the trunk set i then worked a secondary branch in the same fashion splitting and bending into position . I have attached basic wires to the juniper trunk and leaders to give it an initial pre style form .
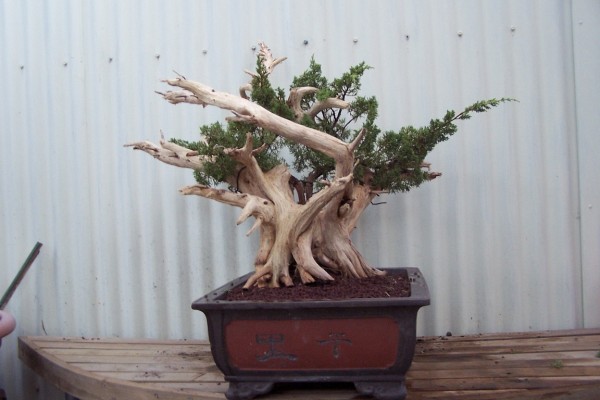 This will have possibly 2 smaller junipers added to it later on . Now it can settle down before some more serious work takes place as the other branches need splitting
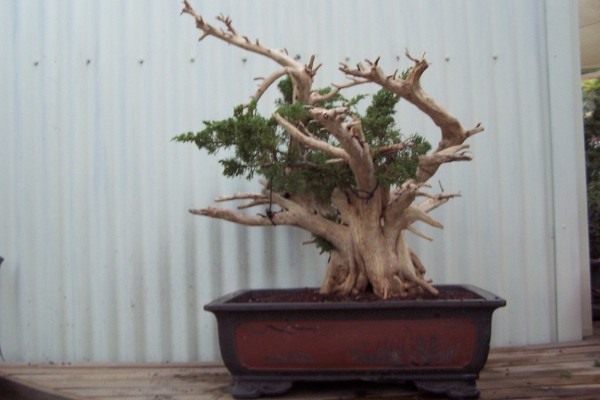 in order to bend them and the juniper embedded into the deadwood and secured into place .
Cheers Alpineart
This is another custom made rock which i have made provisions for pots to set a couple of Pinus Nigra Austriaca/European Black Pine /Austrian Pine into the landscape . Again i have used aerated concrete panel material for its light weight and durability . 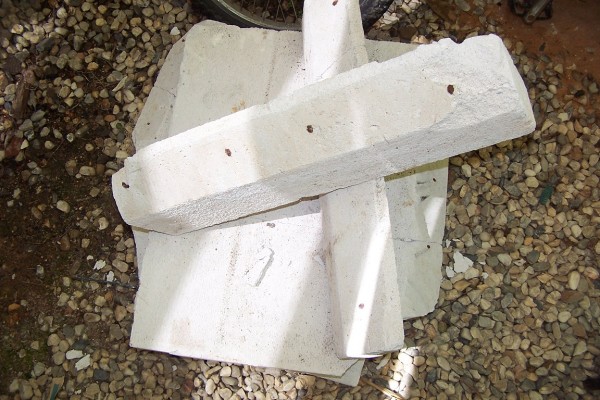 I have used a slightly different method and different glues to test the speed of which these can be produced ready for carving .
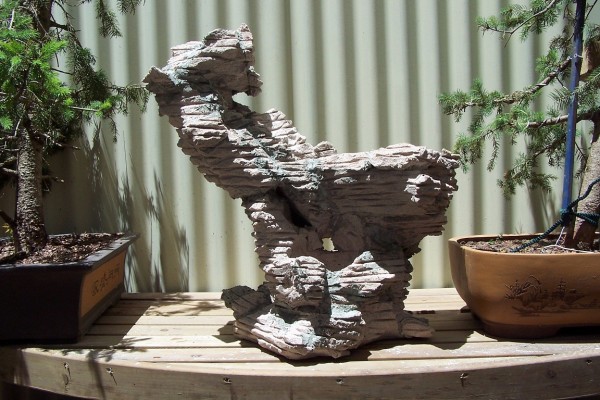 It has worked out well and carving can begin in 24 hours without any fracturing of the glues .
 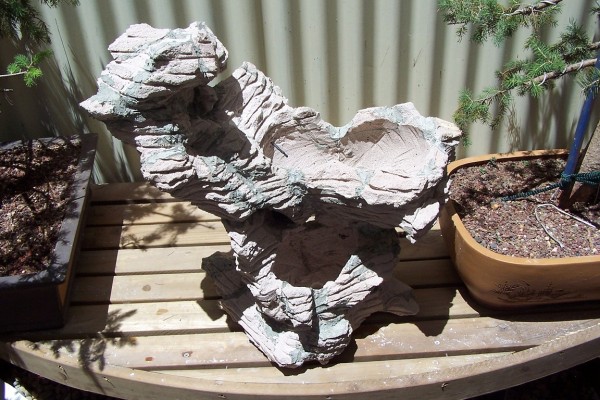 This was carved and the pot sections hollow out . The an acrylic render has been applied for it hardness and waterproofing ability
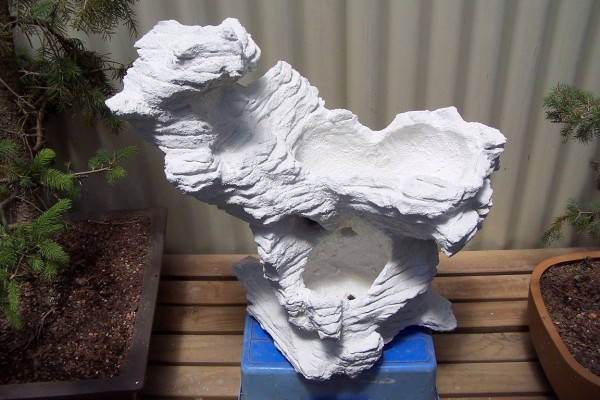 , this is allowed to dry then a cement render base coat is applied .
 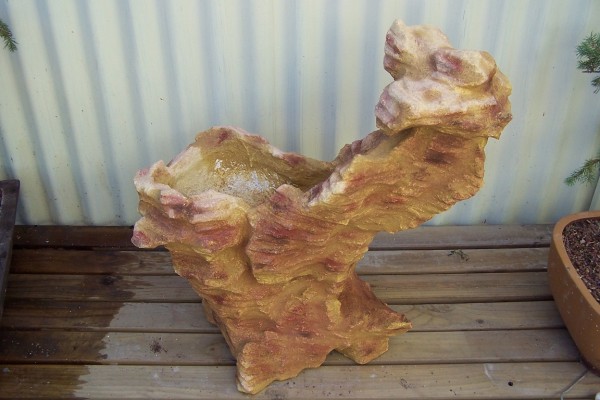 Over this several pigment colours are dabbed on then brushed in to give an blended overall natural looking finish .
 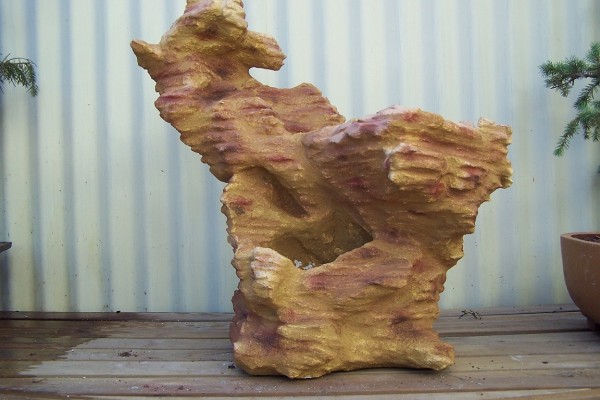 With the colouring
 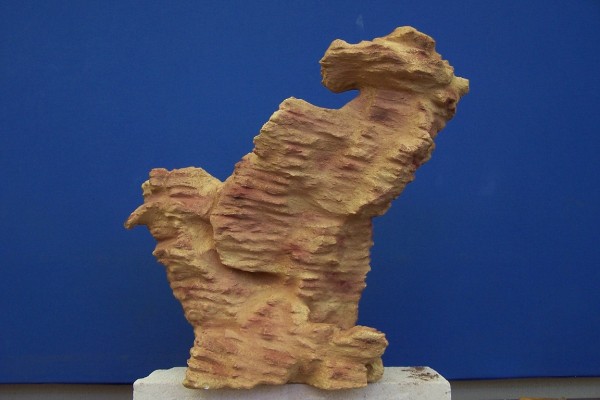 and sealing complete the tree’s were added
 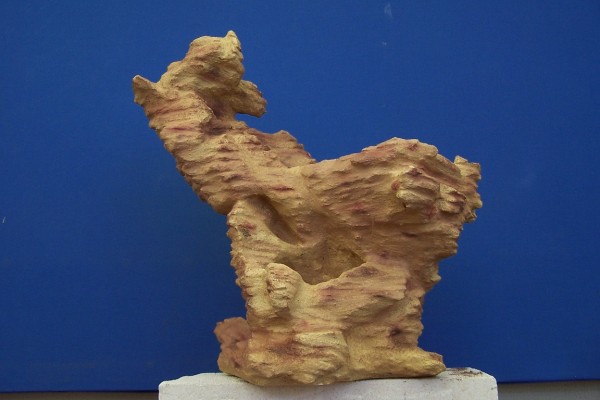 . I have chosen 2 Pines that have had very little training since collected several years ago
 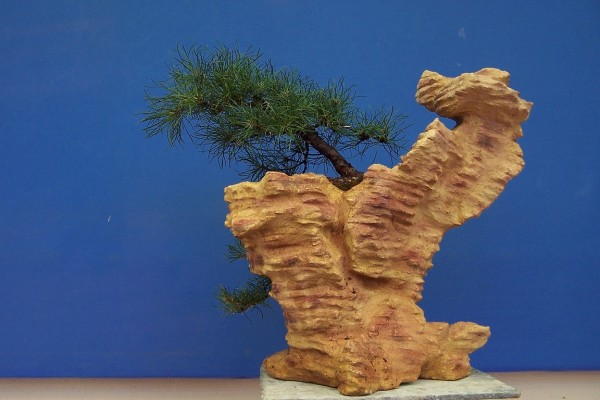 . The top tree was chopped topped and the side shoots were pre trained as new branches ,
 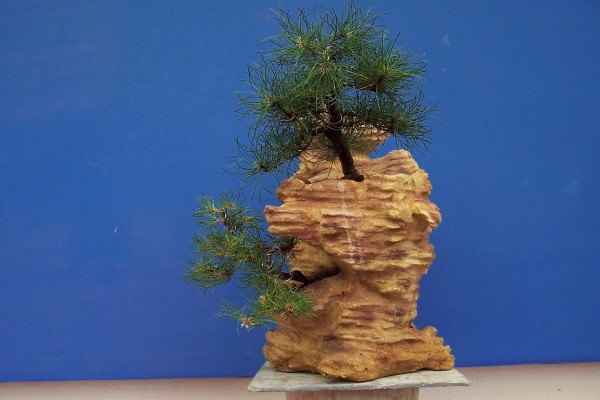 the lower tree had basic wiring done last year .
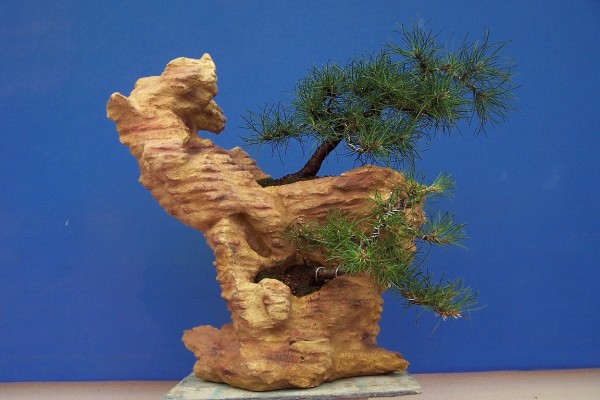 Both tree’s were slip potted to prevent to much root disturbance and wired while in position . I have needle plucked both tree’s
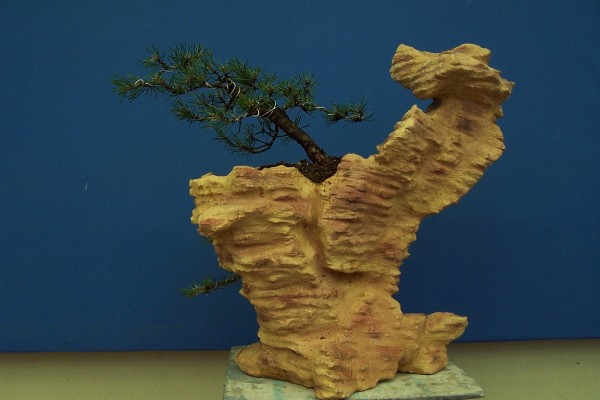 and trimmed the needles to show the outline of the tree’s themselves .
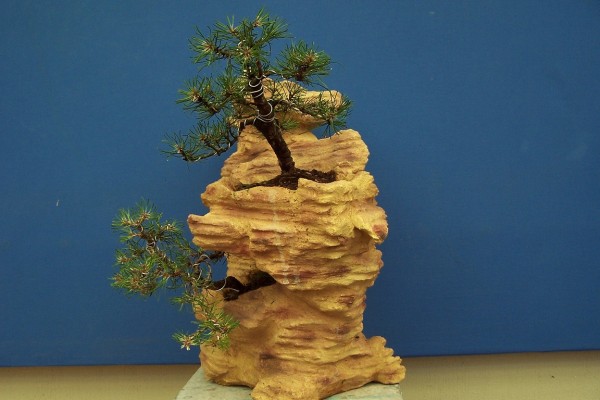 The older tree when collected had an 8mm reverse taper so i slashed and spiked the lower trunk to aid the swelling process .
 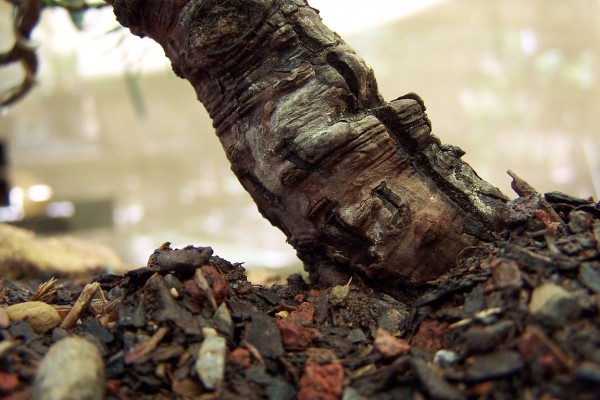 After 6 years the reverse taper has completely disappeared and while the slash marks are still present
 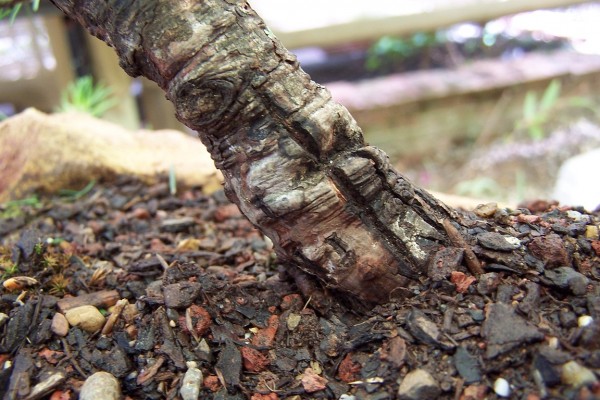 these will disappear in time when the age flaking bark of the Nigra
 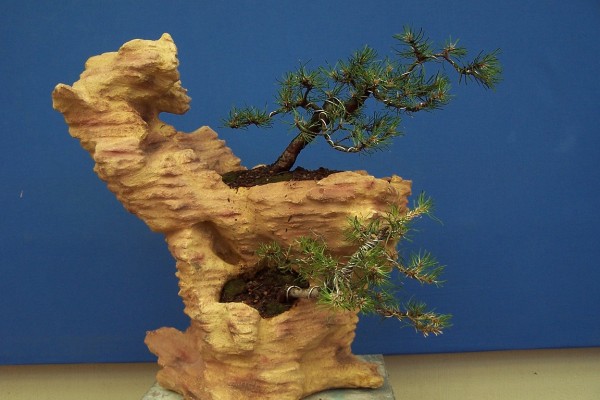 truly defines the beauty of these trunks .
Cheers Alpineart
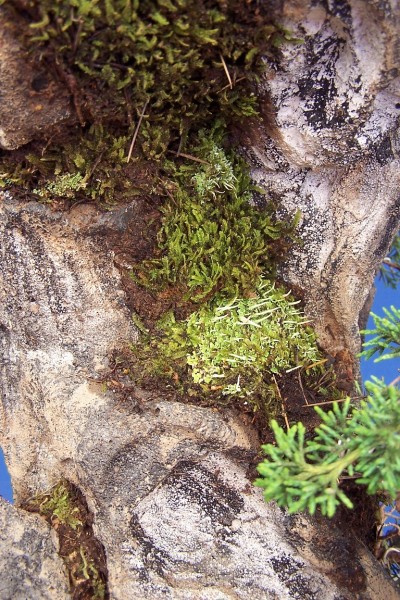
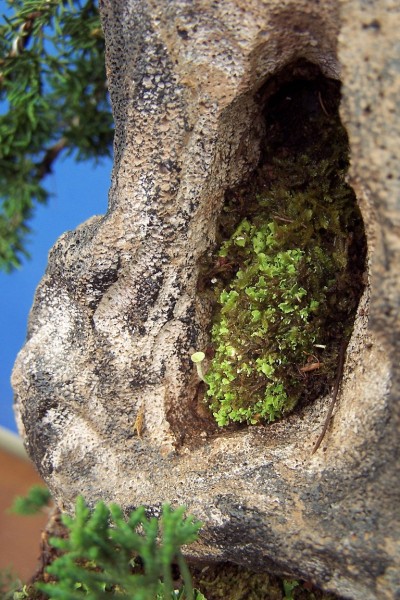
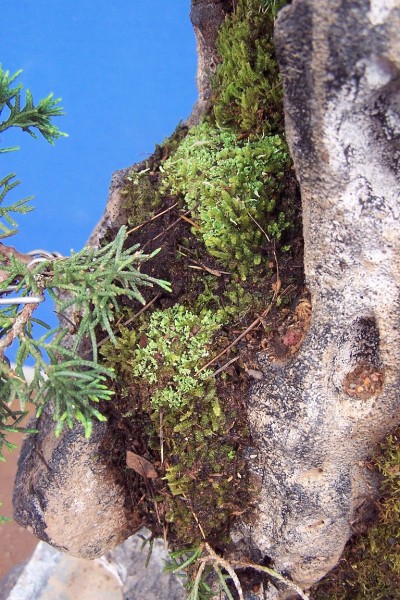
This rock has only recently been completed using hebel panel offcuts which are basically light weight autoclaved concrete . This rock will be freestanding in a tray not a potted rock planting so i have used a muck to help retain moisture and also aid in the growth of the moss being used . The moss will serve 2 purposes by which it will keep the rock cooler and also represent the waterfall which has been carved into the rock as a minor feature . I have used a thick layer of muck both inside the hollowed section for the plants and also along the crevices carved into the rock itself . 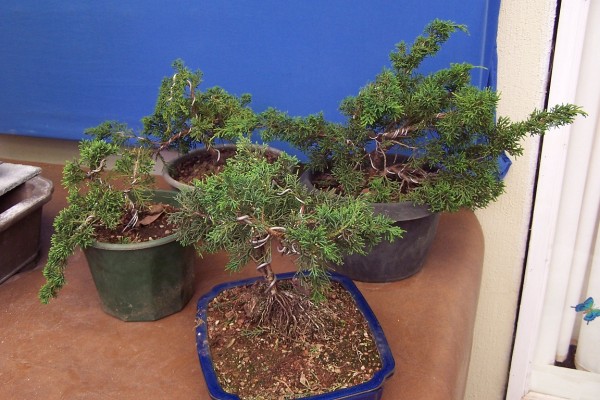 I have pre-wired the plants to prevent to much movement once they are positioned into each pocket .With all the Junipers in the desired position
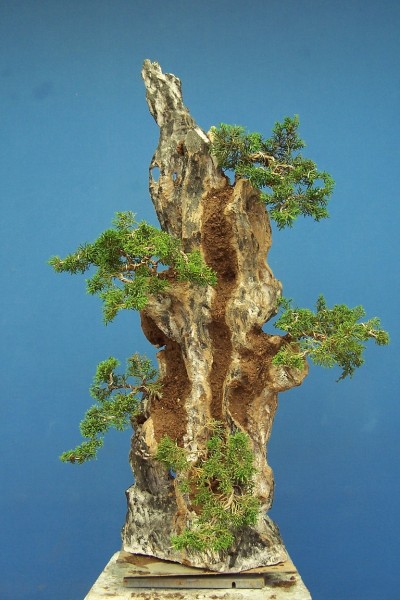 i then set about applying various types of moss and lychen .
 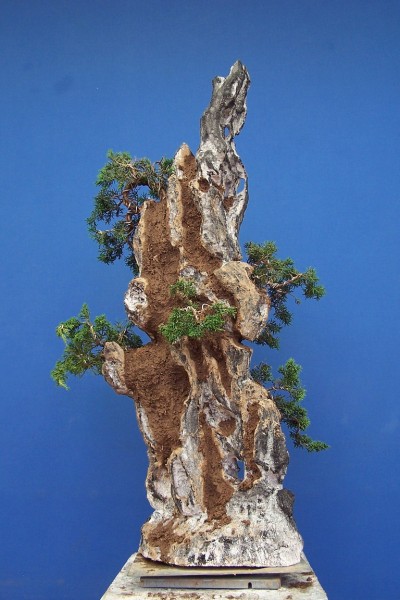 This over time releases spores and the older moss can be removed and a closer new mat of moss will begin to grow and adhere to the surface for a more realistic look .
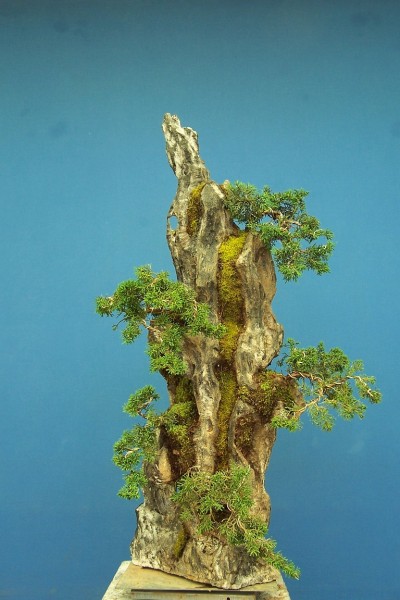 With the mosses finished i then give the Junipers a slight trim and manipulate the trunk lines to a more pleasing position .
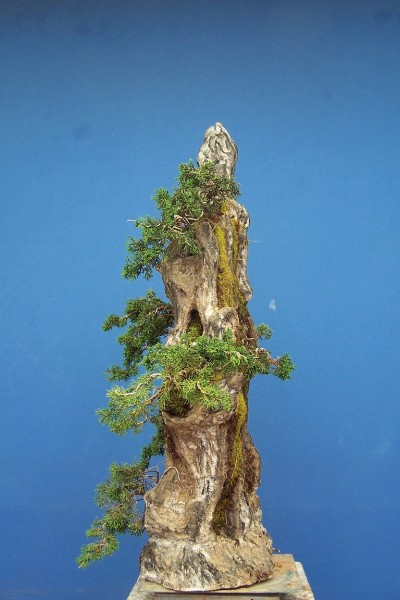 With all the work done it gets a good wash
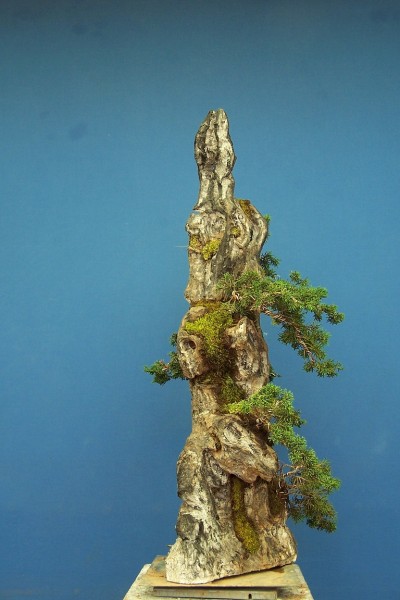 and under the pergola it goes to allow the tree’s to settle and the moss to flourish
 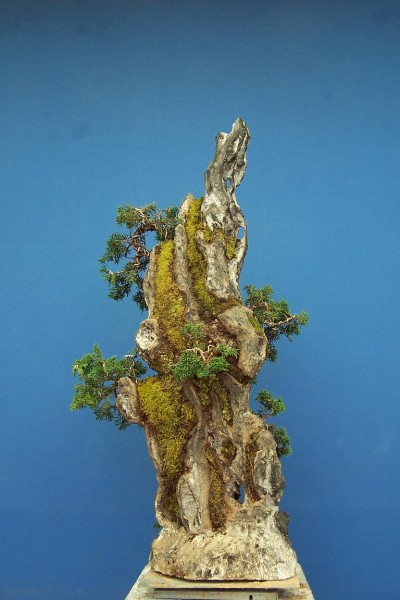 . This will eventually be placed in a shaded area
  behind the house out of the wind and radiant heat
 which is a major problem here over the Summer months
 . Cheers Alpineart
